ITS Tickets
myBU
Office 365
Moodle
PaperCut
Webmail
Gaiter Dollars
myBU
Moodle
Webmail
Gaiter Dollars
PaperCut
Office 365
ITS Tickets

Malware Removal Tips

IMPORTANT NOTE:

The information on this page is meant to guide experienced users through various suggested action to remove malware on their personal computer only.

If you believe that your BU provided computer has been infected with malware: Notify ITS immediately by calling us or by opening the ticket “I’d like to report a cybersecurity incident” on our Octopus web portal.

  1. Malware removal on Windows

1.1 Check your browser for plug-ins or extensions

If you see ads constantly popping up, or if your homepage keeps changing back to another search engine, plugins or extensions may be the cause of the problem. Note that a plugin directly affects the page you are on, while an extension will affect the browser itself. This is why some plug-ins are useful such as Microsoft silver light for emails. The rule of thumb is any plugin or extension you didn’t install or don’t need shouldn’t be there. This means if you have plugins or extensions installed and you don’t know what they are for it’s best practice to uninstall them. It can be tricky to know what you need and what you don’t. Fortunately, most browsers will give you the options to either disable temporarily as well as uninstall. You should start by disabling any unknown plugins or extensions, and seeing if any of your online services start having problems.

Chrome

Plugins:

  • Open the menu: Chrome_menu
  • Click on settings
  • Scroll down and click on “show advanced settings”
  • Under “Privacy” click on “Content Settings”
  • Scroll down and under Plugins click “Manage individual plugins”
  • Click the Extension tab.
  • Click on the drop down next to the plugin you wish to disable.

Extensions

  • Open the menu:Chrome_menu
  • Click on settings
  • Click the Extension tab.
  • Click on “disable” or the trash can icon next to the extensions you wish to remove.

Firefox

Plugins

  • Open the menu:Chrome_menu
  • Choose Add-ons.
  • Click the plugins tab.
  • Click on the drop down next to the plugin you wish to disable.

Extensions

  • Open the menu:Chrome_menu
  • Choose Add-ons.
  • Click the Extension tab.
  • Click on the drop down next to the Extensions you wish to remove.

1.2 Removing potentially harmful applications

Malware, Adware and toolbars that get installed can be uninstalled manually. It’s good practice to go through your applications once in a while and remove all the application you no long need or that were installed by error or without your knowledge. If in doubt when looking through your program list look at the publishers: if it is a company you know like Google or Microsoft the program is probably fine. If it’s a publisher you aren’t familiar with, look it up on Google and then decide if you want to remove it or not. If it has no publisher and it’s not a program you use its probably safe to uninstall.

Refer to “Uninstall or remove apps and programs in Windows” to be guided through the steps needed to uninstall programs in Windows.

1.3 Run a malware scan

Once you removed all the plugins and the applications that were harmful from your computer, you will want to run a malware scan. A computer virus is a computer program that when executed is able to duplicate and place itself in another program or file on the computer. These viruses most often use security flaws to gain access to your computer. This can make your computer both slower and perform tasks that can be harmful to your files. These programs can be removed by running a anti-virus scan/malware scan. For this we suggest using Malwarebytes.

  • Download the free version of “Malwarebytes” that can be found here.
  • Follow the installation procedures the program.
  • When you are ready start the scan, this can take anywhere from 20 minutes to 1hour.

Note* The Dashboard will say that real-time protection is not available for the free versions and will offer you to purchase the premium version. This option is not required to perform a scan of your machine.

1.4 Disk clean-up

Computers accumulate temporary files overtime that are of no real use anymore and simply fill up room and slow down the machine. To clean these out we suggest the free version of CCleaner.

1.4 a) Installing CCleaner

The free version of CCleaner that can be found here

When installing we suggest deselecting “Enable the intelligent cookies” and the Recycle Bin options as follows

1.4 b) Running the Cleaner scans

Run the general cleaner in the cleaner tab and click on “Run Cleaner”

Note: this process might delete some of your saved passwords, so make sure you know them before you launch the scan

1.4 c) Running the registry scans

Secondly run a scan to correct any registry issues.

  • Click on the registry side tab
  • Click on “Scan for Issues” on the bottom left
  • Click on “Fix selected issues”
  • It will ask you to back up changes to the registry. Click on No
  • Unless you have a reason to cycle through all the issue one by one click on “Fix selected issues”

It is a good idea to repeat this process a second time to make sure all of the files are removed

1.4 d) Disabling Active monitoring

The default installation settings for CCleaner will leave the program running in the background all the time. This isn’t necessary and can be disabled as followed

  • Click on the notification tray in the bottom right of the screen
  • Right click on the CCleaner option and click Options
  • Deselect all the three of the monitoring checkbox

2. Malware removal on Mac

2.1 Check your browser for plug-ins or extensions

If you see ads constantly popping up, or if your homepage keeps changing back to another search engine, plugins or extensions may be the cause of the problem. Note that a plugin directly affects the page you are on, while an extension will affect the browser itself. This is why some plug-ins are useful such as Microsoft silver light for emails. The rule of thumb is any plugin or extension you didn’t install or don’t need shouldn’t be there. This means if you have plugins or extensions installed and you don’t know what they are for it’s best practice to uninstall them. It can be tricky to know what you need and what you don’t. Fortunately, most browsers will give you the options to either disable temporarily as well as uninstall. You should start by disabling any unknown plugins or extensions, and seeing if any of your online services start having problems.

2.2 Checking your libraries for harmful files

Mac OS has two levels of libraries, one for the computer itself and one for each user.

2.2 a) Plugins and Extensions

  • Go to “Finder” and click on “Go” on the top bar and scroll down and click on “Go to folder..”
  • Enter: “/Library/Internet Plug-Ins” in the search bar
  • Delete all the plug-ins that you don’t need. Note that plug-ins are not necessary so in doubt it’s best to delete it and re-install the ones you need.
  • Repeat the previous step but enter “/Users/YOUR USER NAME/Library/Internet Plug-Ins” in the “Go to folder” search box with your account user name

Note:  to find your user name open a Finder window and look for the house icon in the sidebar. The house icon identifies your home folder, which has the same name as your user name

2.2 b) Launch Agents folder

Launch agents are processes launched when the user logs-in that can have a graphical interface.

  • Go to “Finder” and click on “Go” on the top bar and scroll down and click on “Go to folder..”
  • Enter: “/Library/LaunchAgents” in the search bar
  • Delete all the plug-ins that you don’t need. Note that plug-ins are not necessary so in doubt it’s best to delete it and re-install the ones you need.
  • Repeat the previous step but enter “/Users/YOUR USER NAME/Library/LaunchAgents” in the “Go to folder” search box

Note:  to find your user name open a Finder window and look for the house icon in the sidebar. The house icon identifies your home folder, which has the same name as your user name

2.2 c) Launch Daemons folder

Launch Daemons are processes launched when the computer boots that have no user interface to them and run in the background.

  • Go to “Finder” and click on “Go” on the top bar and scroll down and click on “Go to folder..”
  • Enter: “/Library/LaunchDaemons” in the search bar
  • Delete all the plug-ins that you don’t need.

Note that plug-ins are not necessary so in doubt it’s best to delete it and re-install the ones you need.

2.3 Removing potentially harmful applications

Malware, Adware and toolbars that get installed can, most of the time, be removed from the application folder. It’s good practice to go through your applications once in a while and remove all the application you no long need or that were installed by error. In doubt when looking through you program list look at the publishers, if it is a company you know like Apple or Microsoft the program is probably fine, if it’s a publisher you aren’t familiar with look it up on Google and then decide if you want to remove it or not. If it has no publisher and it’s not a program you use its probably safe to uninstall.

  • Click on finder
  • Click on Applications and go through applications you feel might be harmful

Note that it is good practice to only have installed applications in the Application folder. If you have .dmg files or other files you should remove them.

2.4 Run a malware scan

Mac OS  (being UNIX based) is generally speaking less vulnerable to attacks than Windows. However this does not make it completely invulnerable. Mac OS comes with a default anti-malware so generally speaking if you have an up-to-date Mac OS X with all the security updates you don’t need any third party application to be installed. This is why we strongly suggest avoiding software such as Norton, MacKeeper or any cleaners that do real time scanning. Most of these software packages will heavily slow down the system without providing any visible benefits.

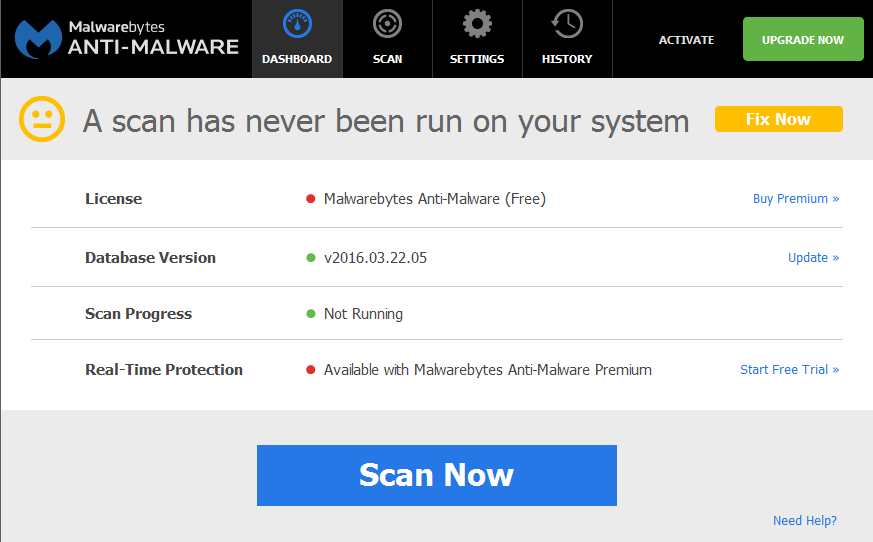
However if you do wish to run a scan on your computer we would again suggest using Malwarebytes.

  • You can find the free version of Malwarebytes here
  • Simply click on “Scan” to launch the scan.
Contact Us