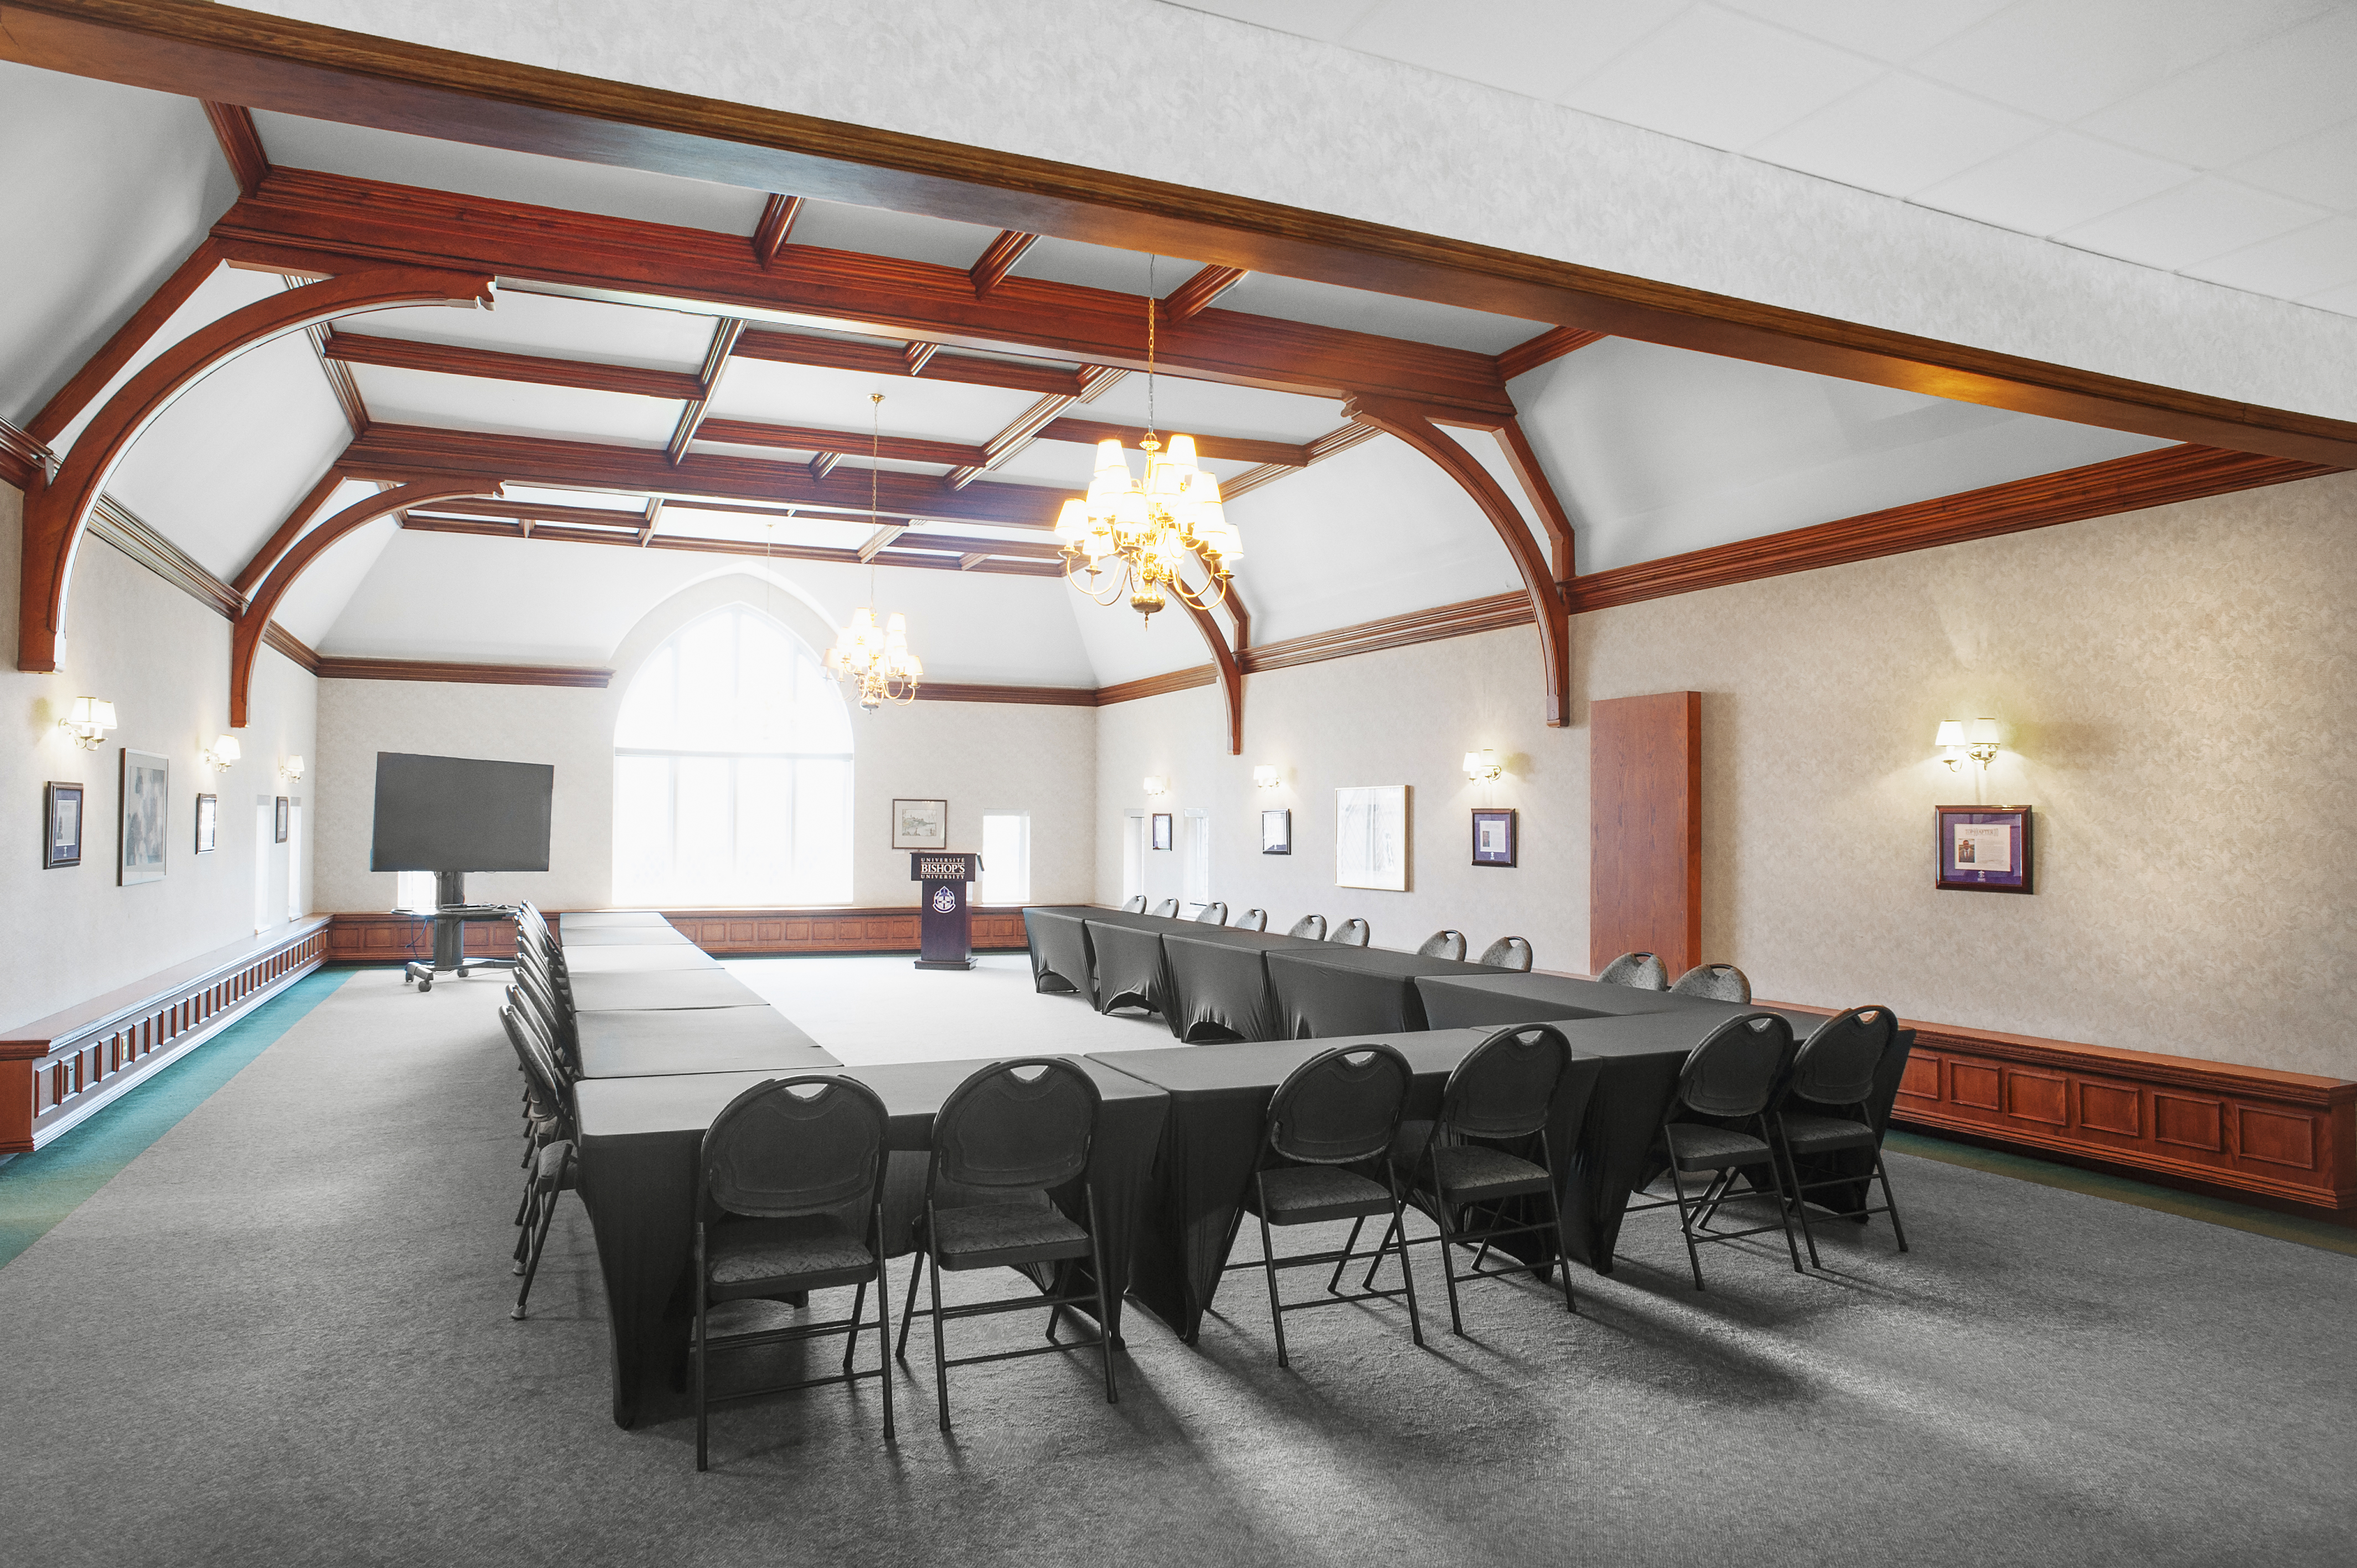
If you are unsure if this room fits your needs, book a quick consultation. ITS will evaluate your needs and help you find the best room for your event/meeting.
IMPORTANT: A consultation is required for any event setup, should you require ITS to setup equipment in the room you will need to discuss your needs prior to making a room booking.
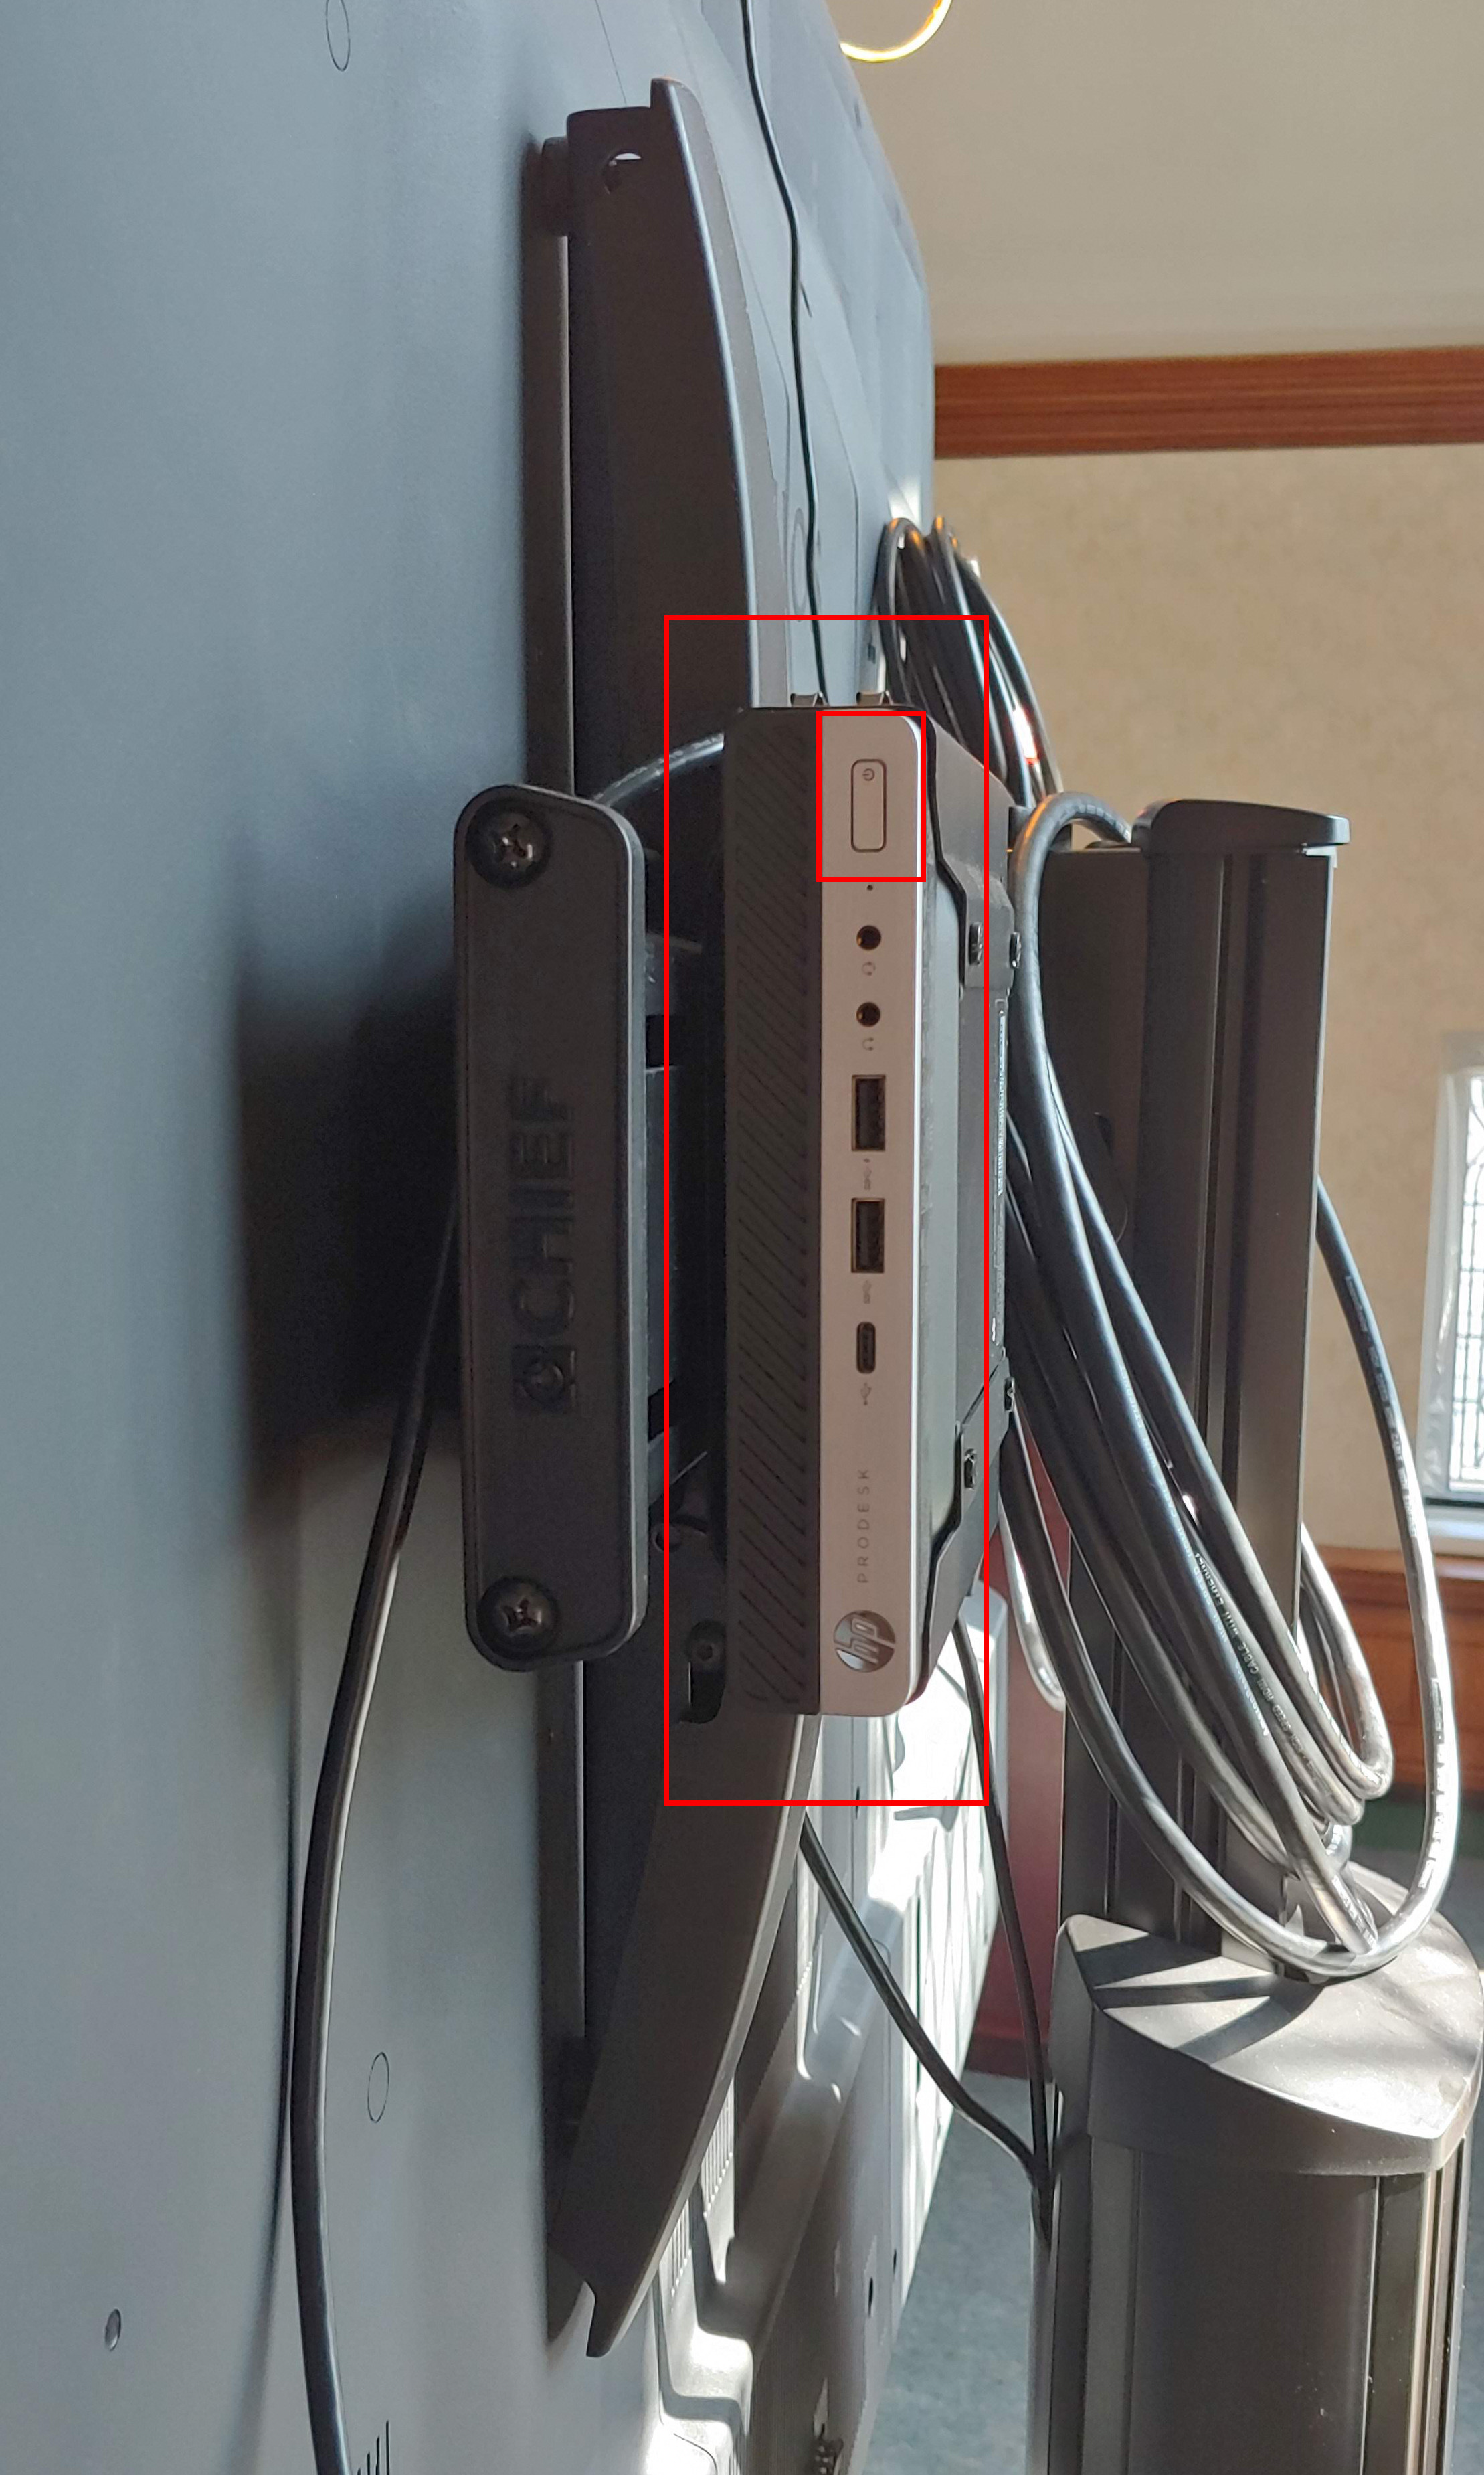
Choose an outlet in the room you’d like to plug the display into. Turn the computer behind the display on. The power button is located on the top of the side of the machine.
Step 2:
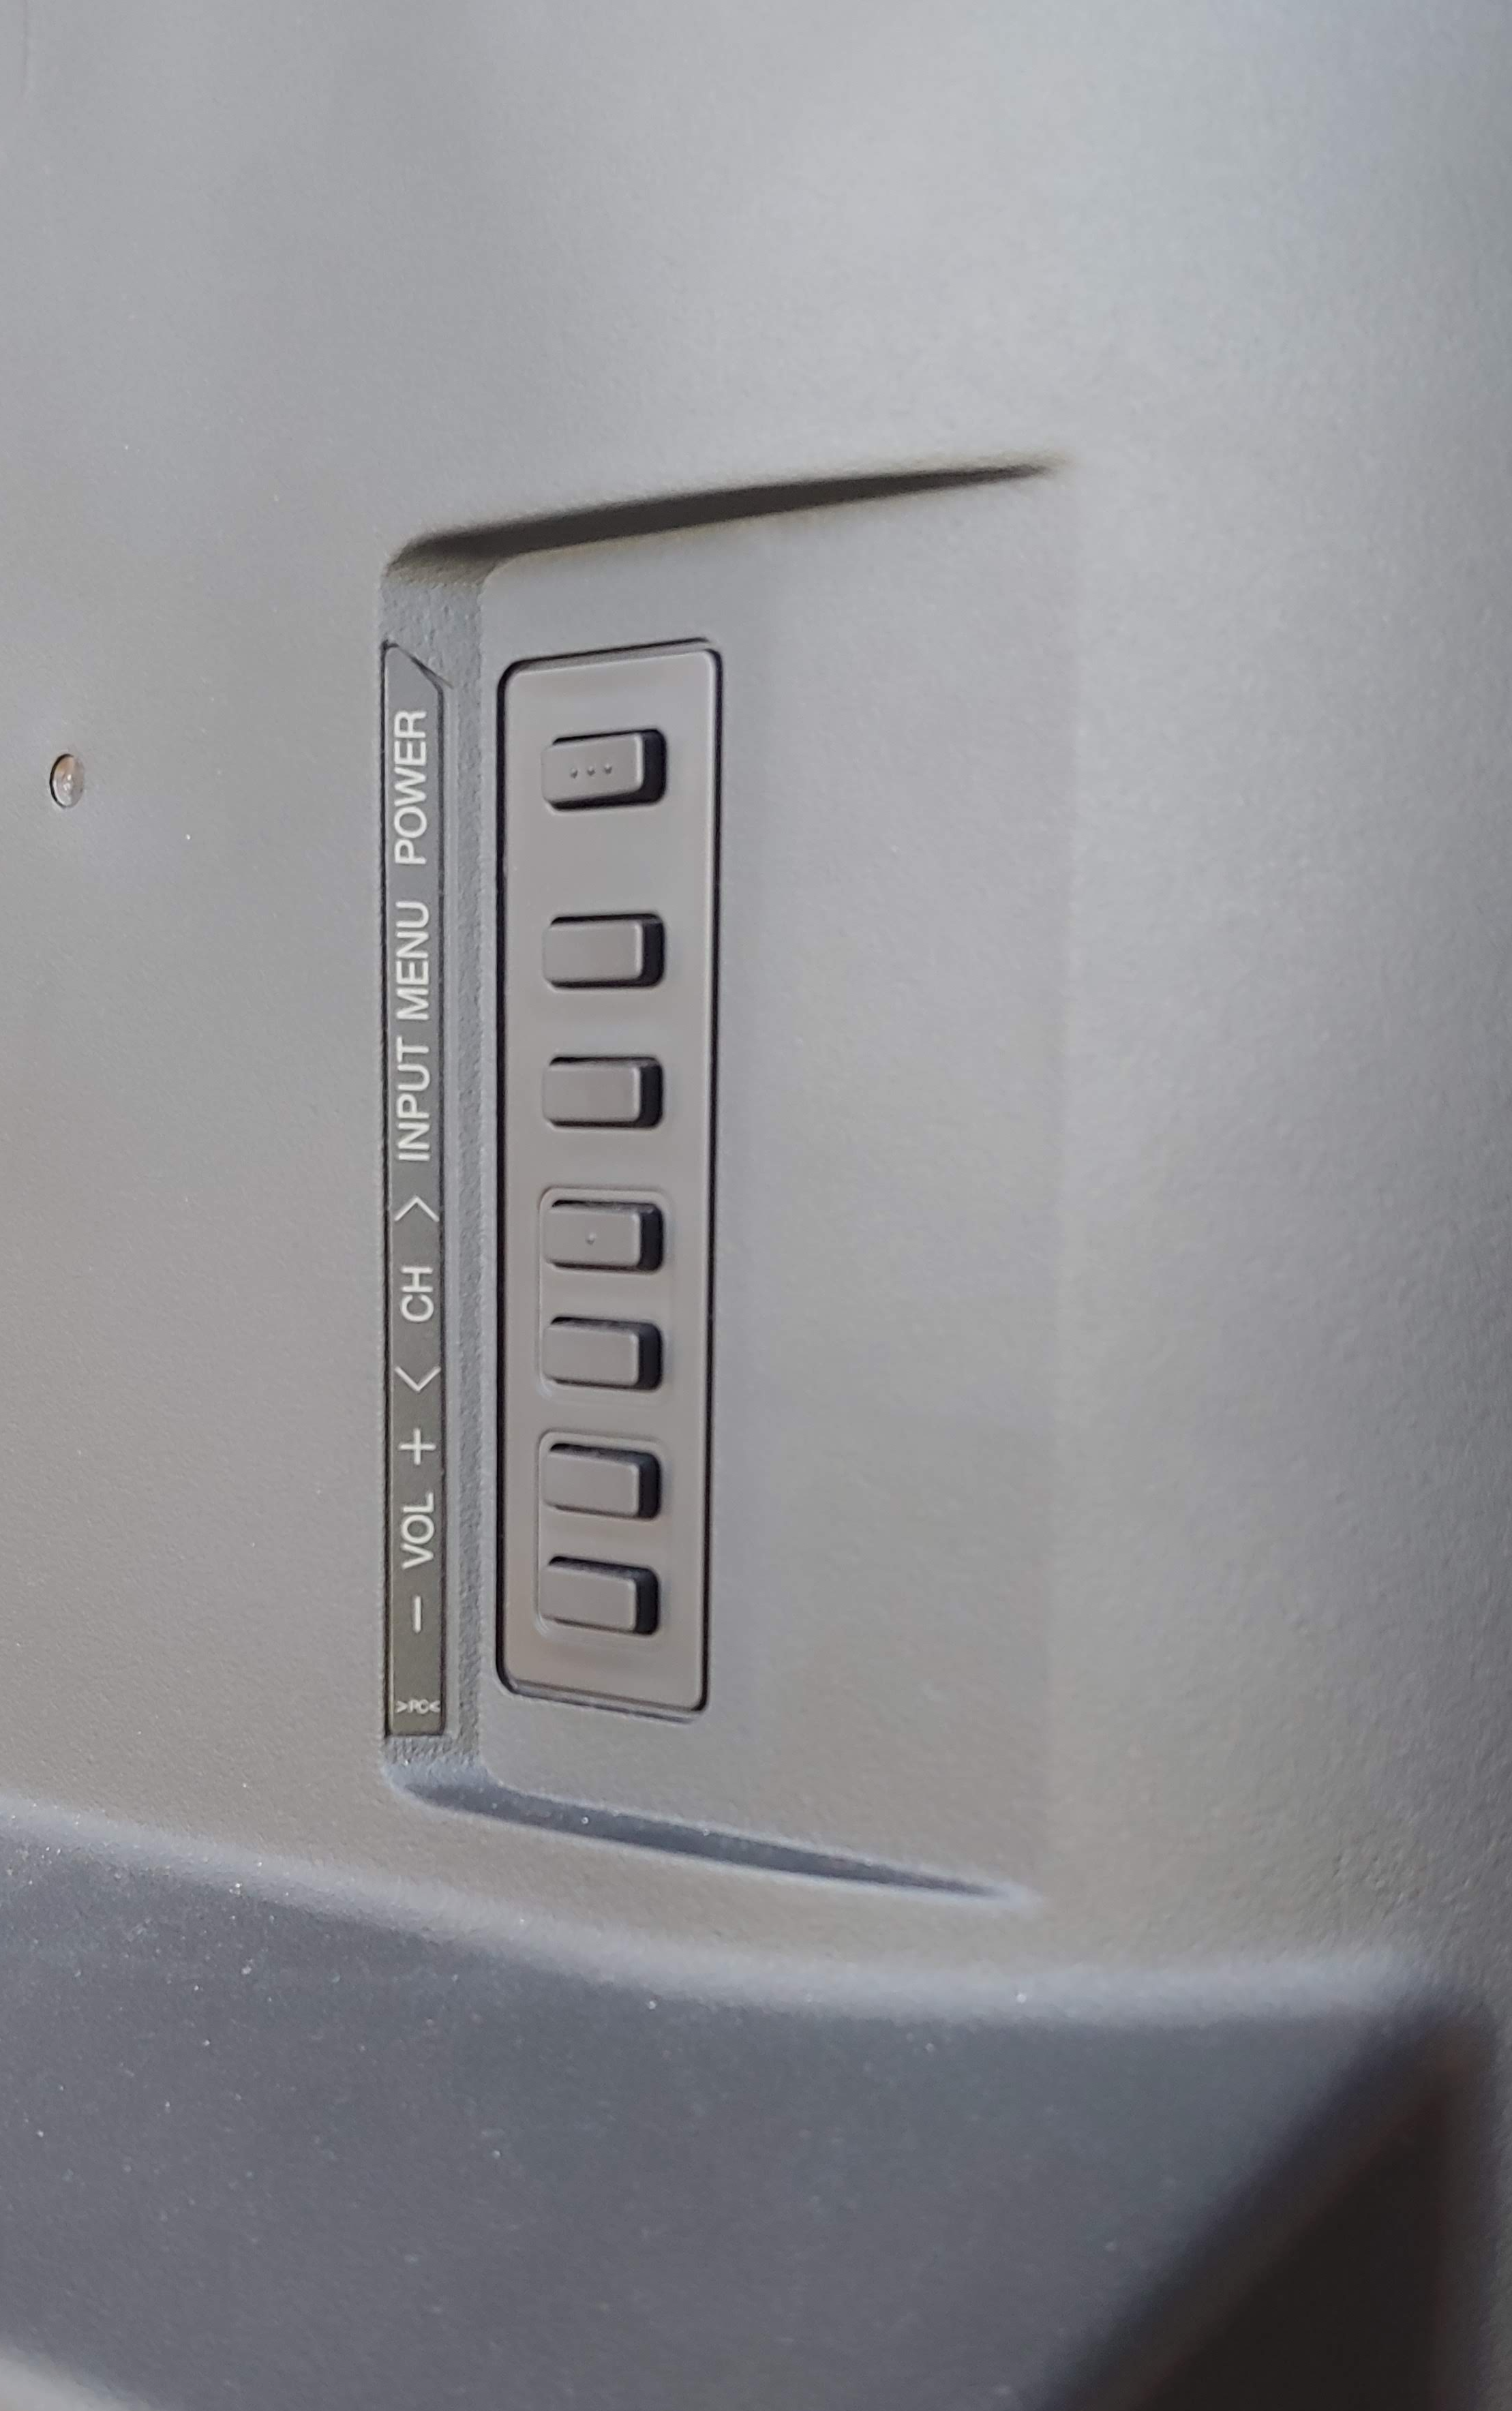
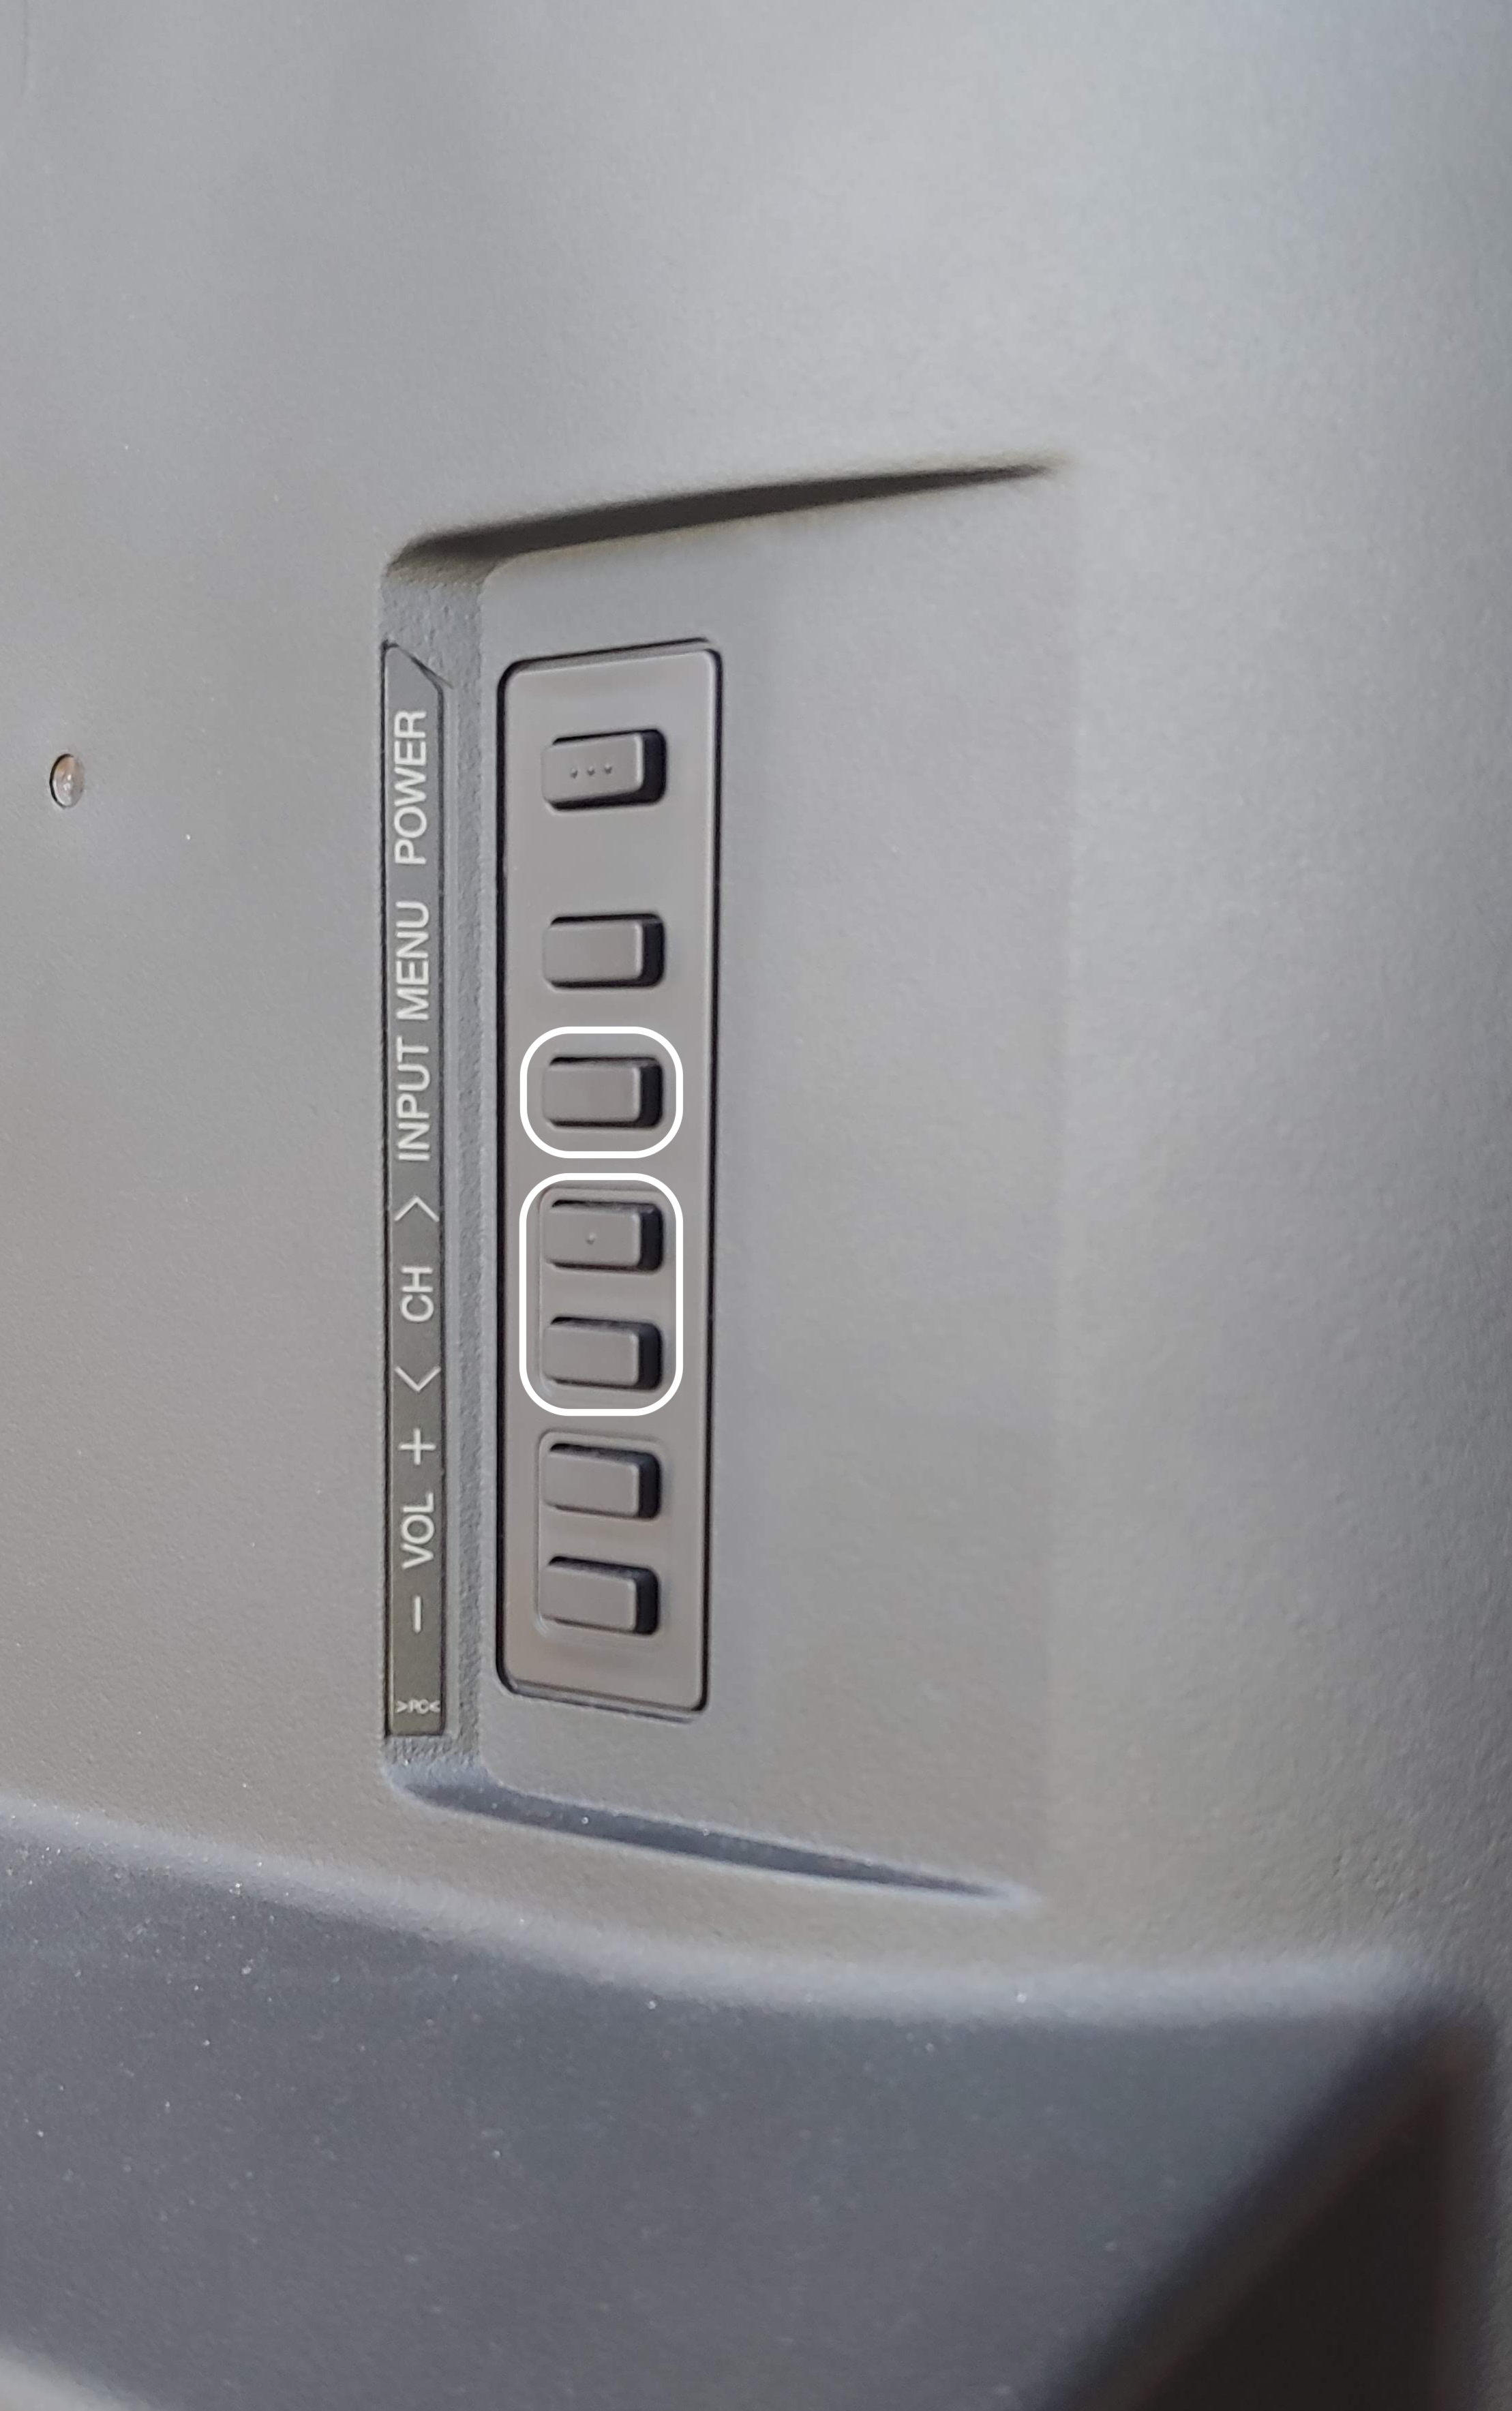
There is no remote in the room for the display. In order to turn the display on, change the source, and adjust the volume, use the buttons located around the back of the left side of the display. They are labelled, and in order to move the selection up or down, use the channel buttons.
Step 3:
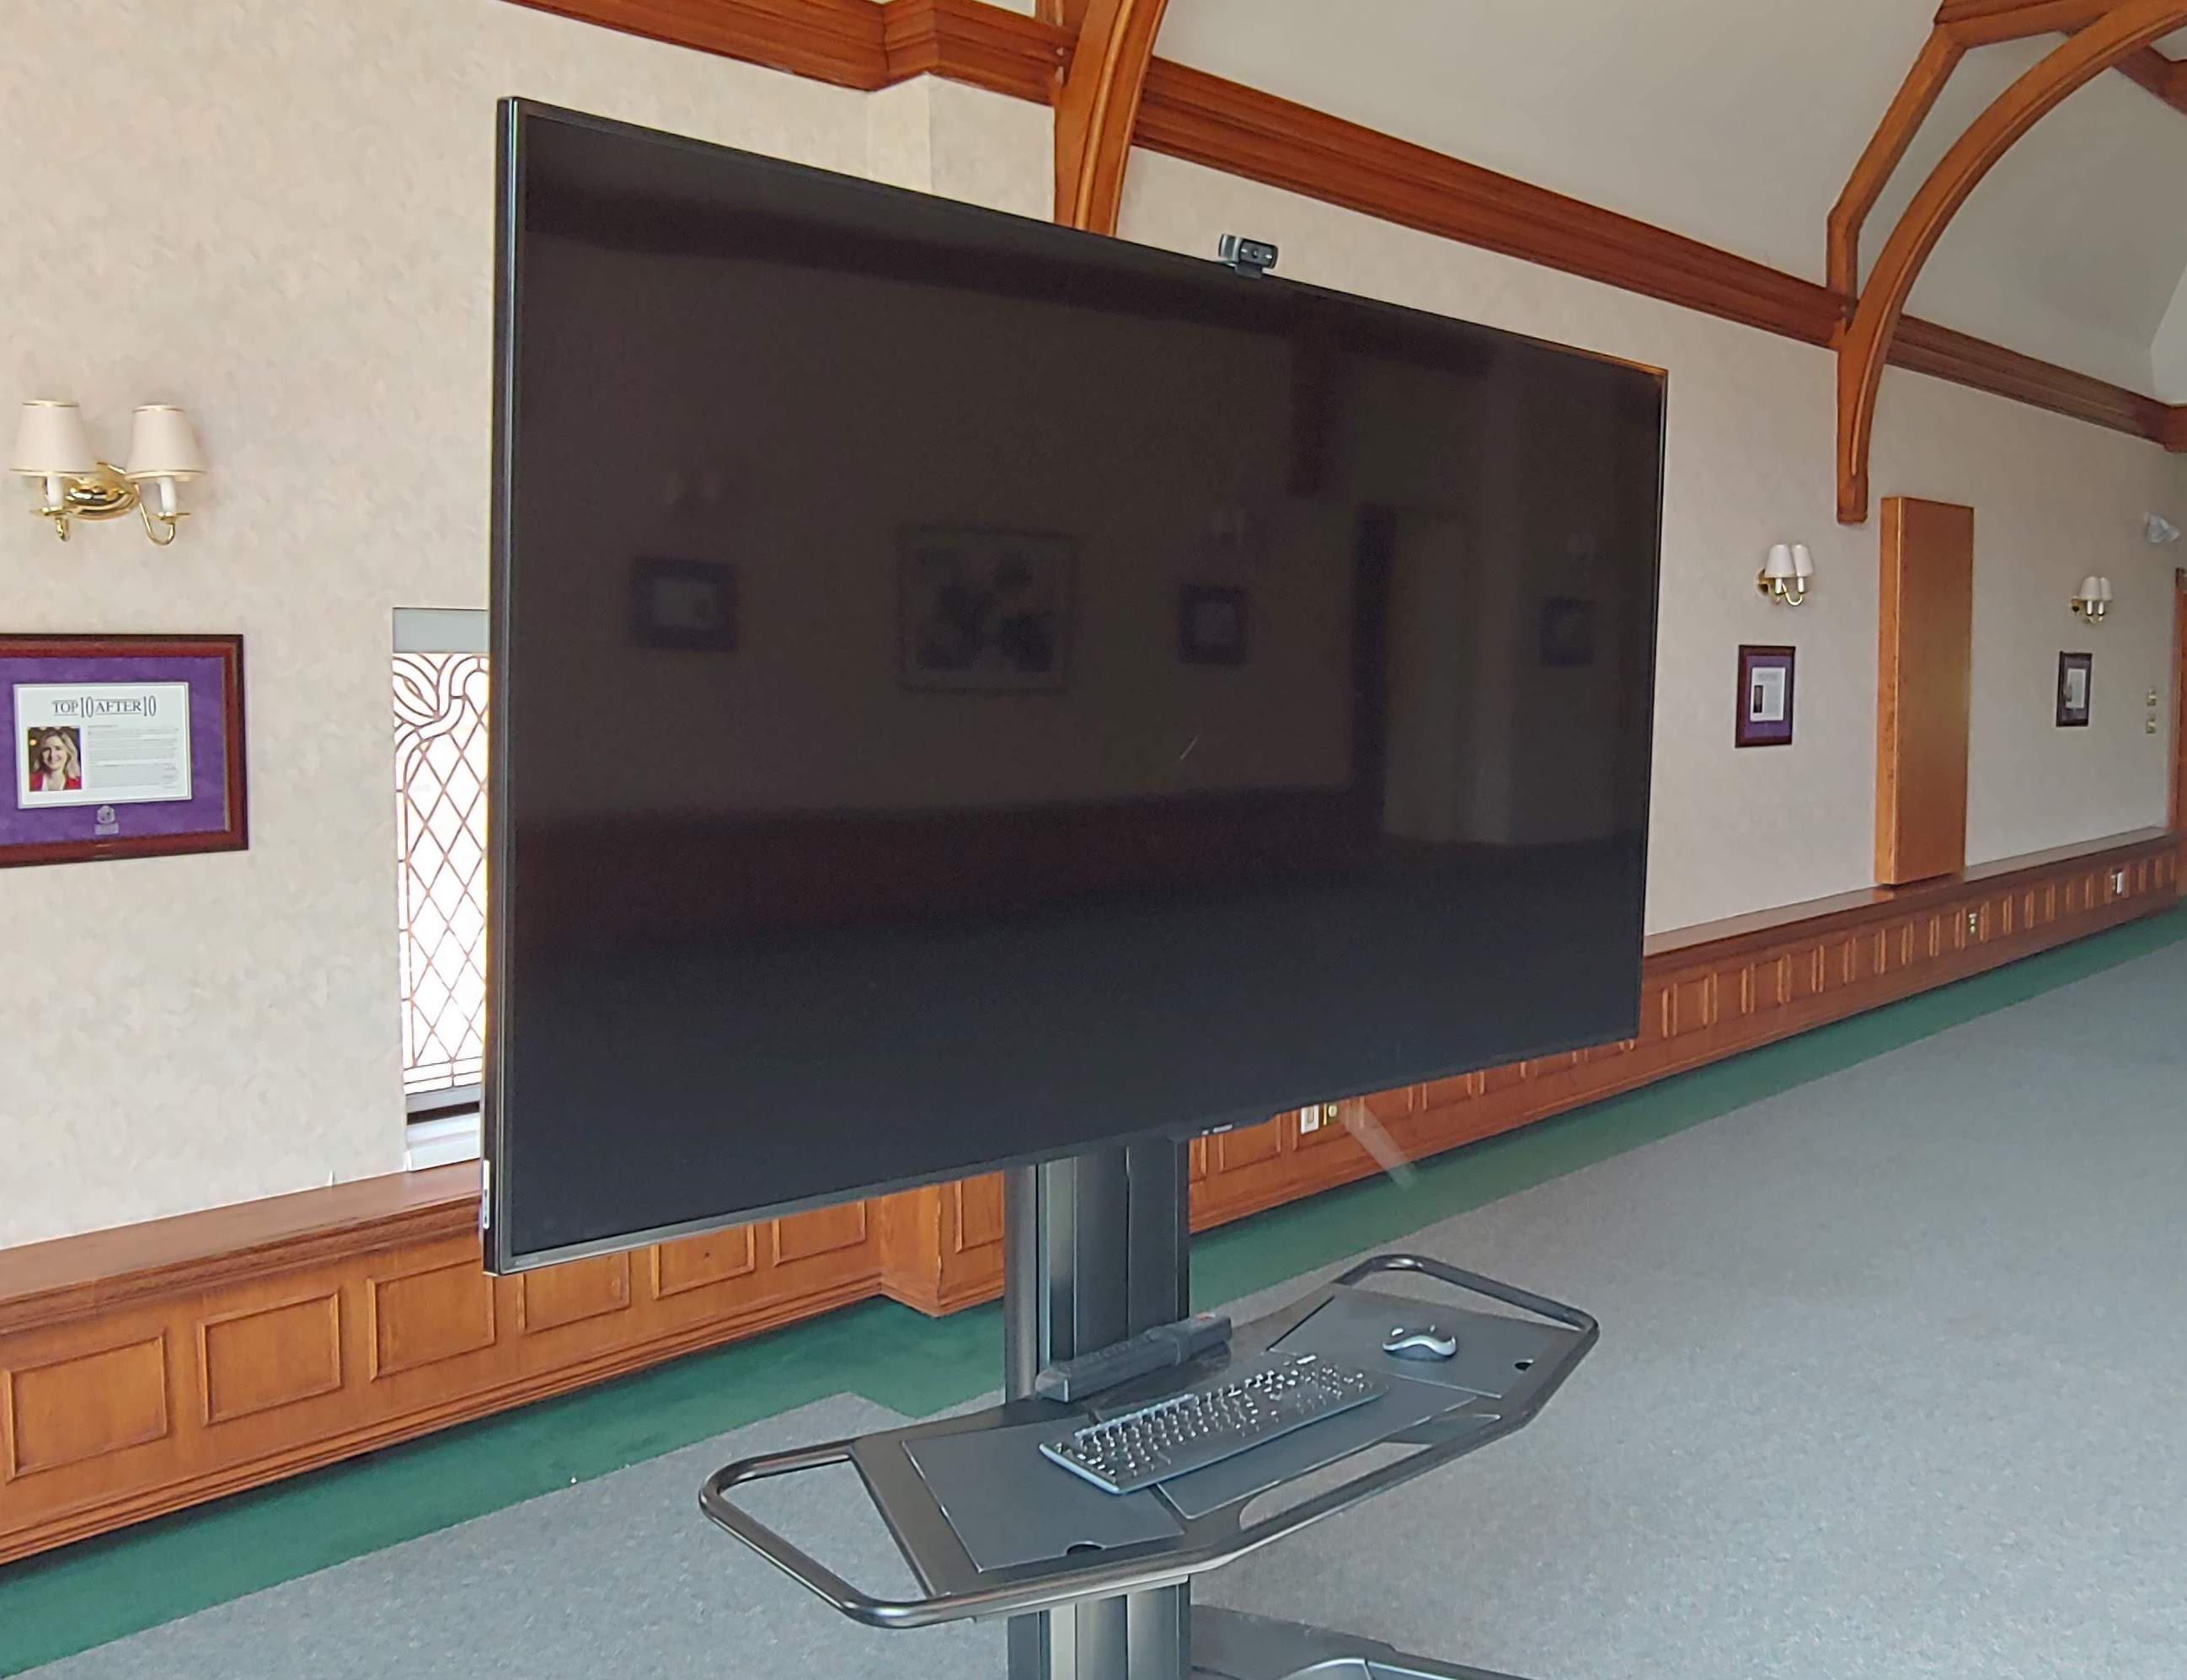
Log in using the mouse & keyboard provided. No further set up action is required and you’re all set to use the computer.
2. Connecting a laptop
Step 1:
Choose an outlet in the room you’d like to plug the display into.
There is no remote in the room for the display. In order to turn the display on, change the source, and adjust the volume, use the buttons located around the back of the left side of the display. They are labelled, and in order to move the selection up or down, use the channel buttons.
Step 2:
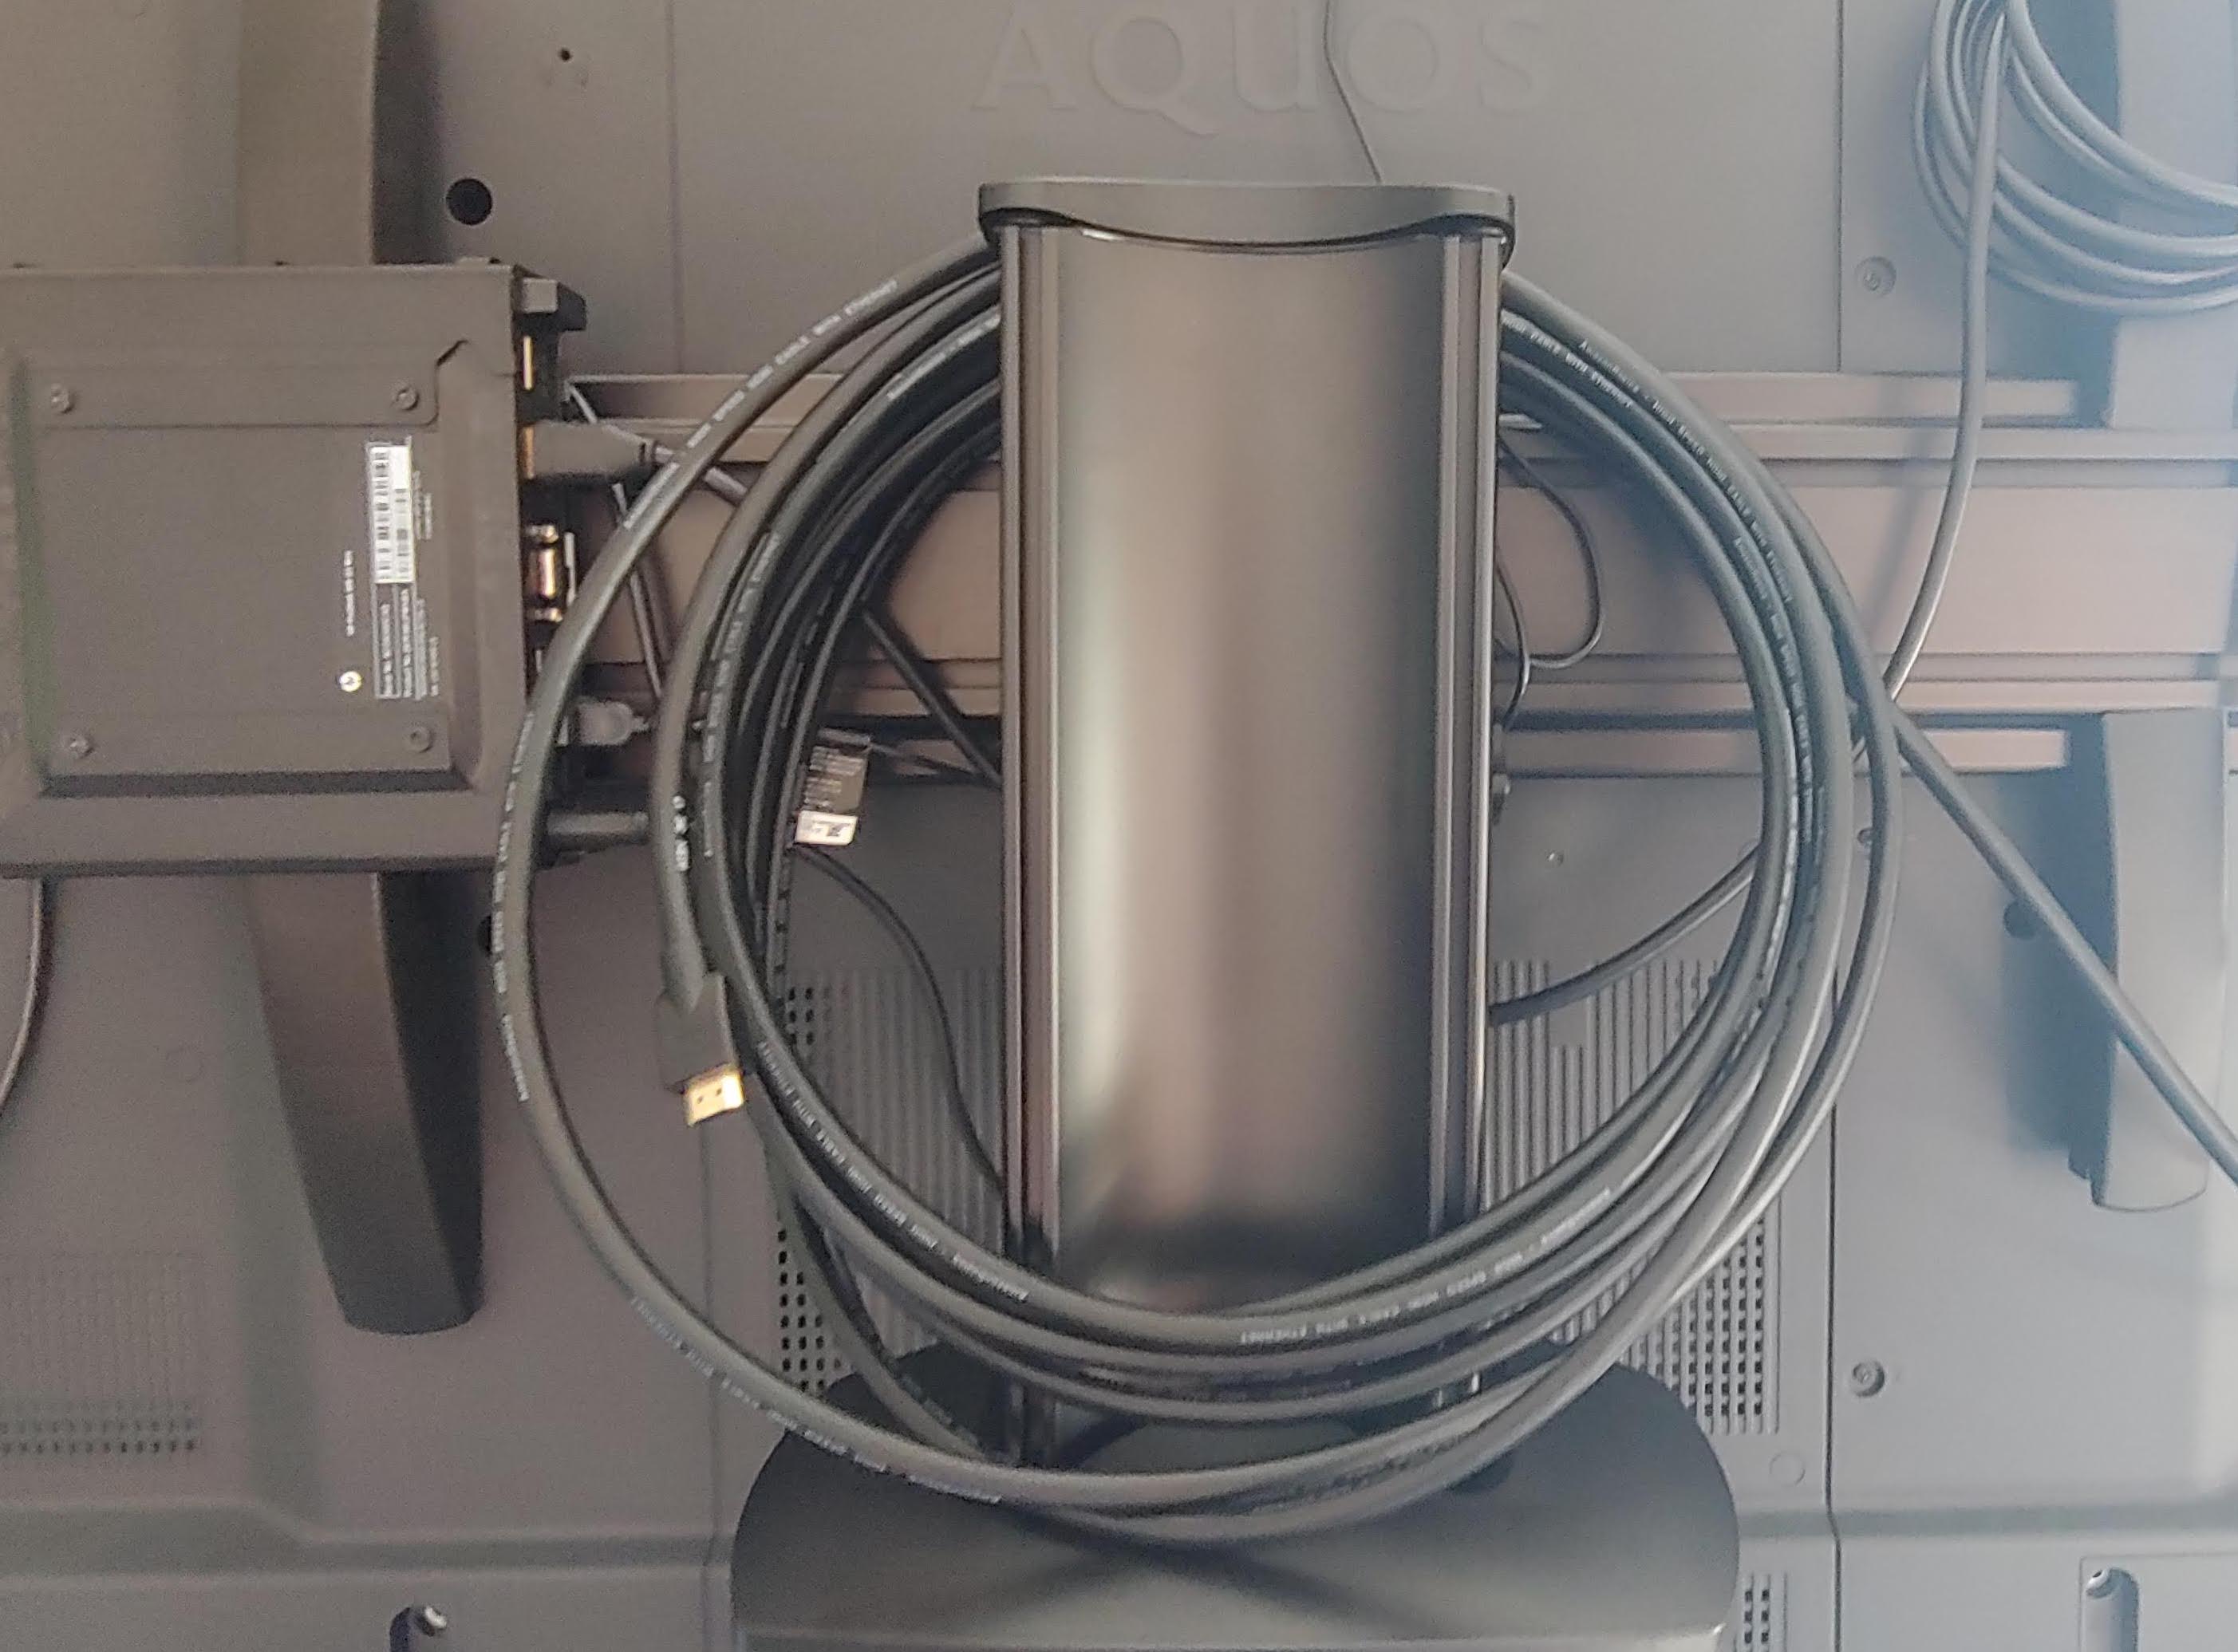
Use the HDMI cable stored behind the display, rolled up on the back and plug it into your laptop.
Step 3:
Set the input on the display to “HDMI 3” using the input and channel buttons. Once you see your computer’s picture on the display, you are all set to use your computer with the screen.