Scanning to email is available on all the Xerox photocopiers and is free to all Bishop’s faculty, staff, and students.
1. Emailing a scan to yourself:
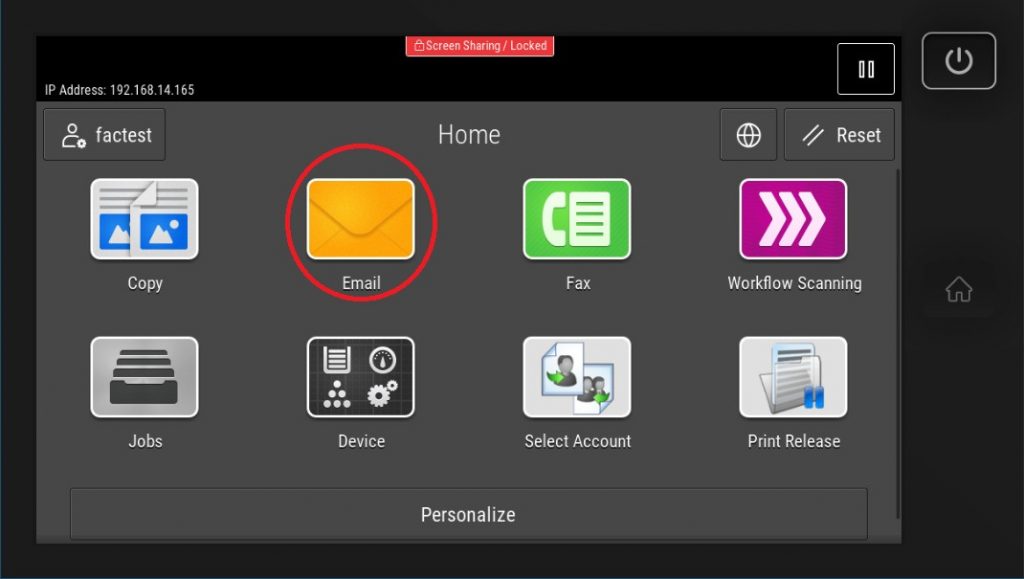
Select the option ’email’ from the Home menu.
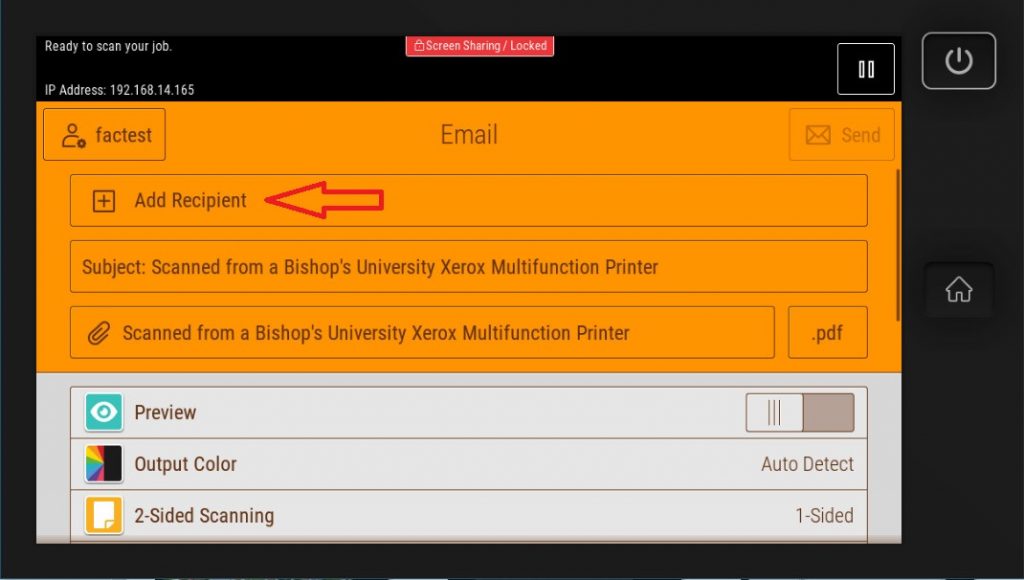
Select the “Add Recipient” button.
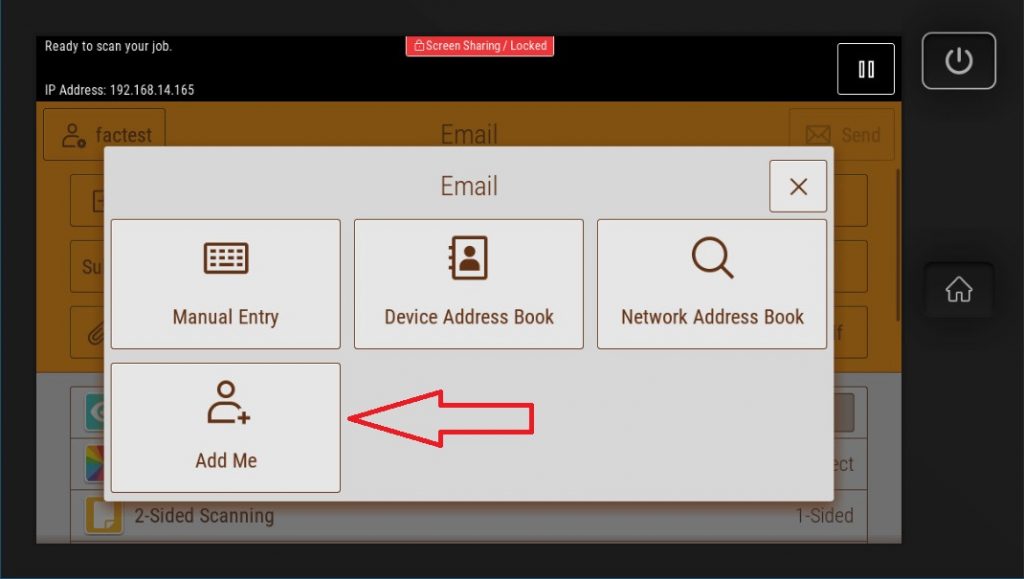
Click ‘Add Me’. If you do not wish to add any more recipients skip to step 4 to see the final steps.
2. To add a person at Bishop’s
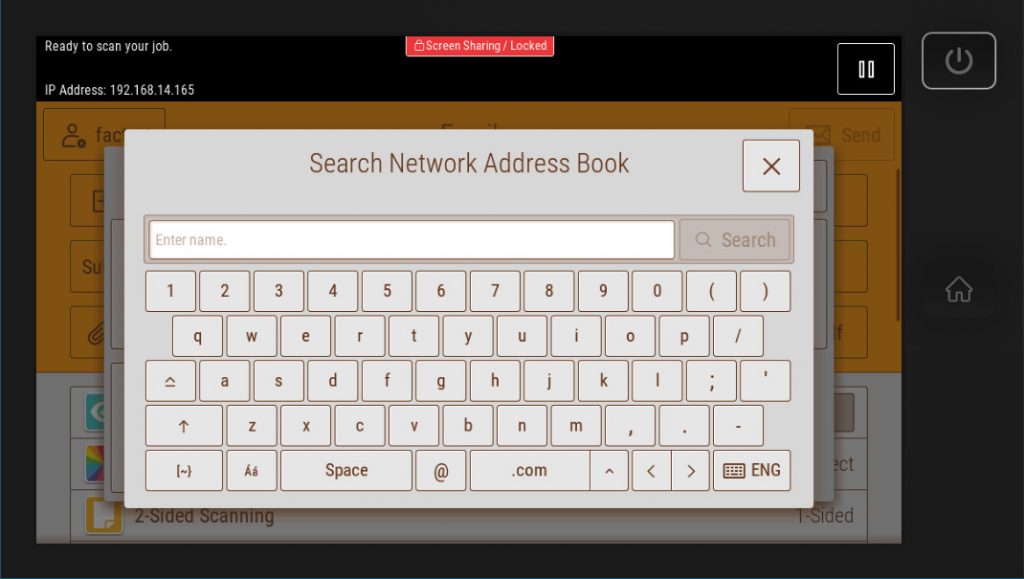
To add another person at bishops, you can click on Add recipient, select “Network Address Book” and search for the person by their Bishop’s username.
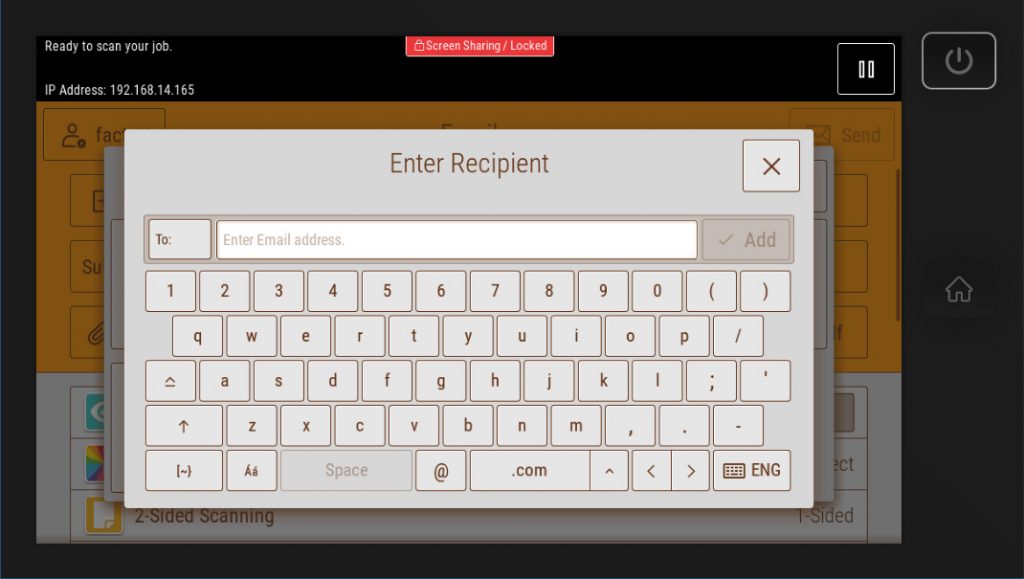
3. To add someone outside of Bishop’s
To add a person outside of Bishop’s select “Manual Entry” and type the email address you want to send it to.
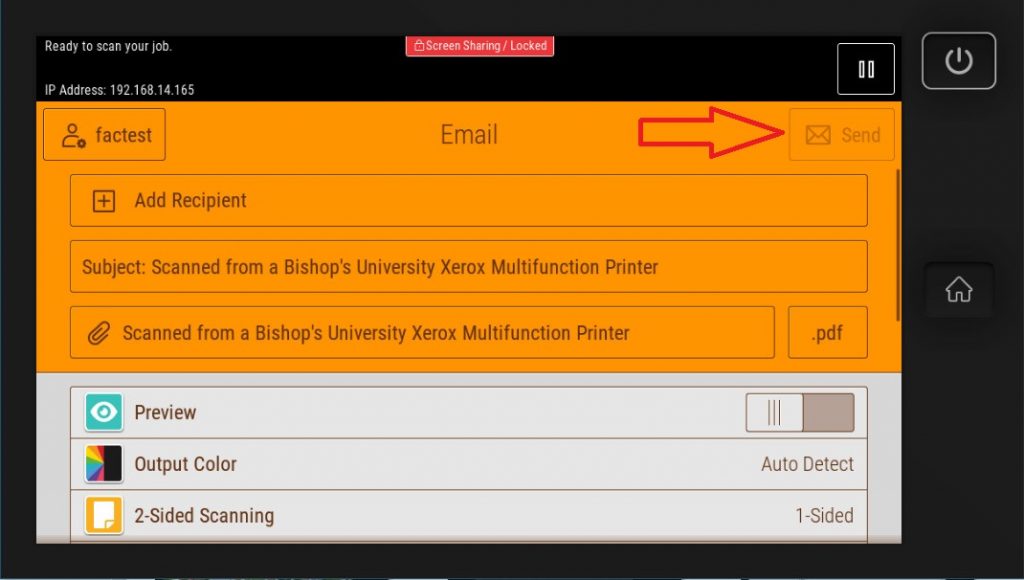
4. Send
Click on the ‘Send’ Icon on the top right of the screen when you are ready.