


Creating a distribution list using Outlook 2010
Step 1:
On the home page, click Address Book
Step 2:
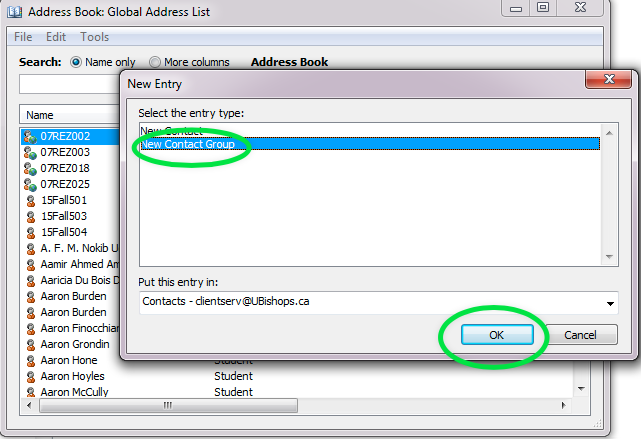
Click the File menu then click New Entry
Under Select the entry type, click New Contact Group, click OK
Step 3:
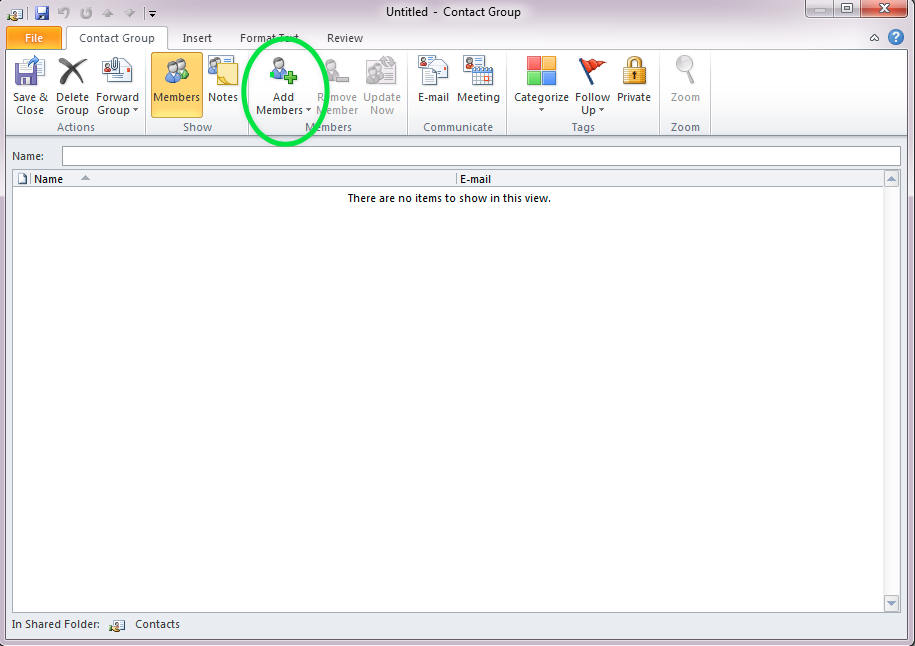
Click Add Members followed by From Outlook Contact
Here you will be able to search your preexisting outlook contacts from your email and add them to the group
Once you have added all the desired contacts to the list click OK, and you're done!
Creating a distribution list with Outlook Web Access (Webmail)
Step 1:
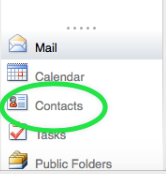
Click Contacts to get your full contact list. You will find this at the bottom left corner of the web page
Step 2:
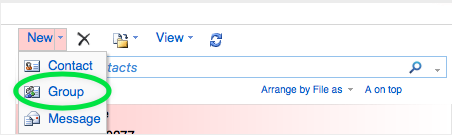
Click the drop down arrow beside New and then click Group
Step 3:
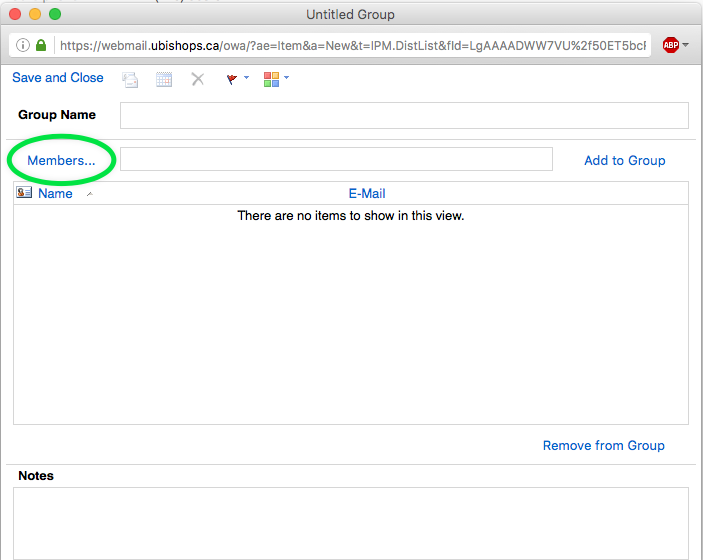
Click A new window will open up where you can add your lists members by clicking Members...
Double click the contact to add them to the group and then click OK
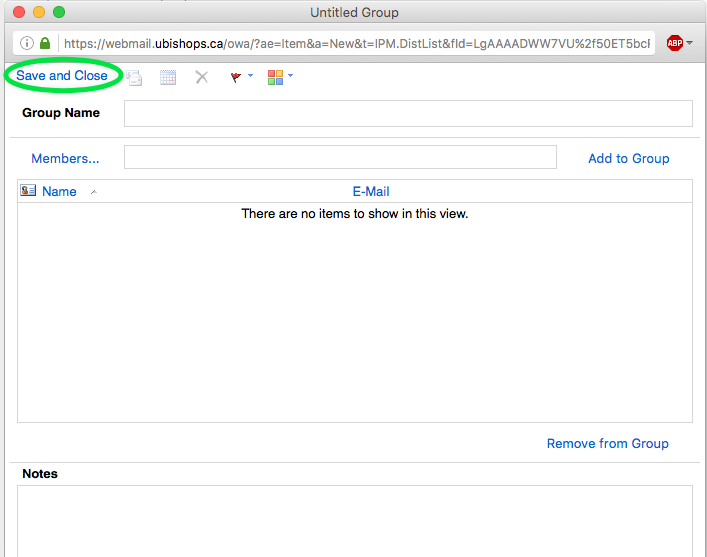
Step 4:
Finally, give your group a name and click Save and Close and you're done!
You can learn more about contact groups and distributions lists Here.