


A signature is a small message automatically written at the end of an email. Its purpose is to leave the reader with your name, business information, or a sense of welcome. Typically signatures include a sign off message such as “best regards”, “best wishes” followed by your name, title, office phone. In this tutorial you will learn how to write a signature on Mac, Windows, or Webmail.
Mac OSX
Step 1:
The first step to setting up your signature in outlook is to open outlook. When outlook is opened in the top left-hand corner click on Outlook then preferences.

Step 2:
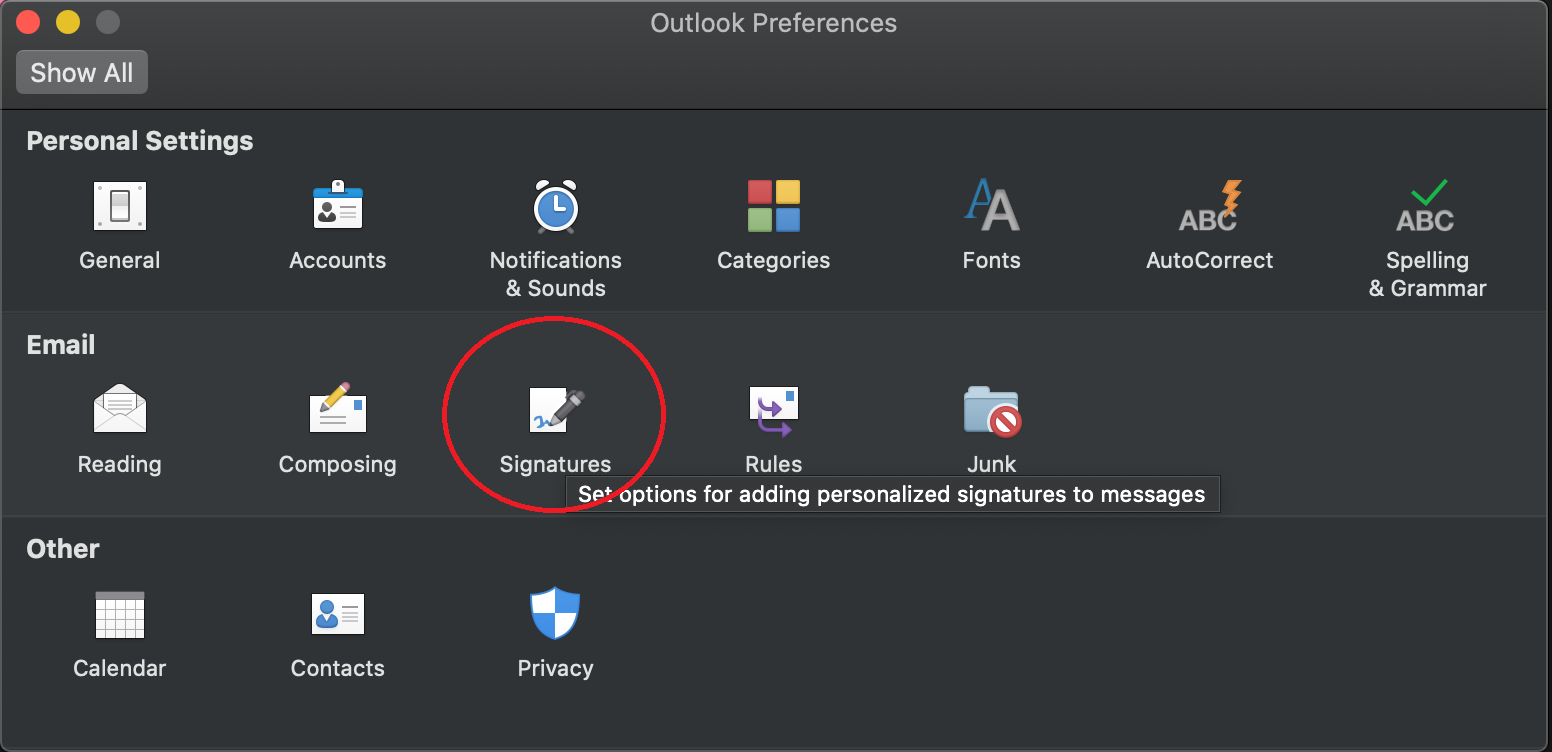
In the preferences you will next click on the signatures under email preferences.
Step 3:
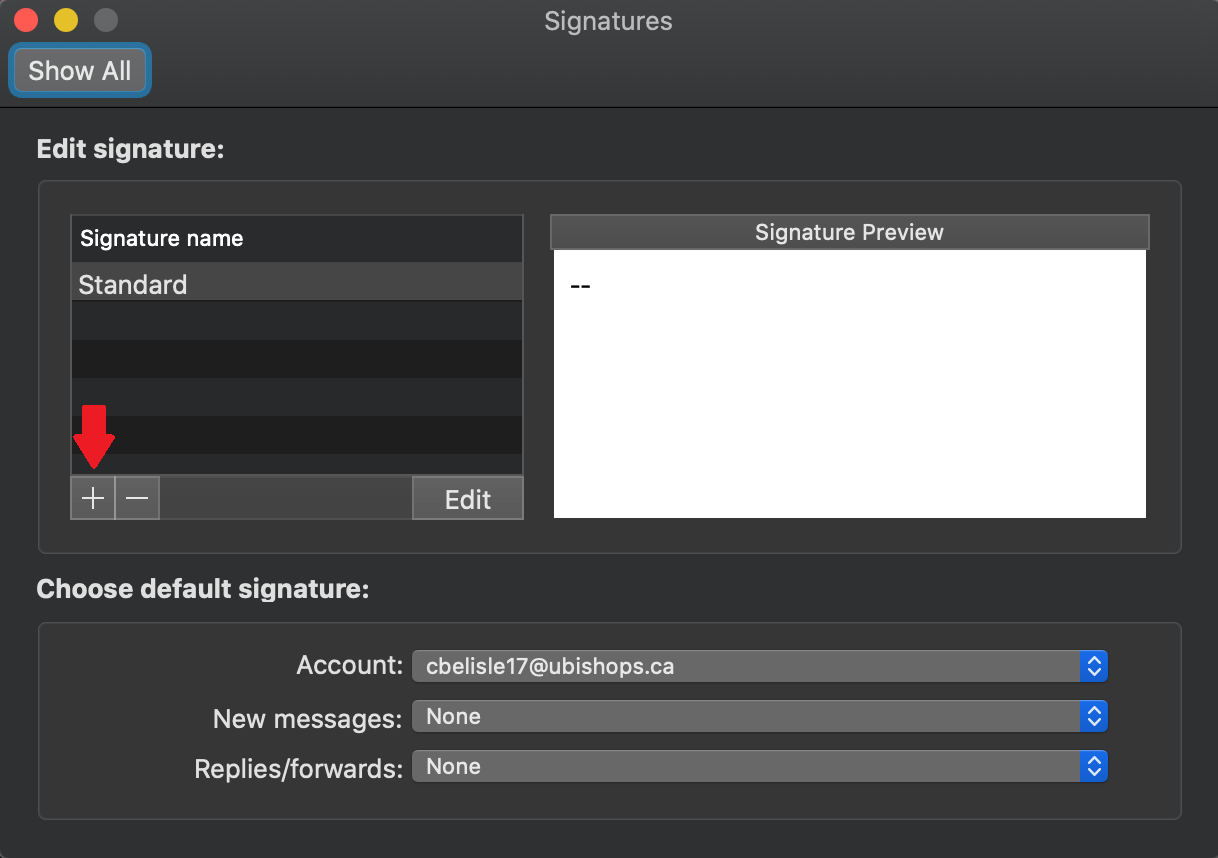
From this new window you will click on the plus sign to add a new signature.
Step 4:
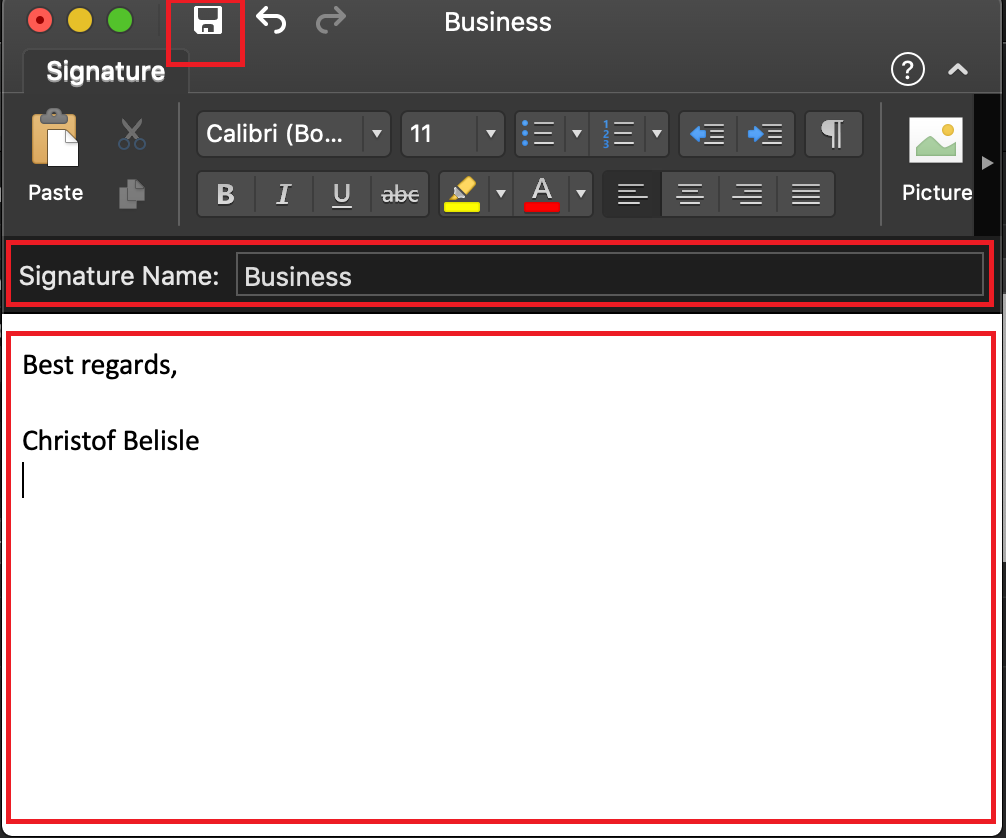
In this next window you can fill in the signature name, and underneath that write out the signature that you would like. When you are finished with the signature click on the save icon in the top left-hand corner. You may now close this window.
Step 5:
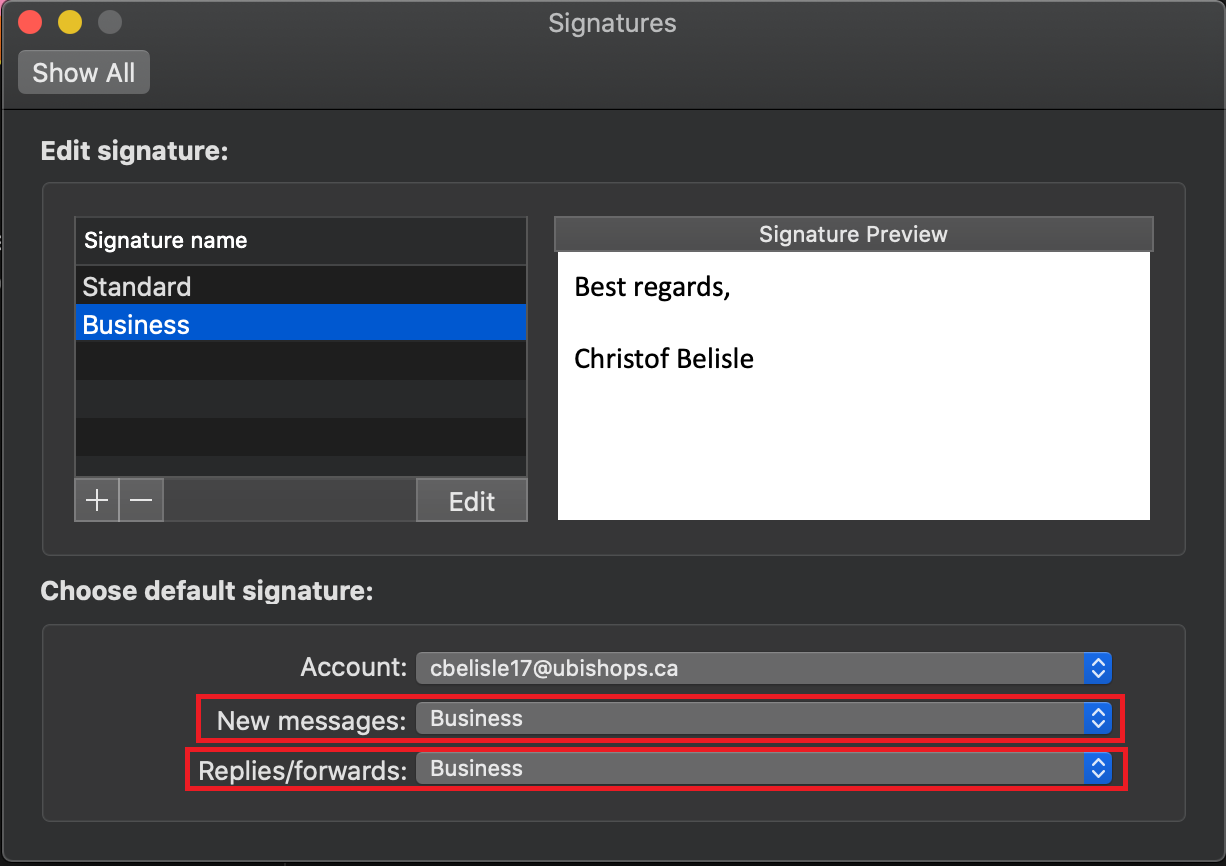
Here in the signatures you should see the newly created signature. The next step is to select the signature you would like when a new message is created and when you reply or forward a message. Once you have finished you may close this window.
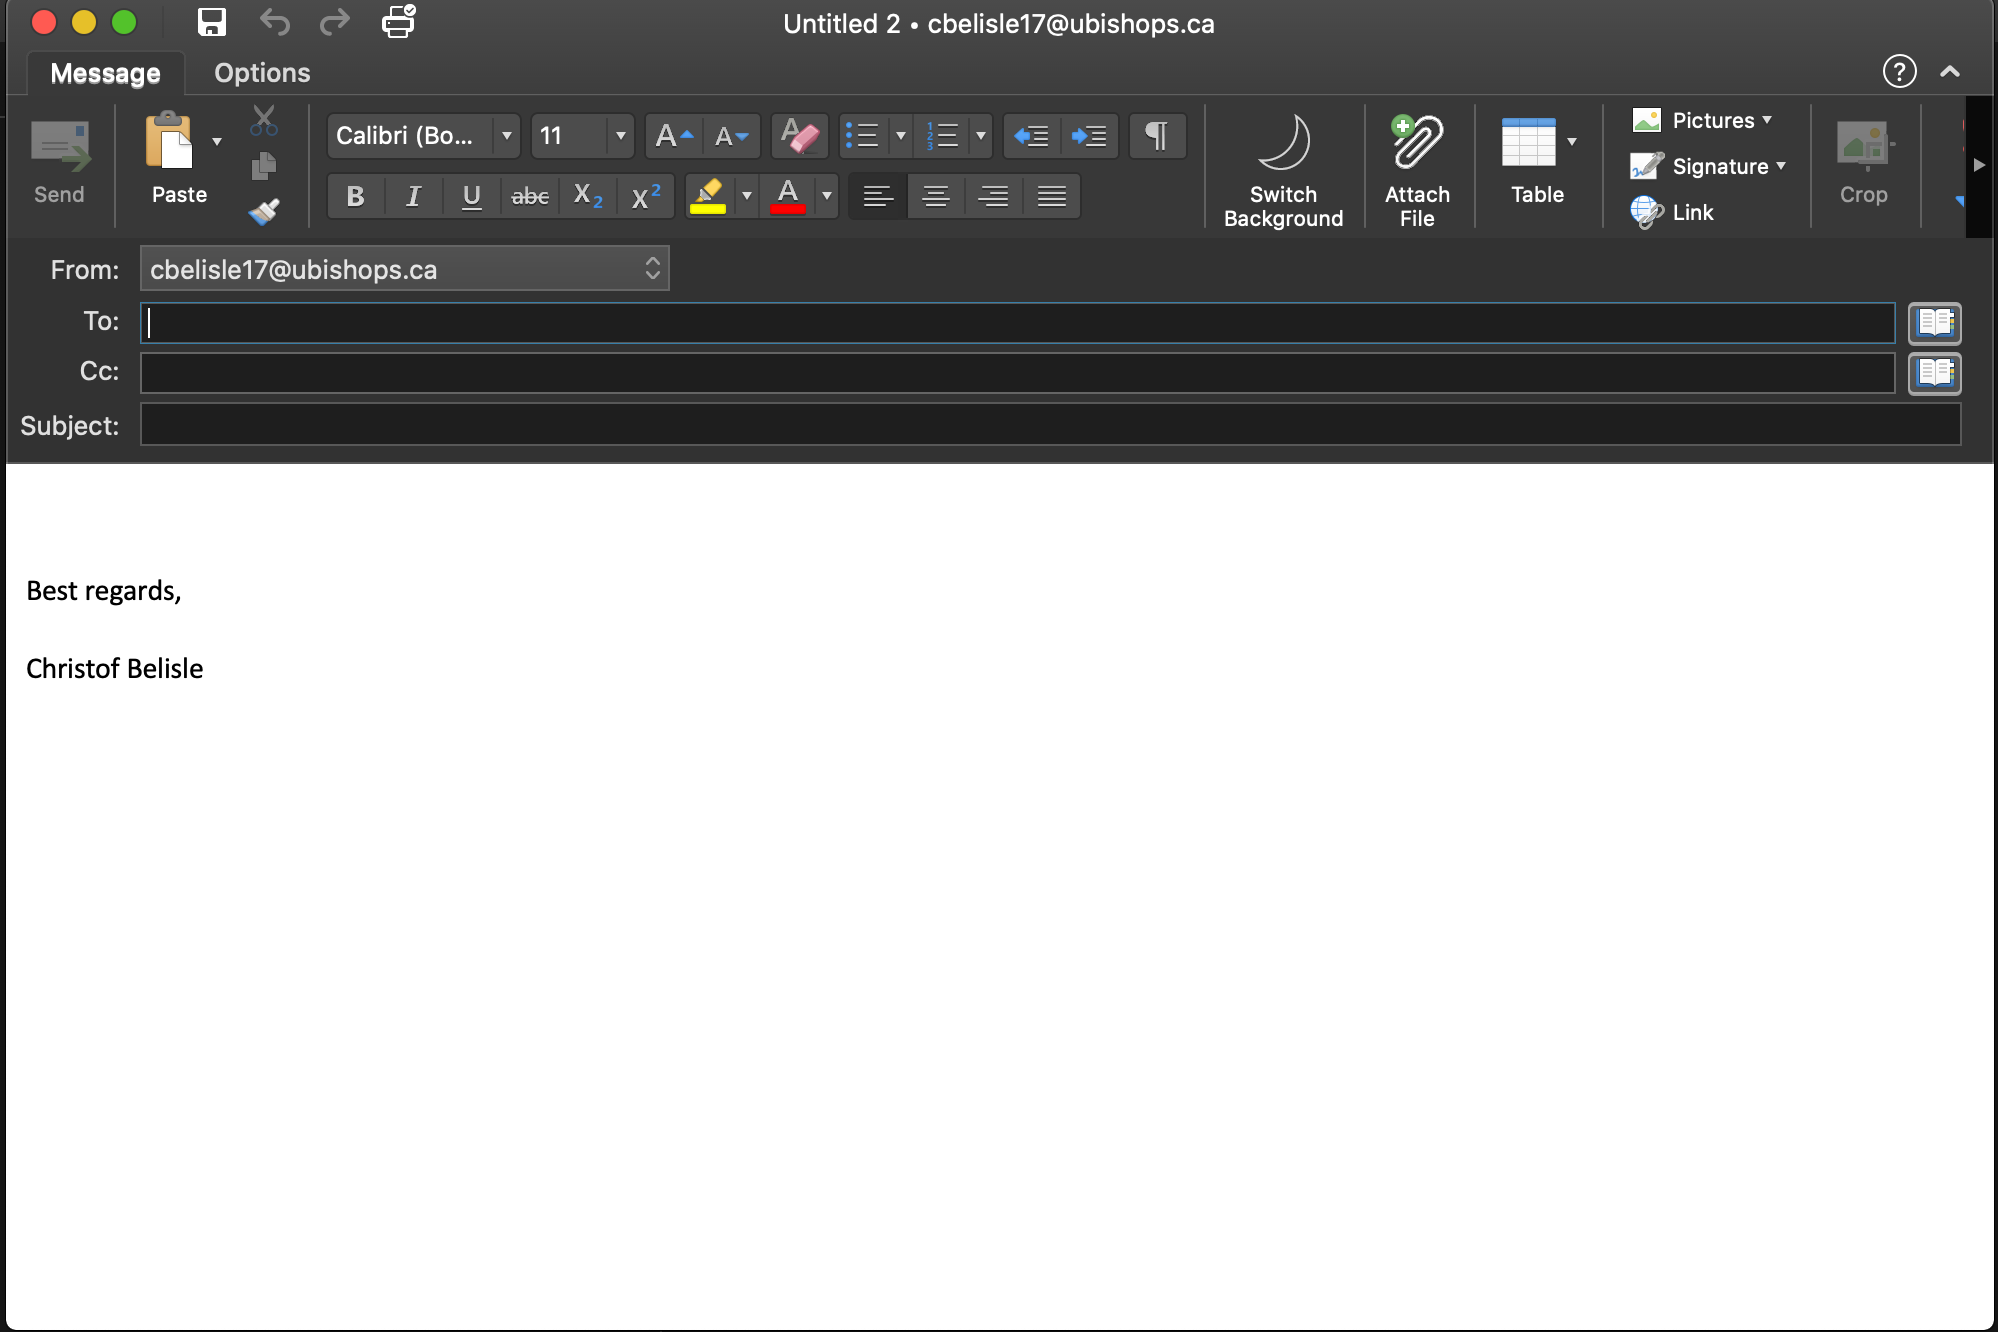
Step 6:
Your signature is all set. To confirm that the signature is working properly open a new message and confirm that your signature is already written in the email.
Contact Us
- Email: helpdesk@ubishops.ca
- Phone: 819-822-9600 ext. 2273
Hours
The IT Helpdesk's business hours follow the Library Learning Commons' hours. Refer to the "Library's hours" page to see when we are open.