Outlook: How to Create and Link an Outlook Data File
This is useful for keeping your mailbox clutter free, or storing emails you wish to provide to someone else at a later date. This will avoid forwarding a long list of emails to that person.
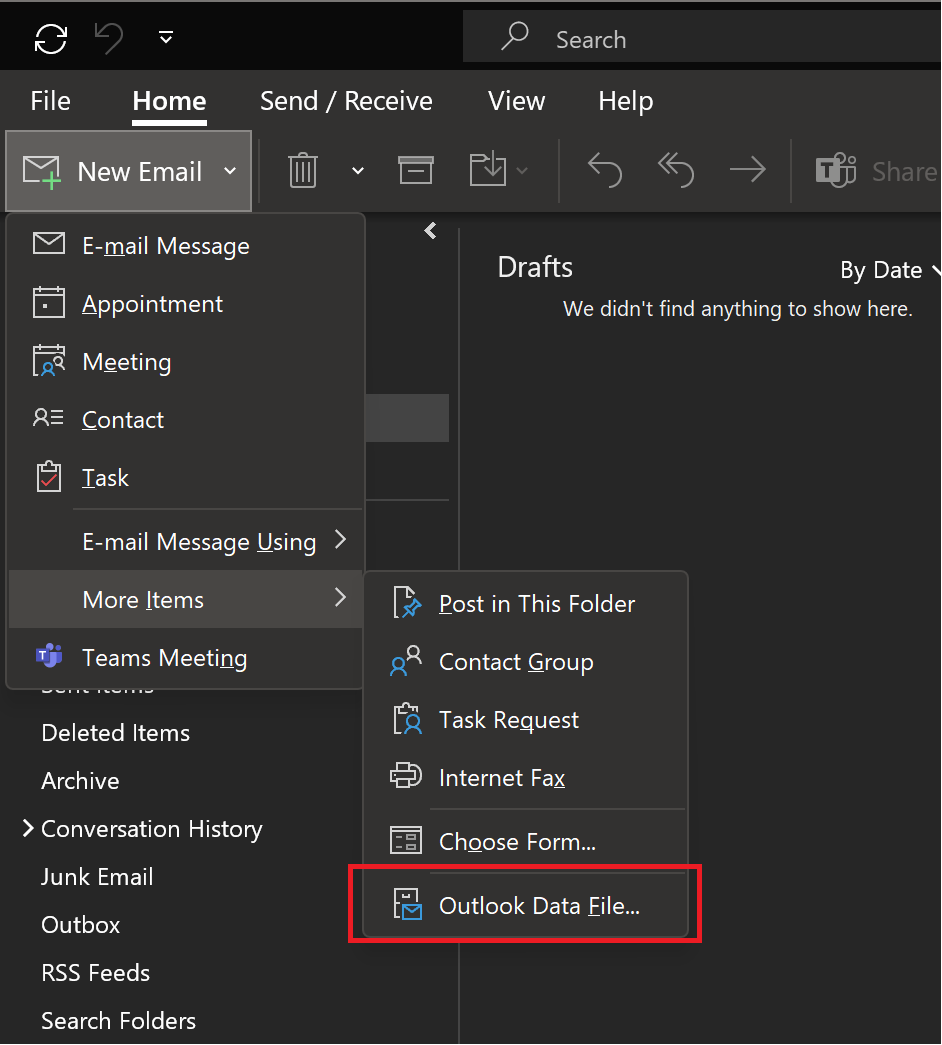
Click “New Items” in the top left corner, expand “More Items” and click “Outlook Data File”.
Step 2:
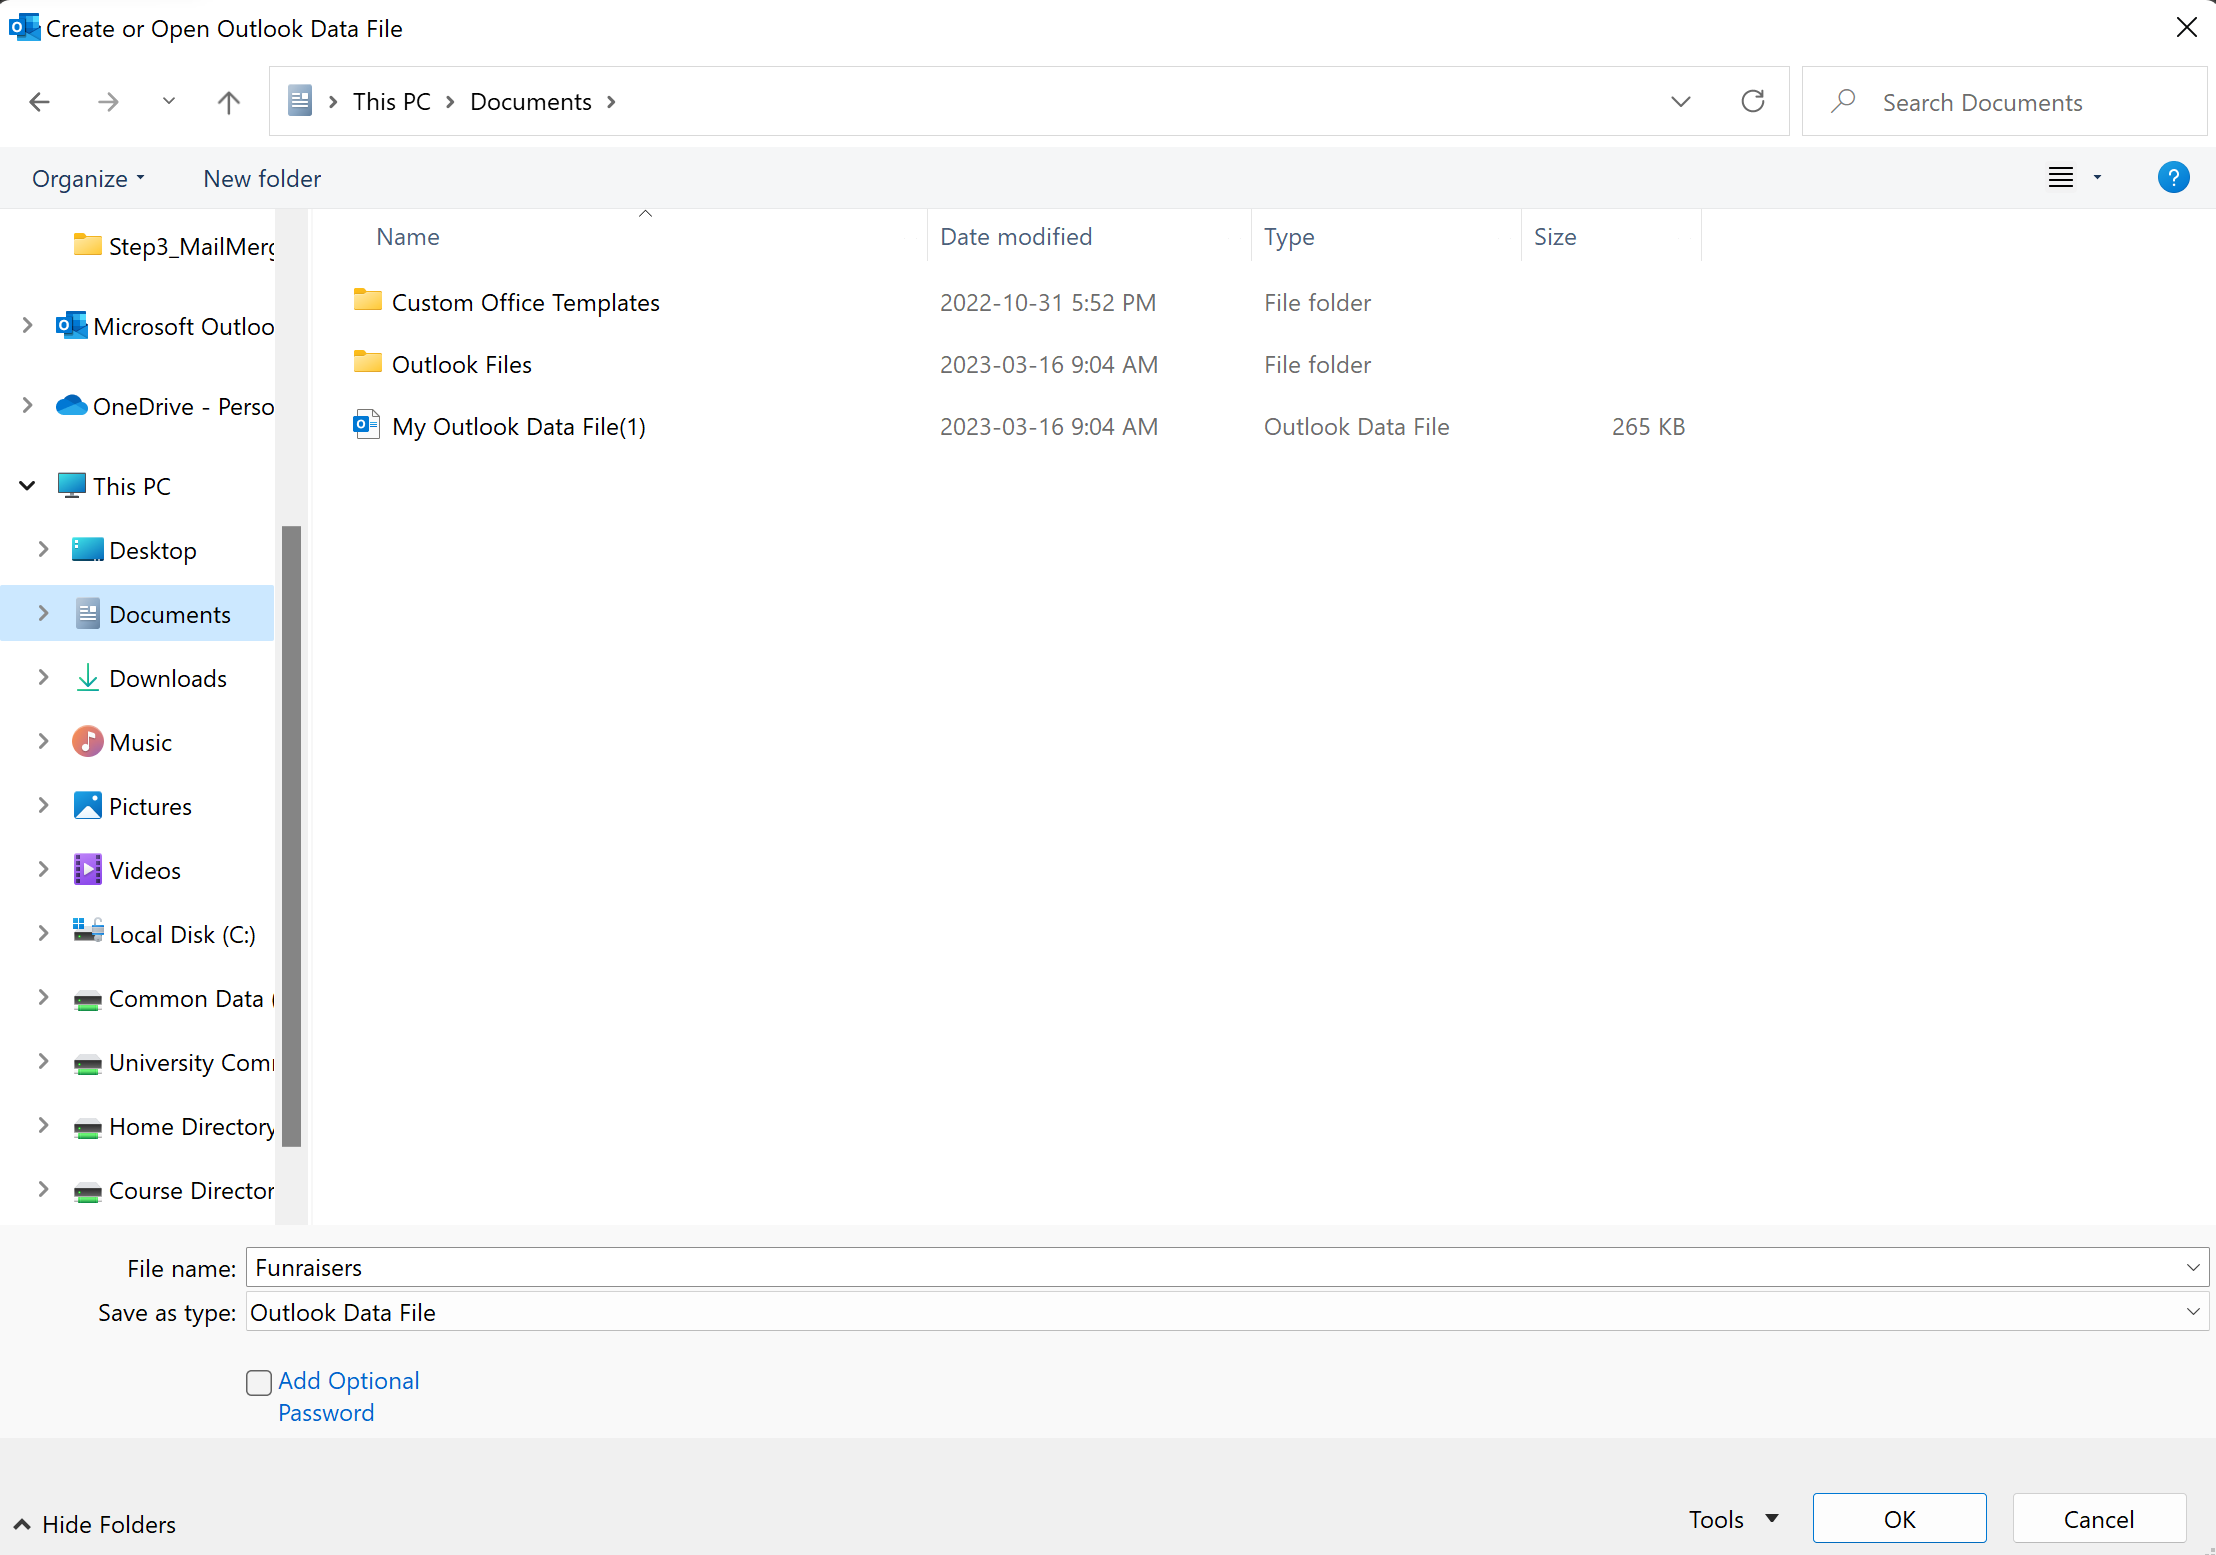
Choose where you want to save your file. We would recommend you do this on the J drive. This allows you to share the file with others who have access to the J drive and serves as a backup in case something happens to your computer. Please note, that this file can only be linked to one outlook account at a time. Make sure the save type is “Outlook Data File.pst”. You can name the file anything you like.
Step 3:
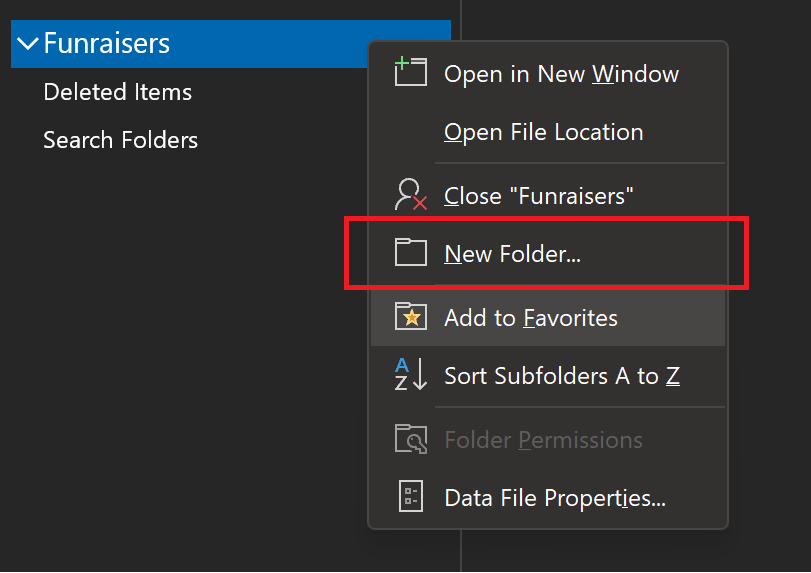
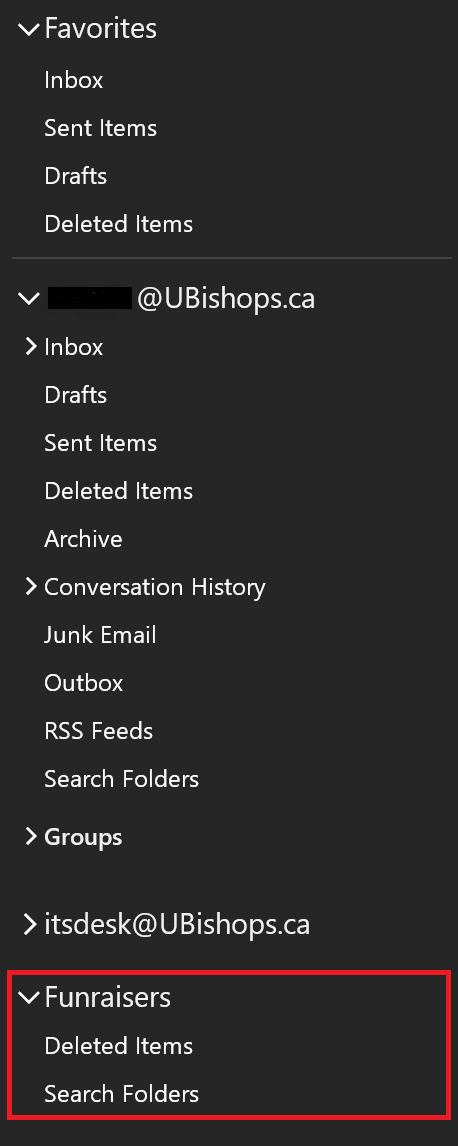
The name of the file will appear in the sidebar (usually near the bottom). Right click on the file and click “New folder”. Name the folder anything you like.
Step 4:
Now you can click and drag any emails to the folders inside this file. This will save them to the location you saved the file in step 2, leaving more space in your mailbox!
2. Unlinking the PST from your account
Step 1:
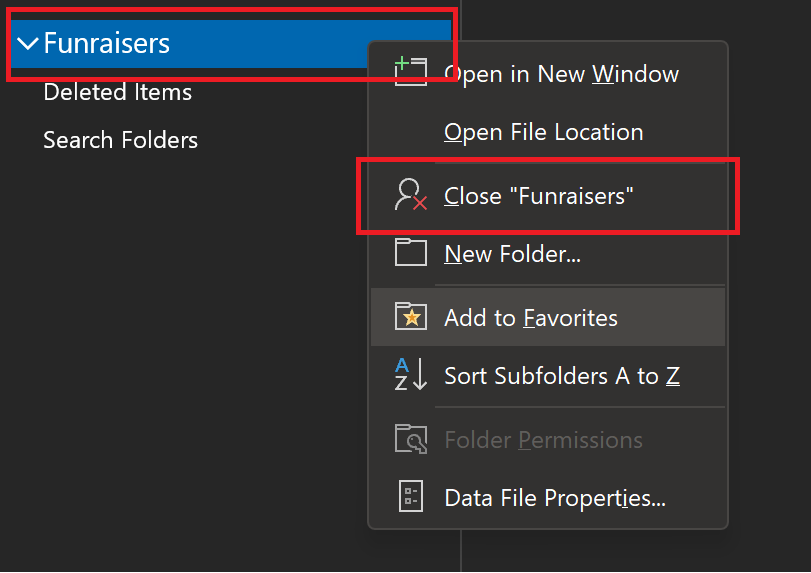
When you have saved all of the files you need onto the data file you can now detach or “unlink” this file from your outlook account. If you do not do this then the file will be “in-use” and the next user will not be able to link the data file to their Outlook account. To do this, simply right click on the .PST file and click “Close ‘Fundraisers'” (Your file will be named something else, so you will click “Close <Insert name of your file>”).
3. Linking the PST to your account
Here is how you can link this folder to an outlook account. You can link this folder to any outlook account, as long as the person has access to the drive you saved the .PST file in, and the file is not in use (currently linked to another Outlook account).
Step 1:
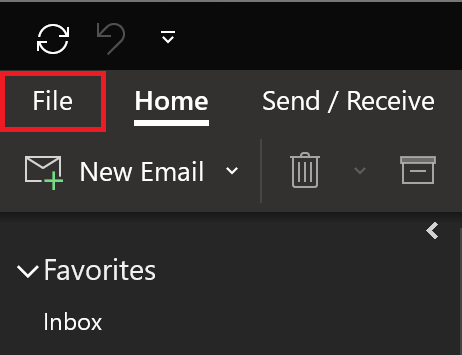
Click “File” in the top left corner
Step 2:
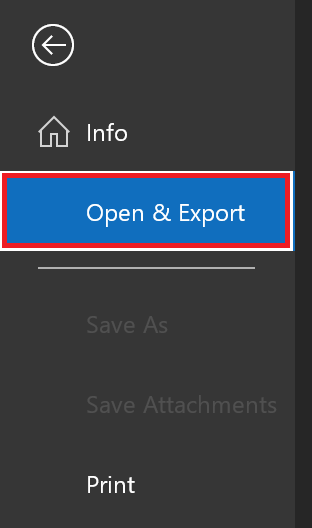
Select “Open & Export” in the left tab.
Step 3:
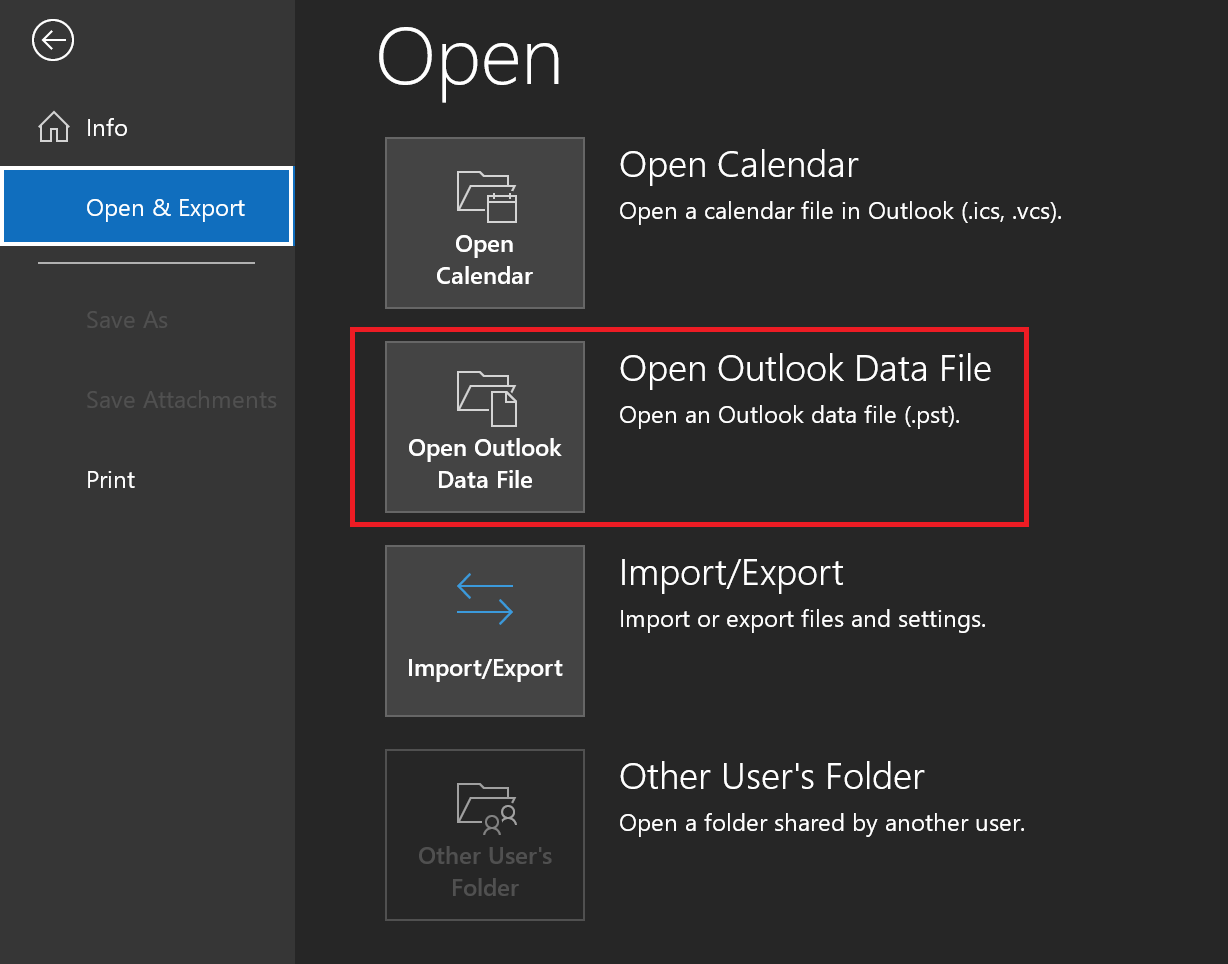
Click “Open Outlook Data File”.
Step 4:
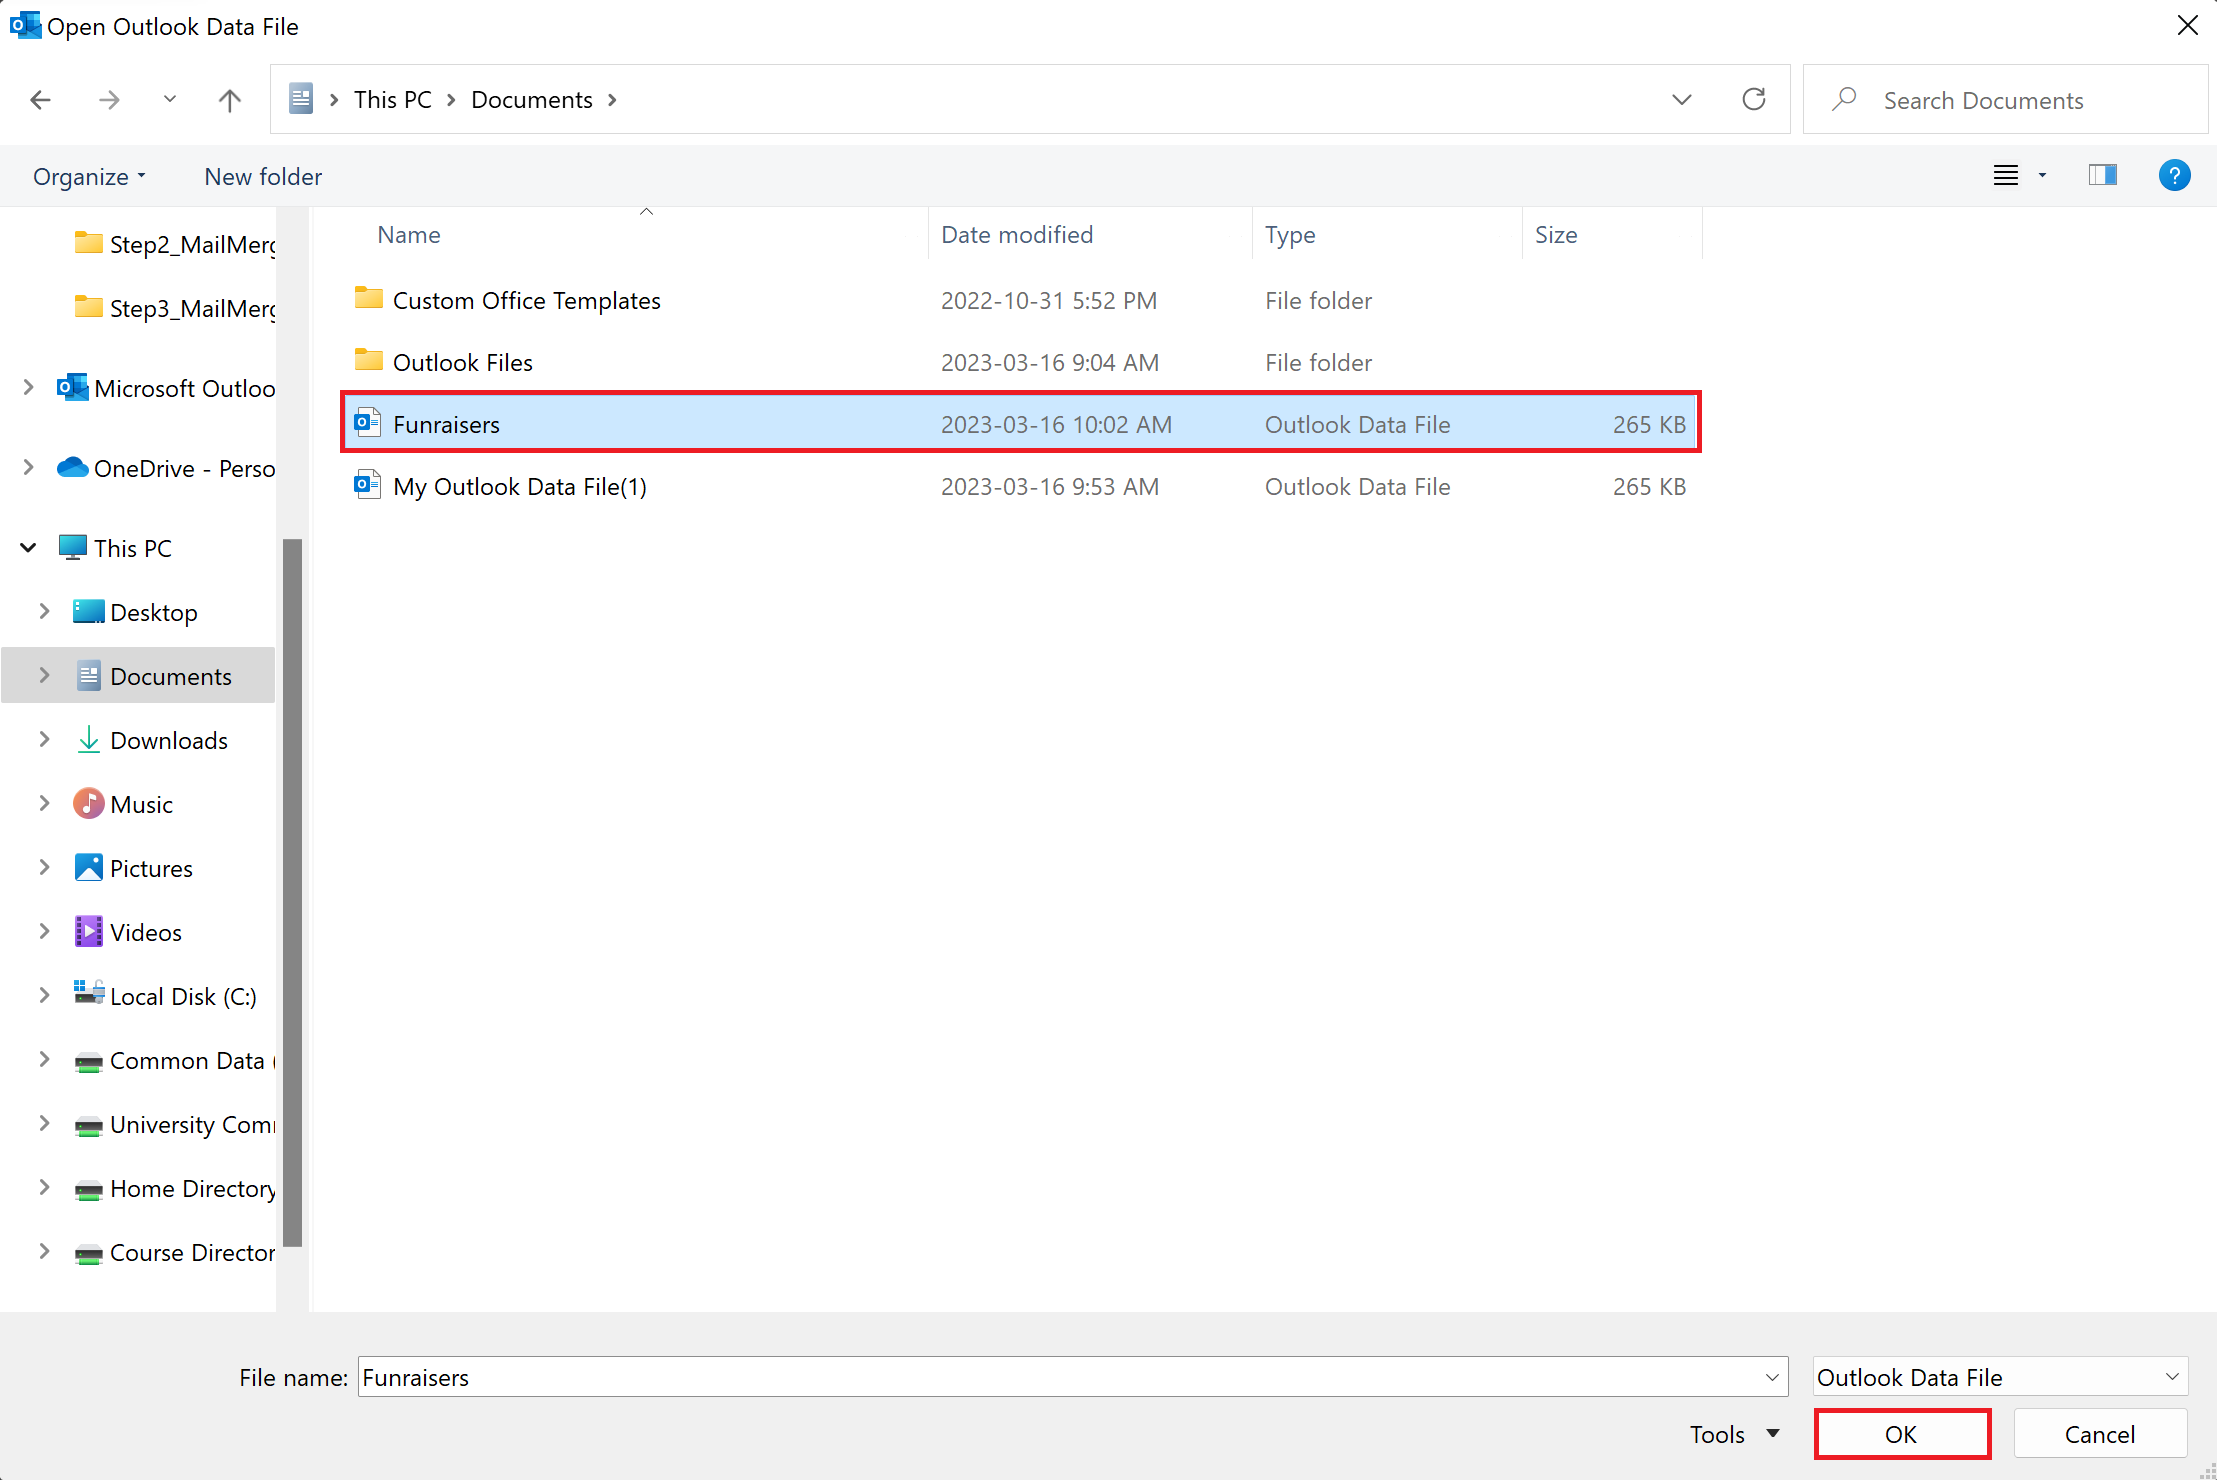
Select the file you want to link to the account. Click “Ok”.
Step 5:
The file will appear with all of its saved contents in your mailbox sidebar.