A mail merge is useful to personalize bulk items that will be printed or sent. The personalized information is imported from an excel sheet into a predetermined template in order to save time and avoid user errors. This tutorial will go over the most popular mail merge options.
Create the personalized content spreadsheet in excel. This will be the information that will be changed on the predetermined template.
For example, if you want to send an email to all your students in order to send them their grades, you could have bulk emails sent out where the name and grade fields reflect each one of your students and their marks.
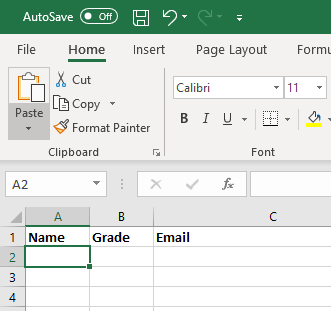
To do this, you will need to enter in the first row of your excel spreadsheet the name of the fields you would like to personalize. In this case, name, grade and the email where it will be sent to.
Step 1.2:
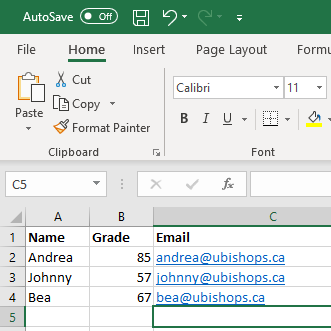
Enter the personalized data into their respective columns. When all the data is entered, save your file.
Step 1.3:
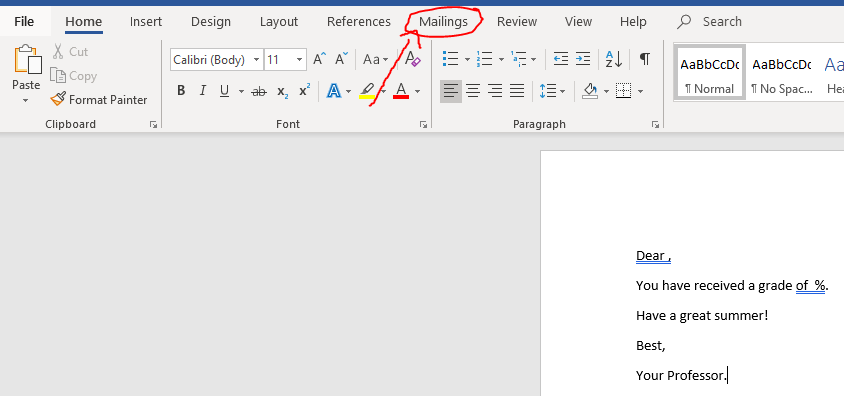
Create your template document in Word. For this example, let’s create a letter to be sent in bulk. Make sure to leave out the personalized information that will later on be filled from our excel spreadsheet data.
When satisfied with your bulk letter, save it to the same location you saved the excel spreadsheet from step 2.
Step 1.4:
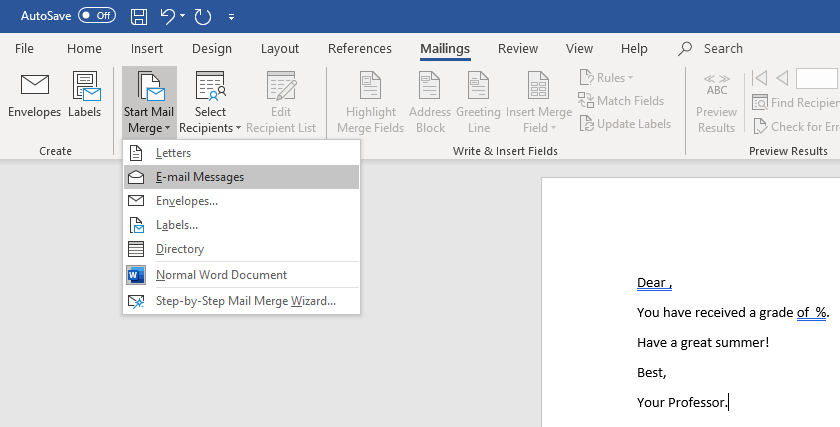
Under the “Mailings” tab (1), select “Start Mail Merge” (2).
Step 1.5:
Chose “E-mail Messages” to send bulk emails.
Step 1.6:
You are now ready to add the personalized information from the excel spreadsheet.
Select “Use an Existing List”.
Step 1.7:
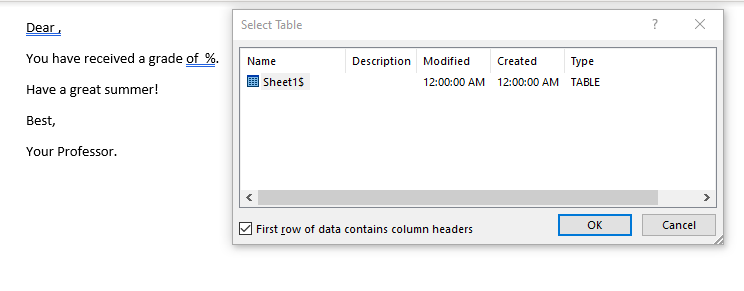
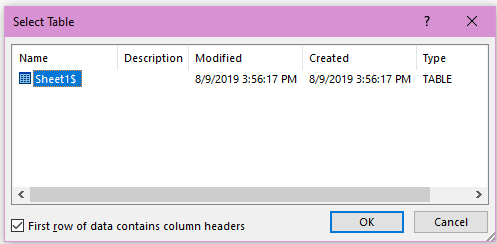
Open the excel spreadsheet you saved in step 2 and click OK.
Step 1.8:
Place your cursor where you want to enter a merge field (1).
Select “Insert Merge Field” and select the field you want to insert (“Name” in this example (1) and “Grade” (2)).
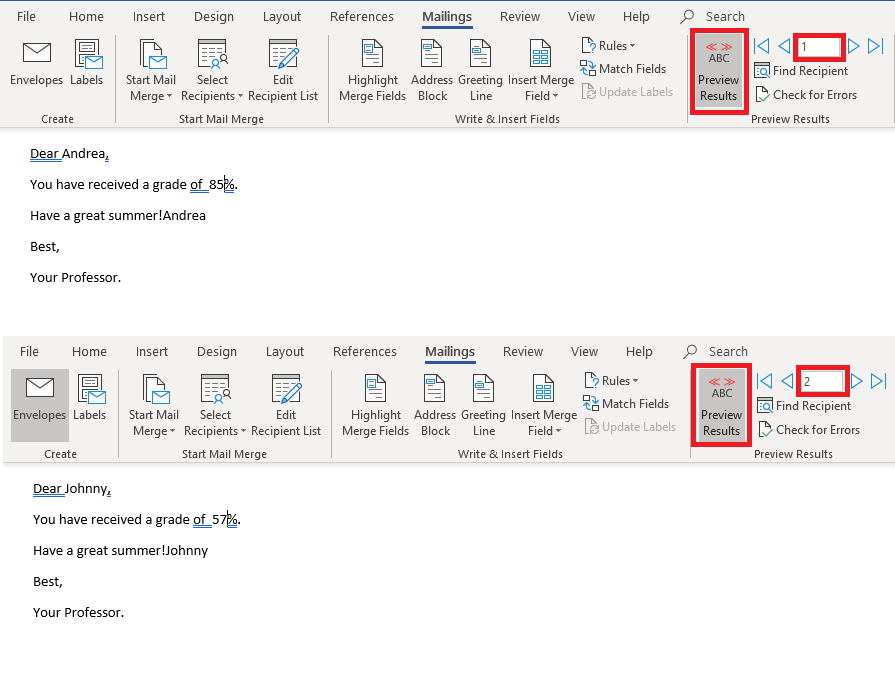
This is what it should look like once the merge fields have been inserted in the template letter.
Step 1.9:
You can select “Preview Results” (1) to see how the personalized data will appear for each message. Press the arrow icon (2) to look through the list.
Step 1.10:
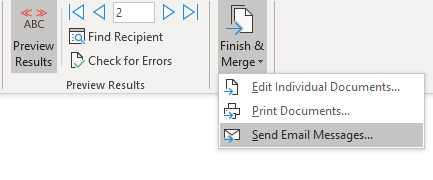
If you are satisfied with the results, select “Finish & Merge” (1) and “Send Email Messages” (2).
Step 1.11:
A window will pop up, it should already contain the “Email” option in the ‘To:’ field, if the field is empty, select email from the drop down menu.
Enter a subject line and press OK.
Your emails will be sent out.
The process to print letters would be similar but without the email parts. Do not hesitate to contact the IT Helpdesk for any mail merge requests or questions.
2. Name Tags
Step 2.1:
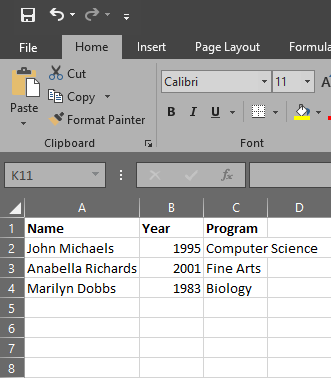
Create the personalized content spreadsheet in excel. This will be the information that will be changed on the predetermined template.
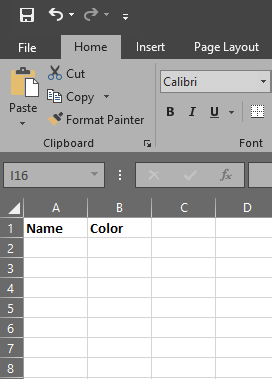
For example, if you want to create personalized name tags where the name, year of graduation and program fields reflect each one of your guests for an alumni event.
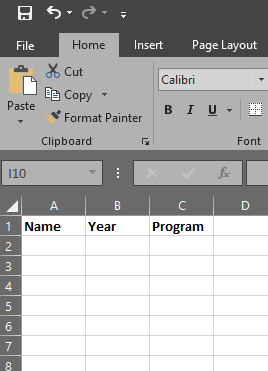
To do this, you will need to enter in the first row of your excel spreadsheet the name of the fields you would like to personalize. In this case, name, year and the program they graduated from.
Step 2.2:
Enter the personalized data into their respective columns. When all the data is entered, save your file.
Step 2.3:
Create your template document in Publisher. For this example, let’s create a name tag template. Make sure to adjusts the colours and font the way you want the personalized data to look like.
When satisfied with your name tag template, save it to the same location you saved the excel spreadsheet from step 2.
Step 2.4:
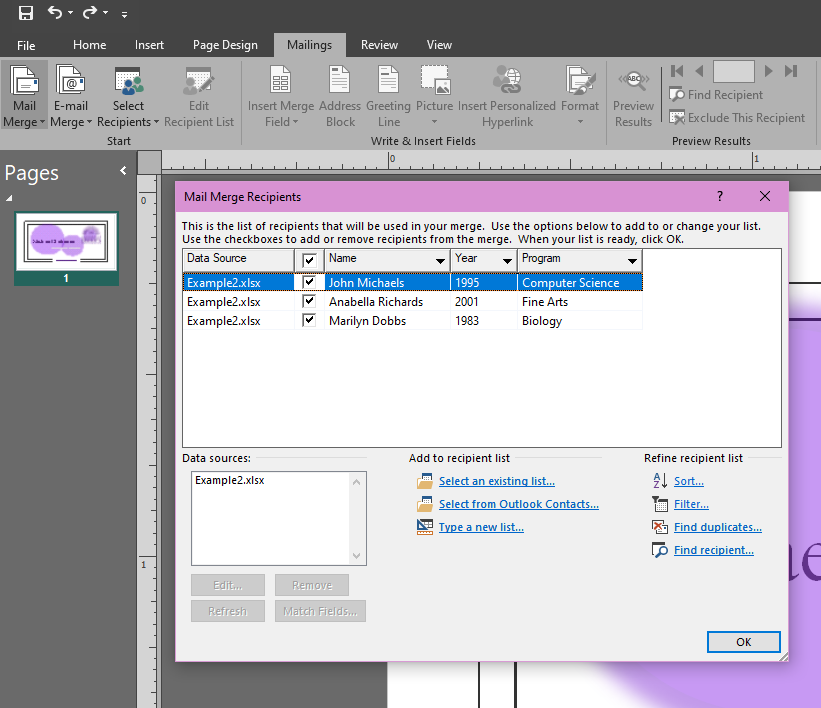
You are now ready to add the personalized information from the excel spreadsheet.
Under the “Mailings” tab (1), select “Select Recipients” (2) and chose “Use an Existing List” (3).
Step 2.5:
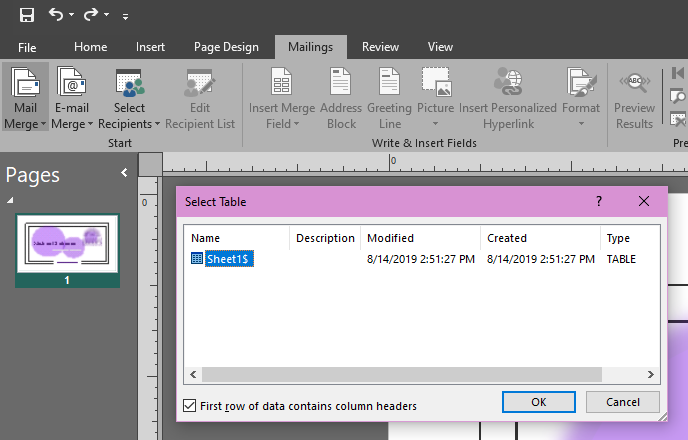
Open the excel spreadsheet you saved in step 2 and click OK.
Step 2.6:
If you see another window pop-up, click OK.
Step 2.7:
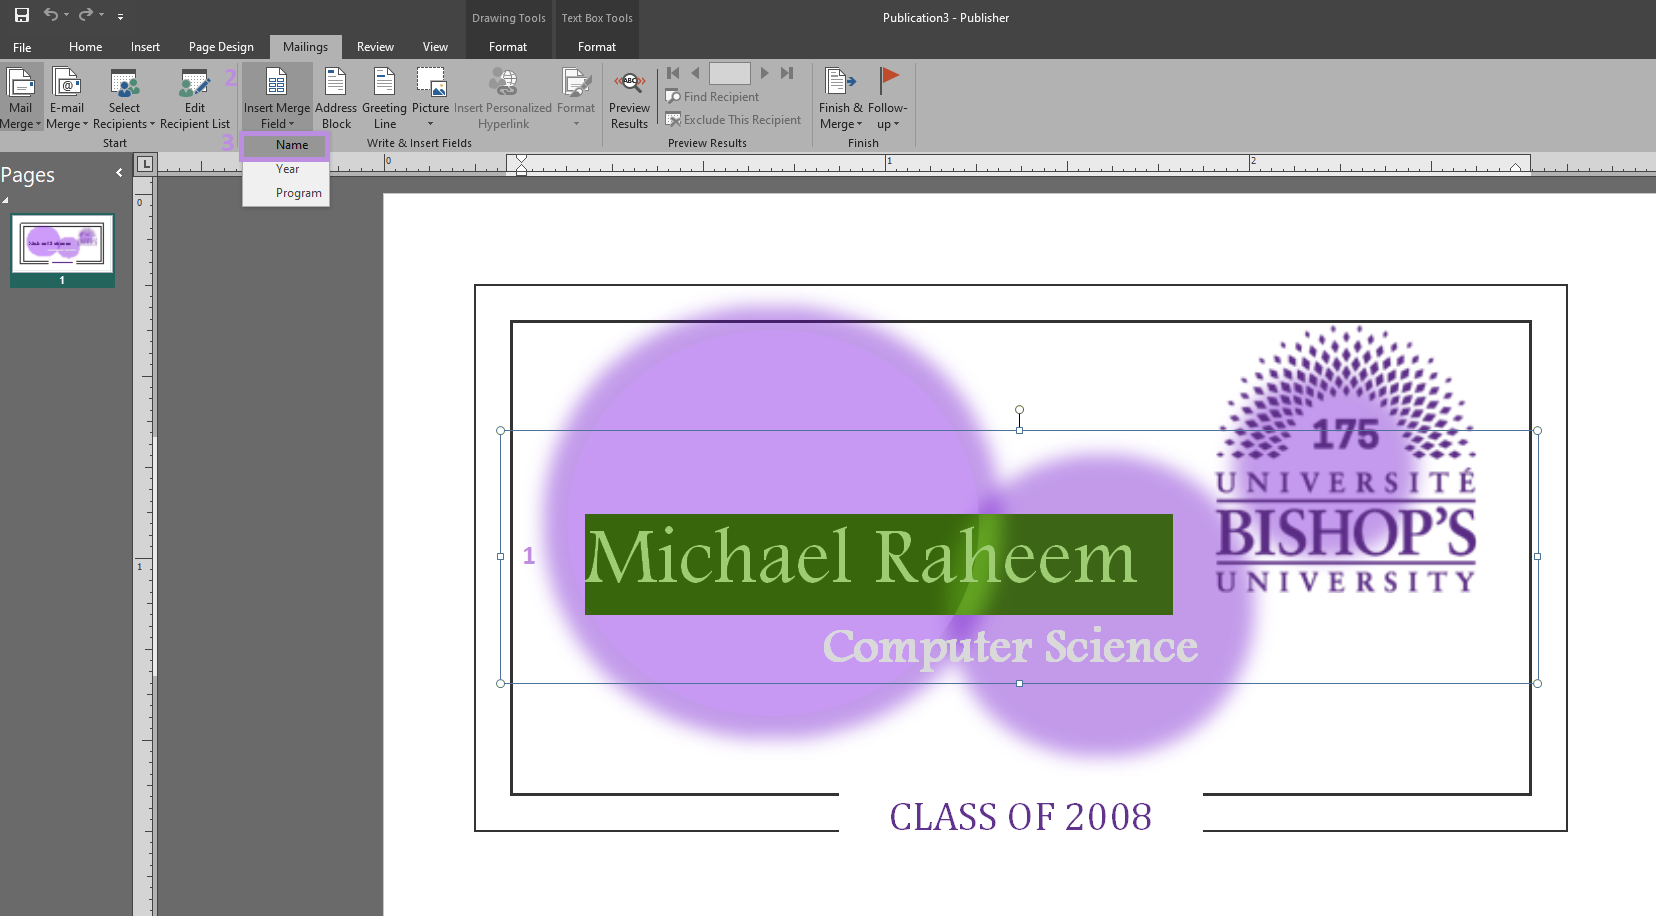
Select where you want to enter a merge field (1).
Select “Insert Merge Field” (2) and select the field you want to insert (“Name” in this example (3).
This is what it should look like once the merge fields have been inserted in the template.
Step 2.8:
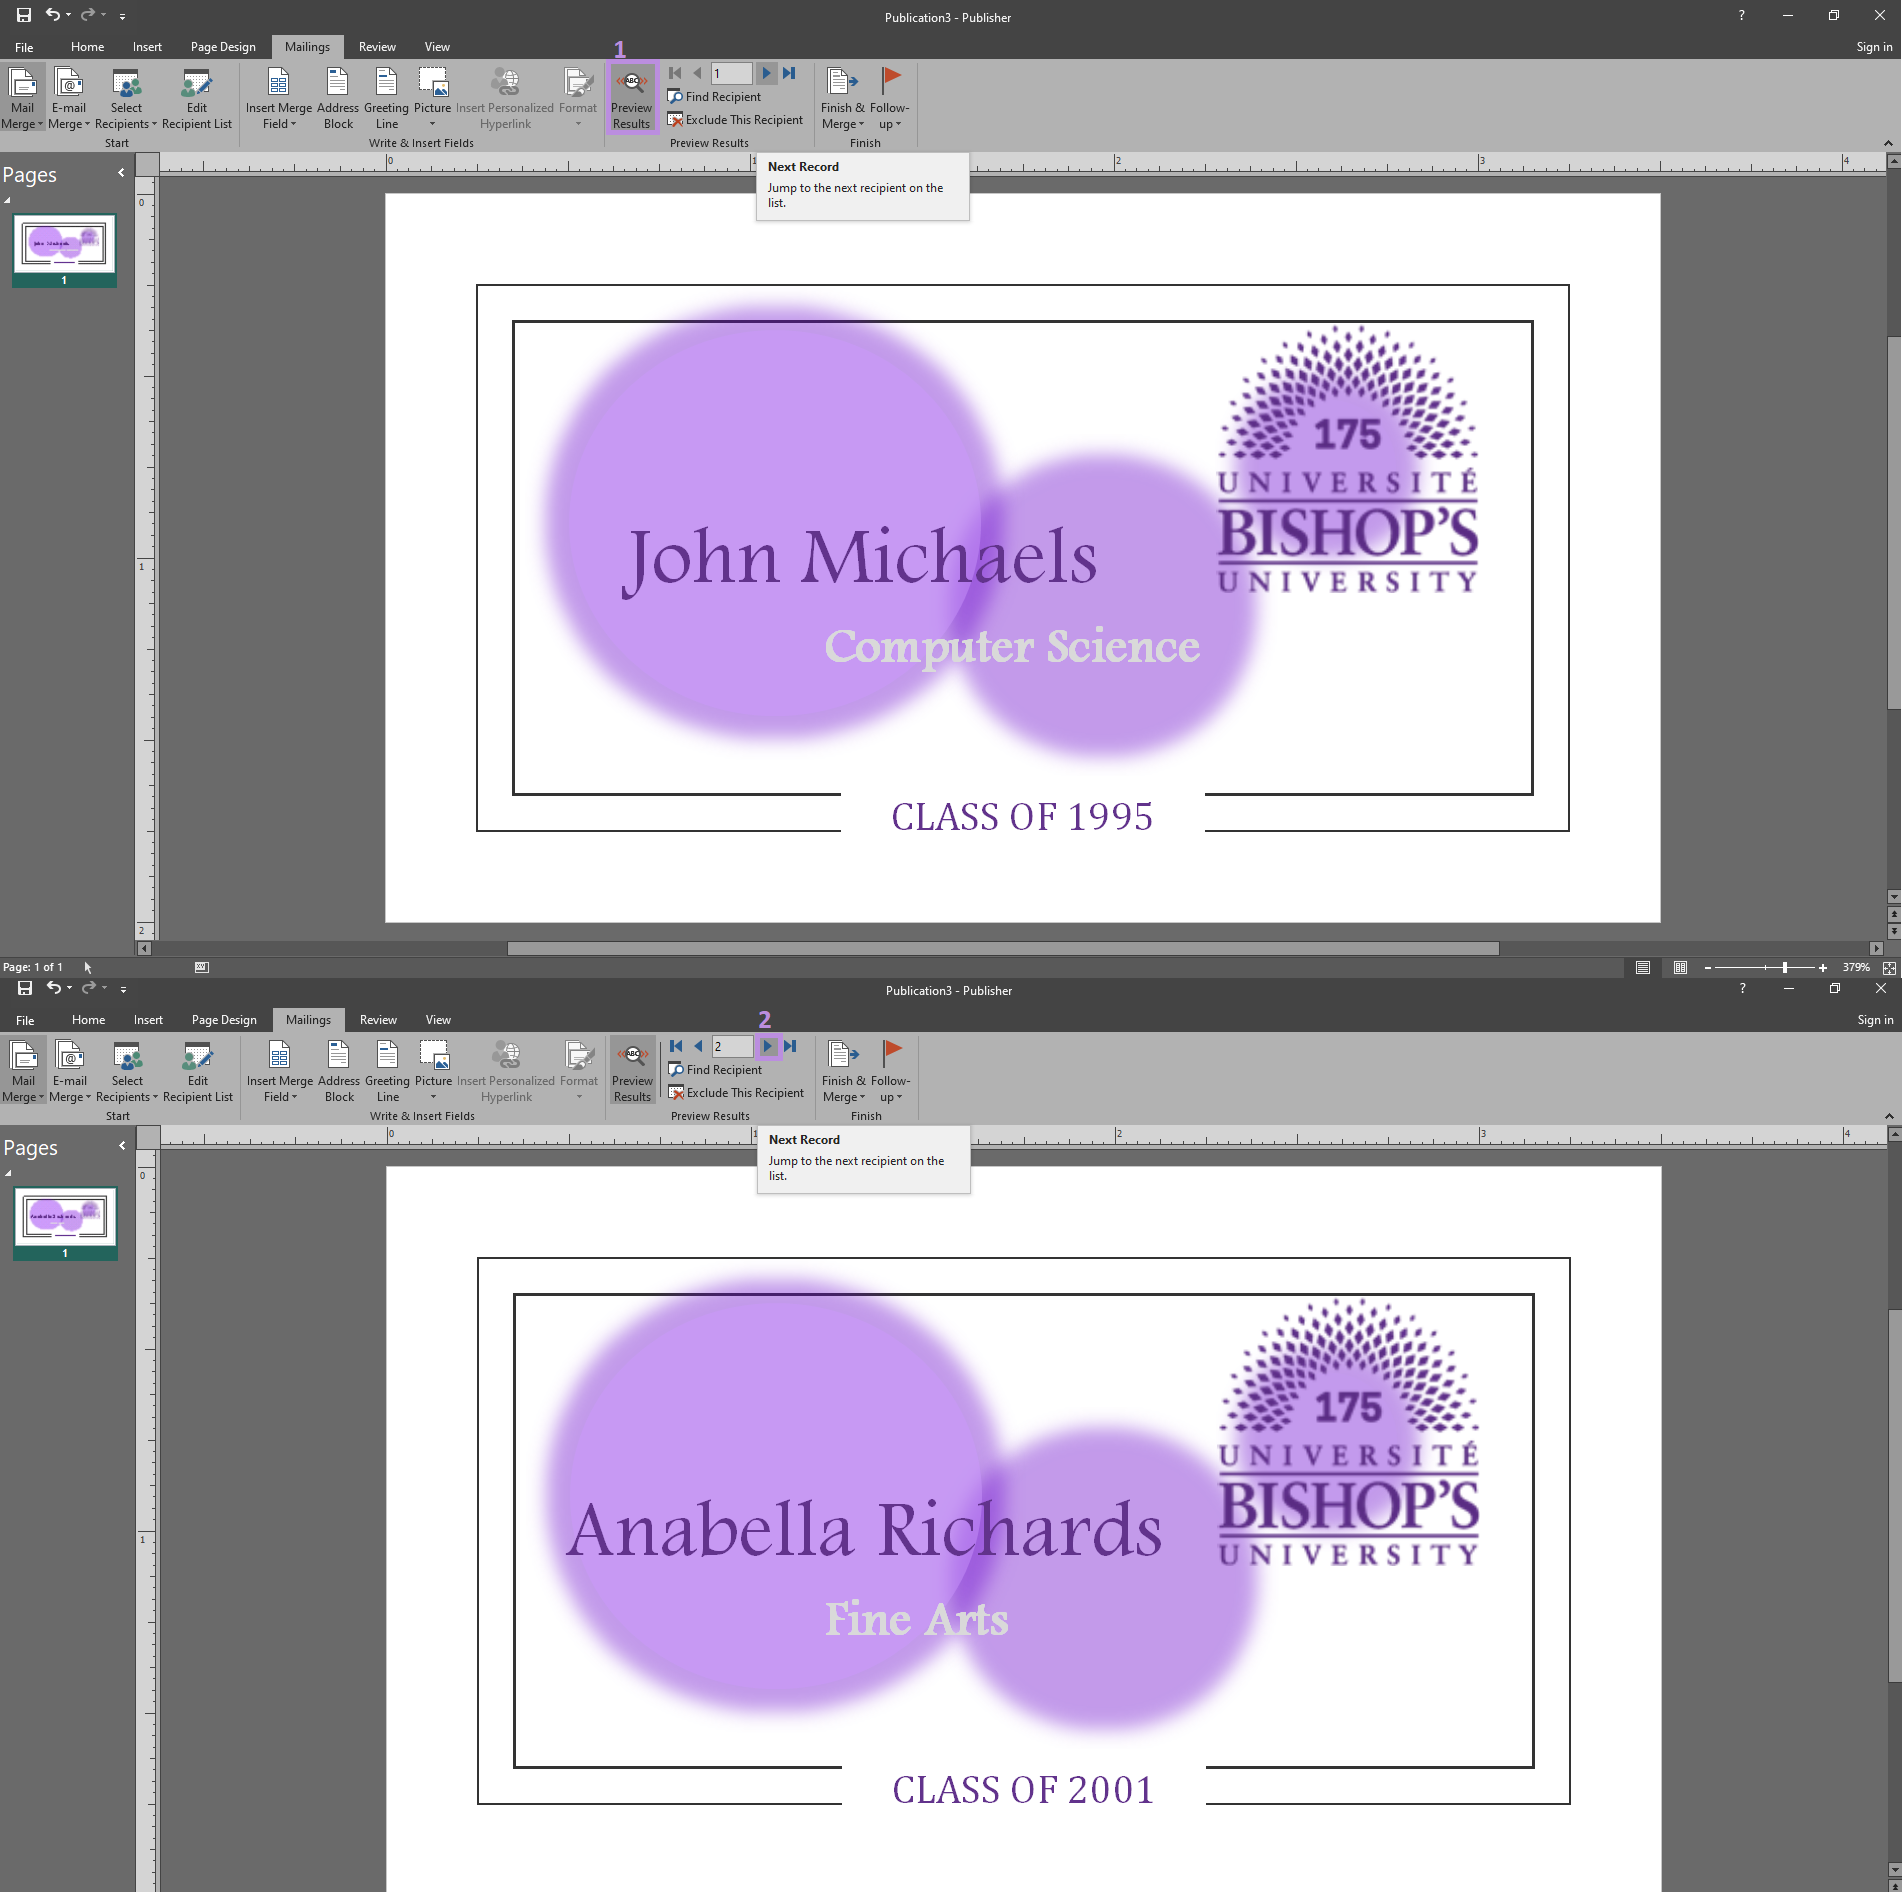
You can select “Preview Results” (1) to see how the personalized data will appear on each name tag. Press the arrow icon (2) to look through the list.
Step 2.9:
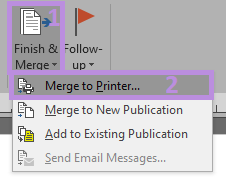
If you are satisfied with the results, select “Finish & Merge” (1) and “Merge to Printer” (2).
Step 2.10:
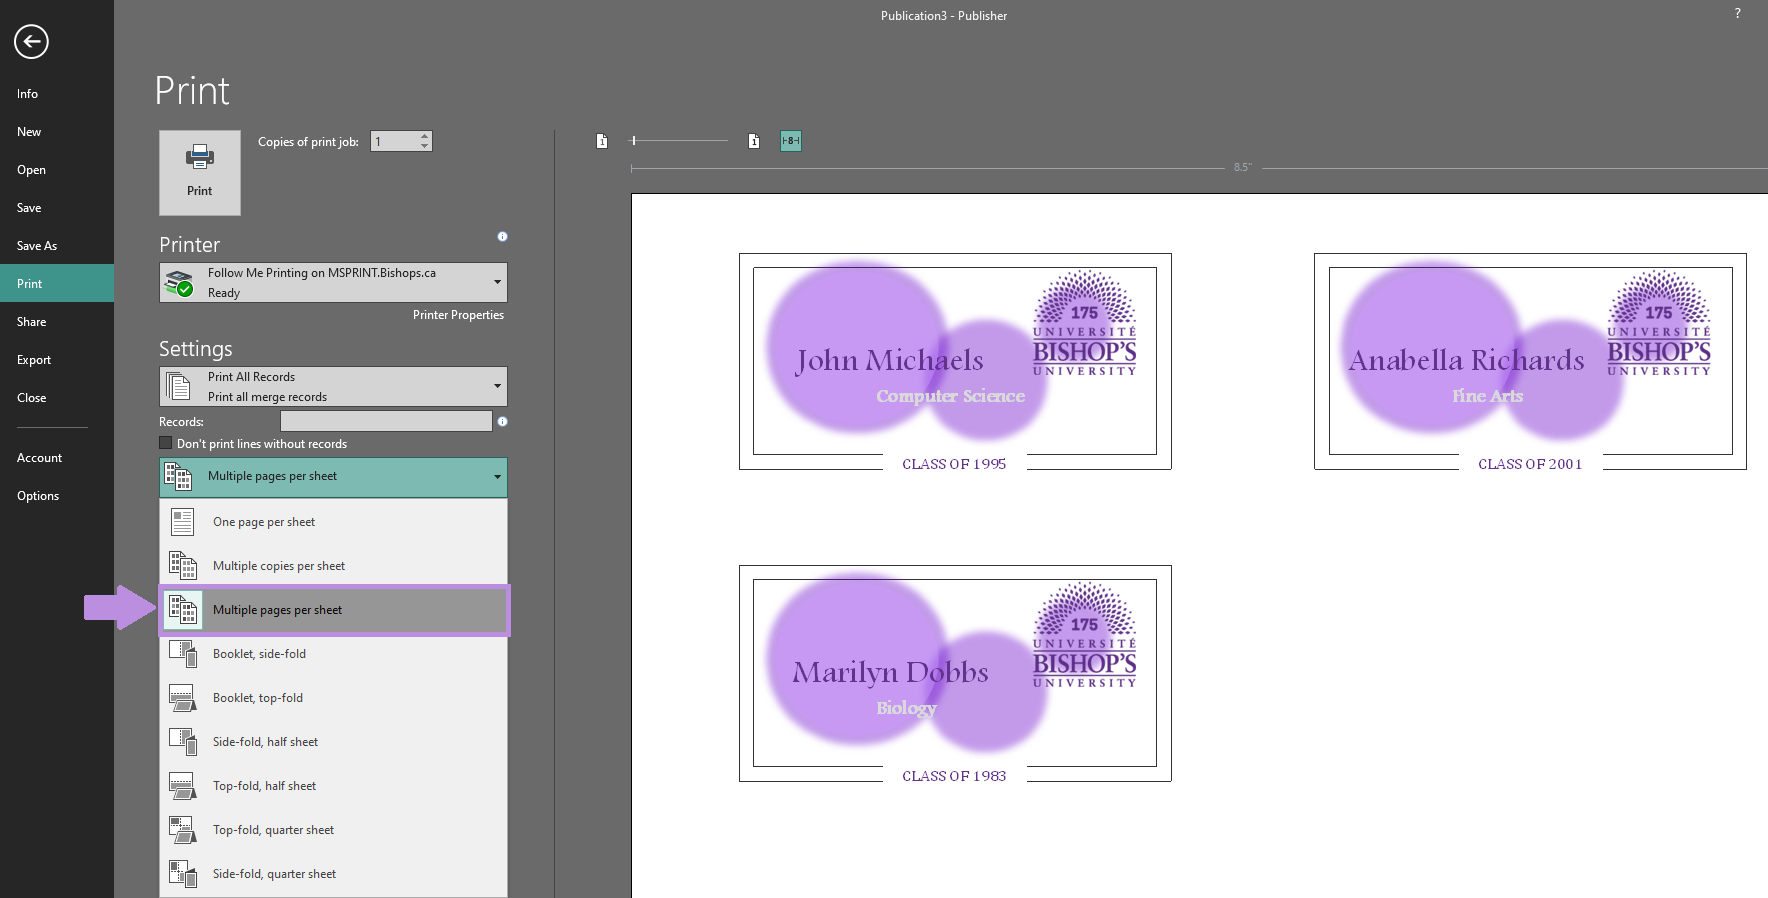
In the printer window, select “Multiple pages per sheet” to print multiple name tags per sheet.
3. Directory
Step 3.1:
Create the personalized content spreadsheet in excel. This will be the information that will be listed on the predetermined template.
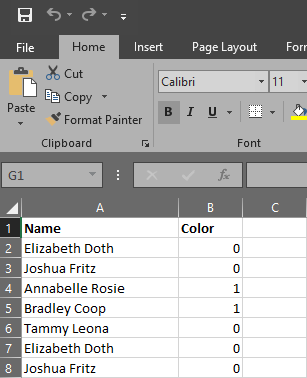
For example, if you want to create a directory sheet listing alumni where the ones who have volunteered at Bishops appear in purple, you will need to enter in the first row of your excel spreadsheet the name of the fields you would like to personalize. In this case, name and the color.
Step 3.2:
Enter the personalized data into their respective columns. For this example, enter the value “0” for the names that should appear in purple and the value “1” for the other names under color field.
When all the data is entered, save your file.
Step 3.3:
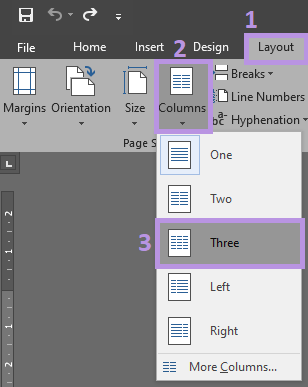
Create your template document in Word. For this example, let’s create a page with three columns.
Step 3.4:
When satisfied with your template, save it to the same location you saved the excel spreadsheet from step 2.
Step 3.5:
You are now ready to start the Mail Merge.
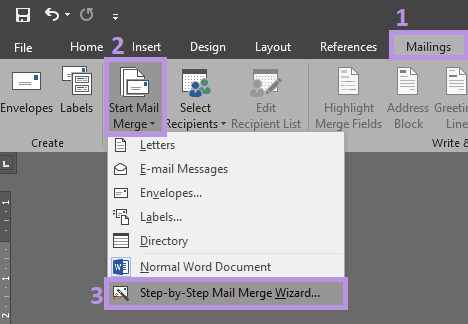
Under the “Mailings” tab (1), select “Start Mail Merge” (2) and chose “Step-by-Step Mail Merge Wizard” (3).
Step 3.6:
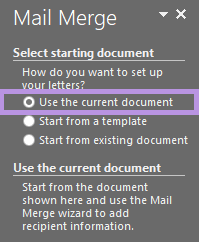
A sidebar window will pop-up on the right side of your document.
Select “Directory” (1) and click Next (2).
Step 3.7:
Select “Use the current document” and click Next.
Step 3.8:
A window will pop-up to allow you to open the excel spreadsheet, click OK until you are back into the word document and select Next.
Step 3.9:
You will now need to organize your directory.
In this step, create a rule in order to have the volunteer’s name appear in purple by selecting “Rules” (1) and “If…Then…Else” (2).
Step 3.10:
Pick “Color” from the drop down menu under “Field name”, “Equal to” under the “Comparison” field and enter “0” in the “Compare to” field. In the other fields (“Insert this text” & “Otherwise insert this text”) write “name“.
Step 3.11:
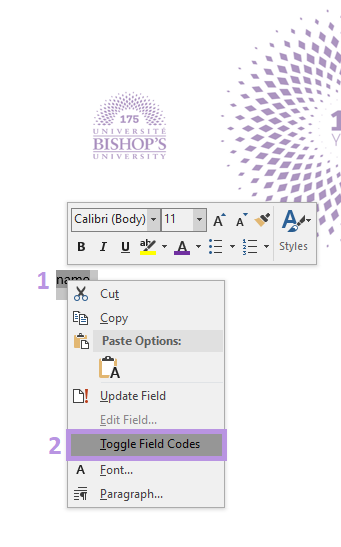
The word “name” will appear in your document. Highlight it and right click (1). In the right click menu select “Toggle Field Codes” (2).
Step 3.12:
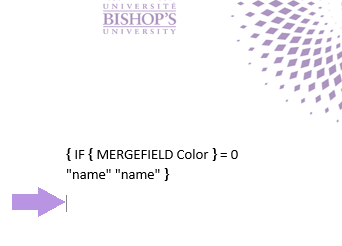
A formula will appear instead of the word “name”.
Add an “ENTER” after the formula so your cursor is now a row bellow it.
Step 3.13:
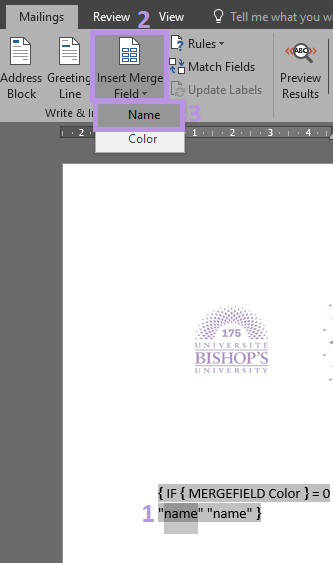
Within the formula, highlight the word name (1).
Select “Insert Merge Field” (2) and “Name” (3).
Repeat this for the other name within the formula.
Note:To get back to the formula, you will need to repeat step 3.11.
Step 3.14:
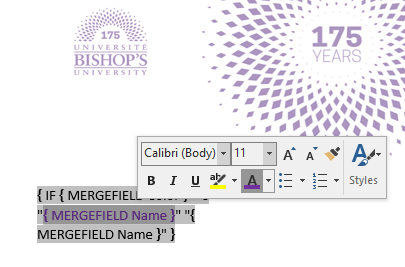
Once all the name fields have been merged into the formula, highlight the first “{ MERGEFIELD Name }” and change its font color to purple.
Step 3.15:
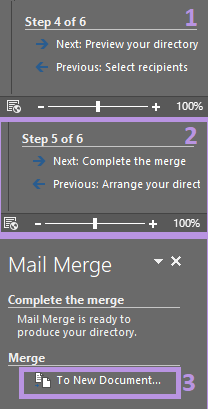
Go back to the right side panel and select Next (1, 2).
To complete the mail merge, select “To New Document” (3).
Step 3.16:
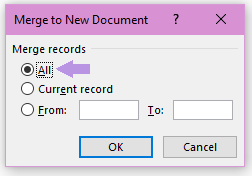
Select “All” and click OK.
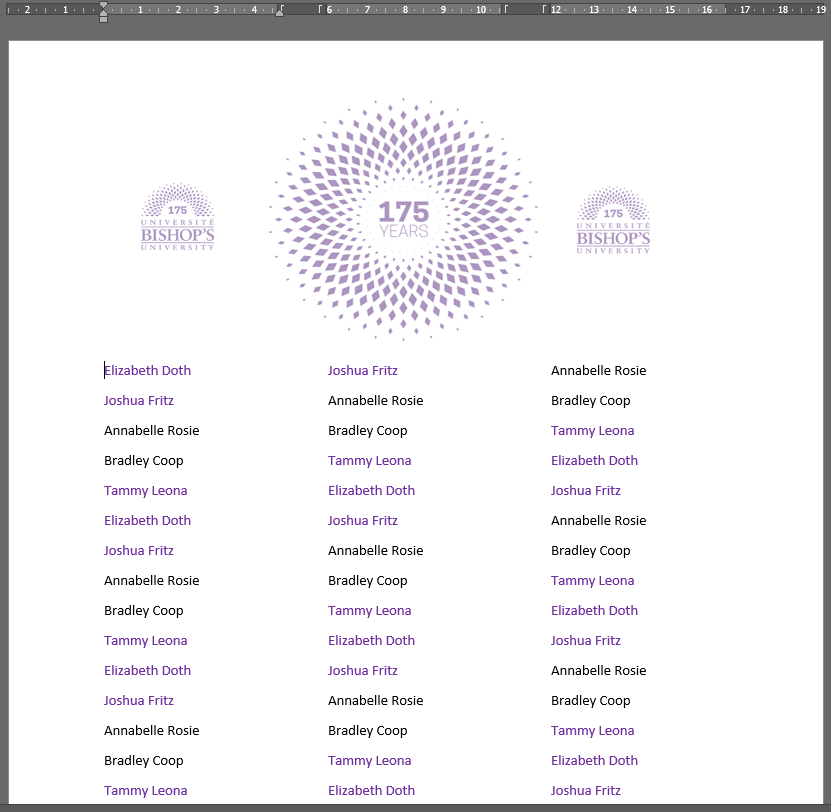
Step 3.17:
Your merge document will be opened into a new word document. You can print or save it.
4. Important Notes
Only enter the data to merge on a single excel spreadsheet. Do not use multiple sheets on the same document. If you need to have different data merge you should save them in a completely new spreadsheet.
If you wish to send a mail merge document to the print shop, it is best that you consult the IT Helpdesk for instructions on how to proceed
To learn more about mail merge refer to “Mail Merge” from the Microsoft website.