This tutorial will guide you through the steps required to print on envelopes using Word and our campus photocopiers. Note that this tutorial assumes that the FollowMe printing queue is being used. For offices with direct access to a photocopier, keep in mind that the envelope will need to be loaded in the load out tray #5 before the job can start printing.
ITS strongly suggest using the FollowMe queue even in offices where a photocopier is installed to ensure maximum security and control over your printing jobs. If you would like ITS to configure your computer to use the FollowMe queues, please, contact us to get this setup.
Do not use padded envelopes. Use envelopes that lie flat on a surface.
Do not use envelopes with heat-activated glue.
Do not use envelopes with press-and-seal flaps.
Step 1:
In Word, select the “Mailing” tab and click the “Envelope” option.
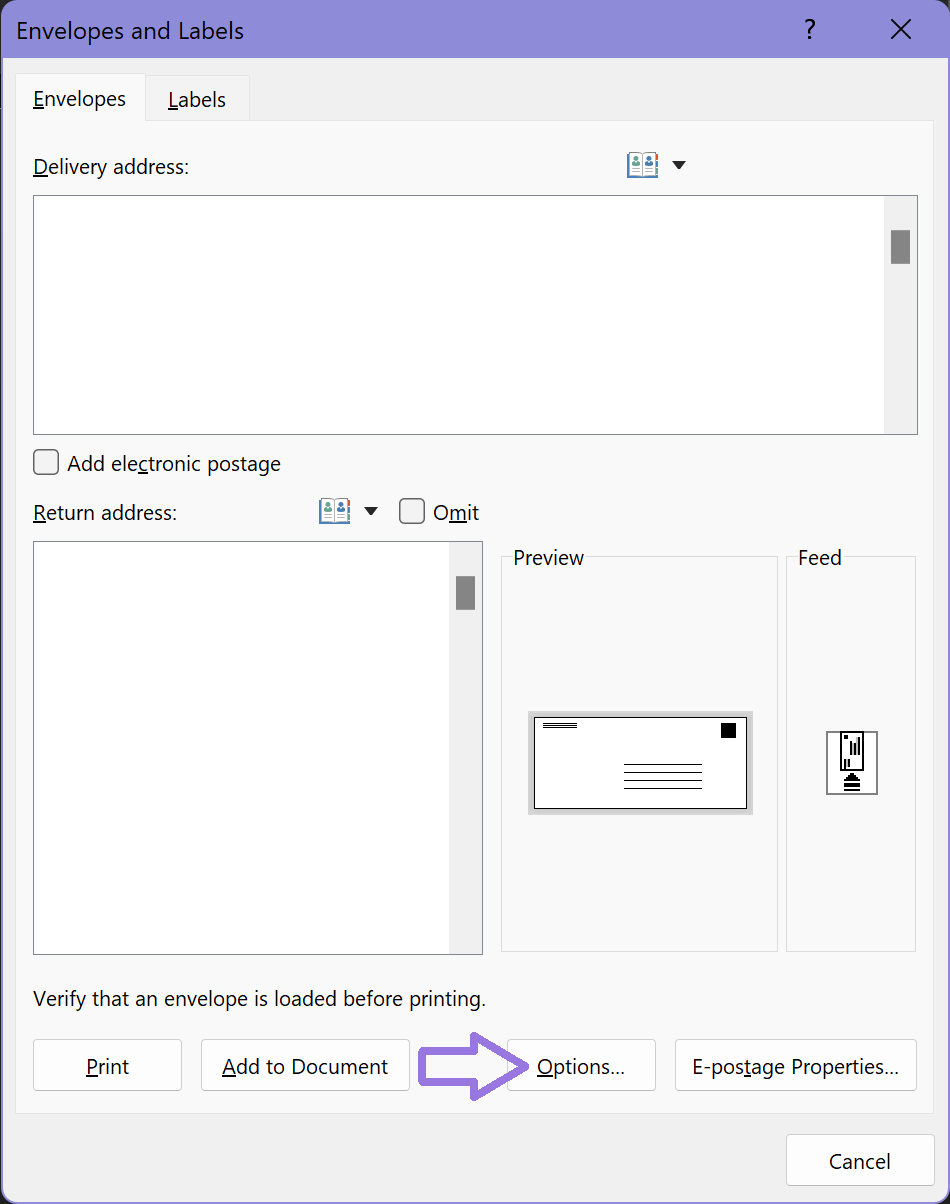
Step 2:
Select “Options…”
Step 3:
Confirm the envelope size in the “Envelope Options” tab. The most common size is 10.
Step 4:
Confirm the orientation settings in the “Printing Options” tab. It should be the same as shown in this image and click “OK” to confirm.
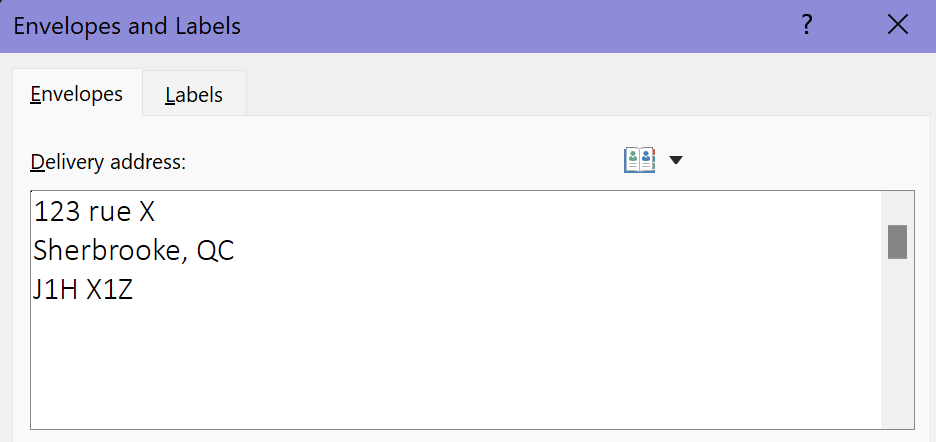
Step 5:
In the “Envelope” tab, enter the delivery address that will be printed on the envelope.
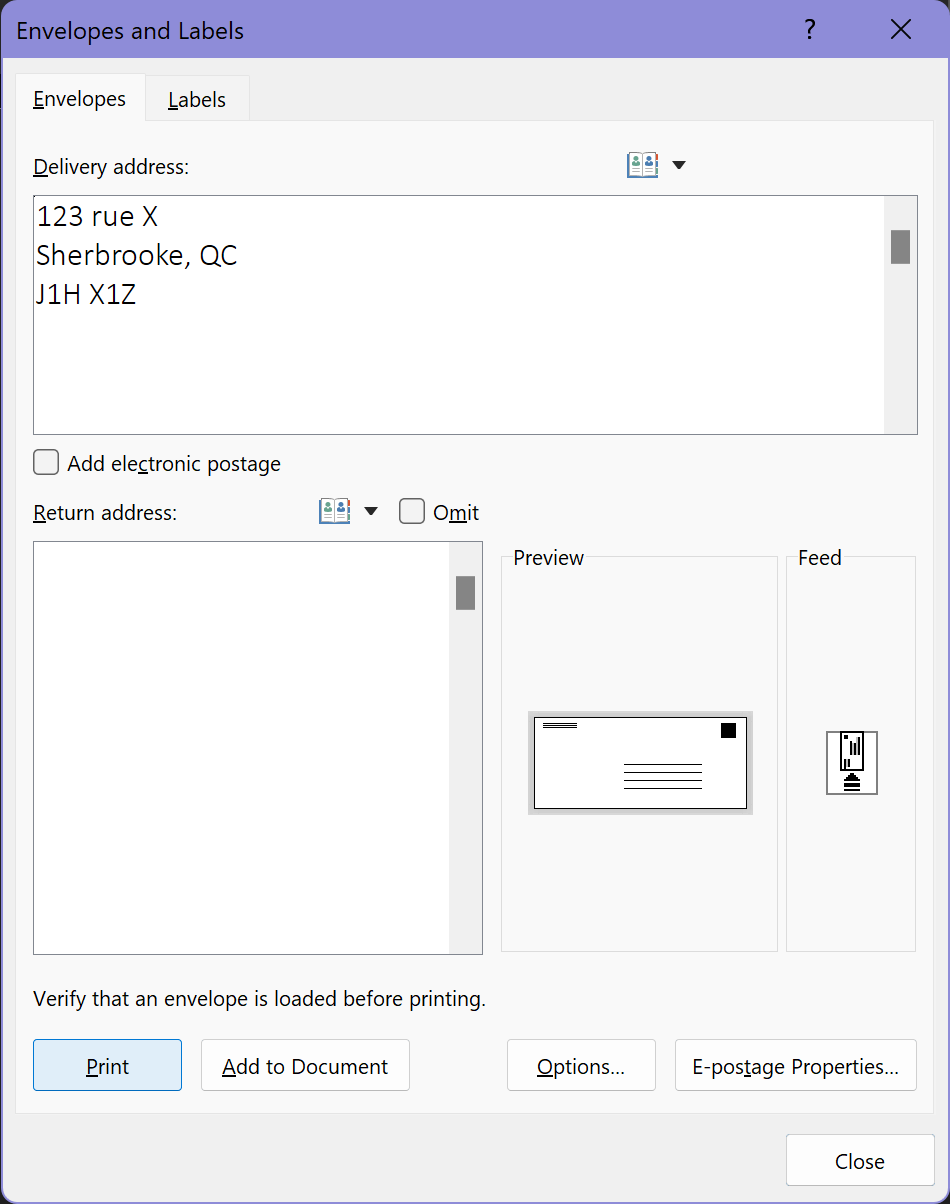
Step 6:
Press print to send the printing job to the printer.
Note: if you are not using the FollowMe printing queue, the job may seem like it is starting to print right away but nothing will come out of the printer. Once you load the loading tray #5 with the envelope, the job should go through. See the next step to learn how.
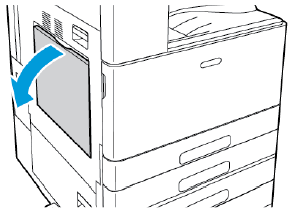
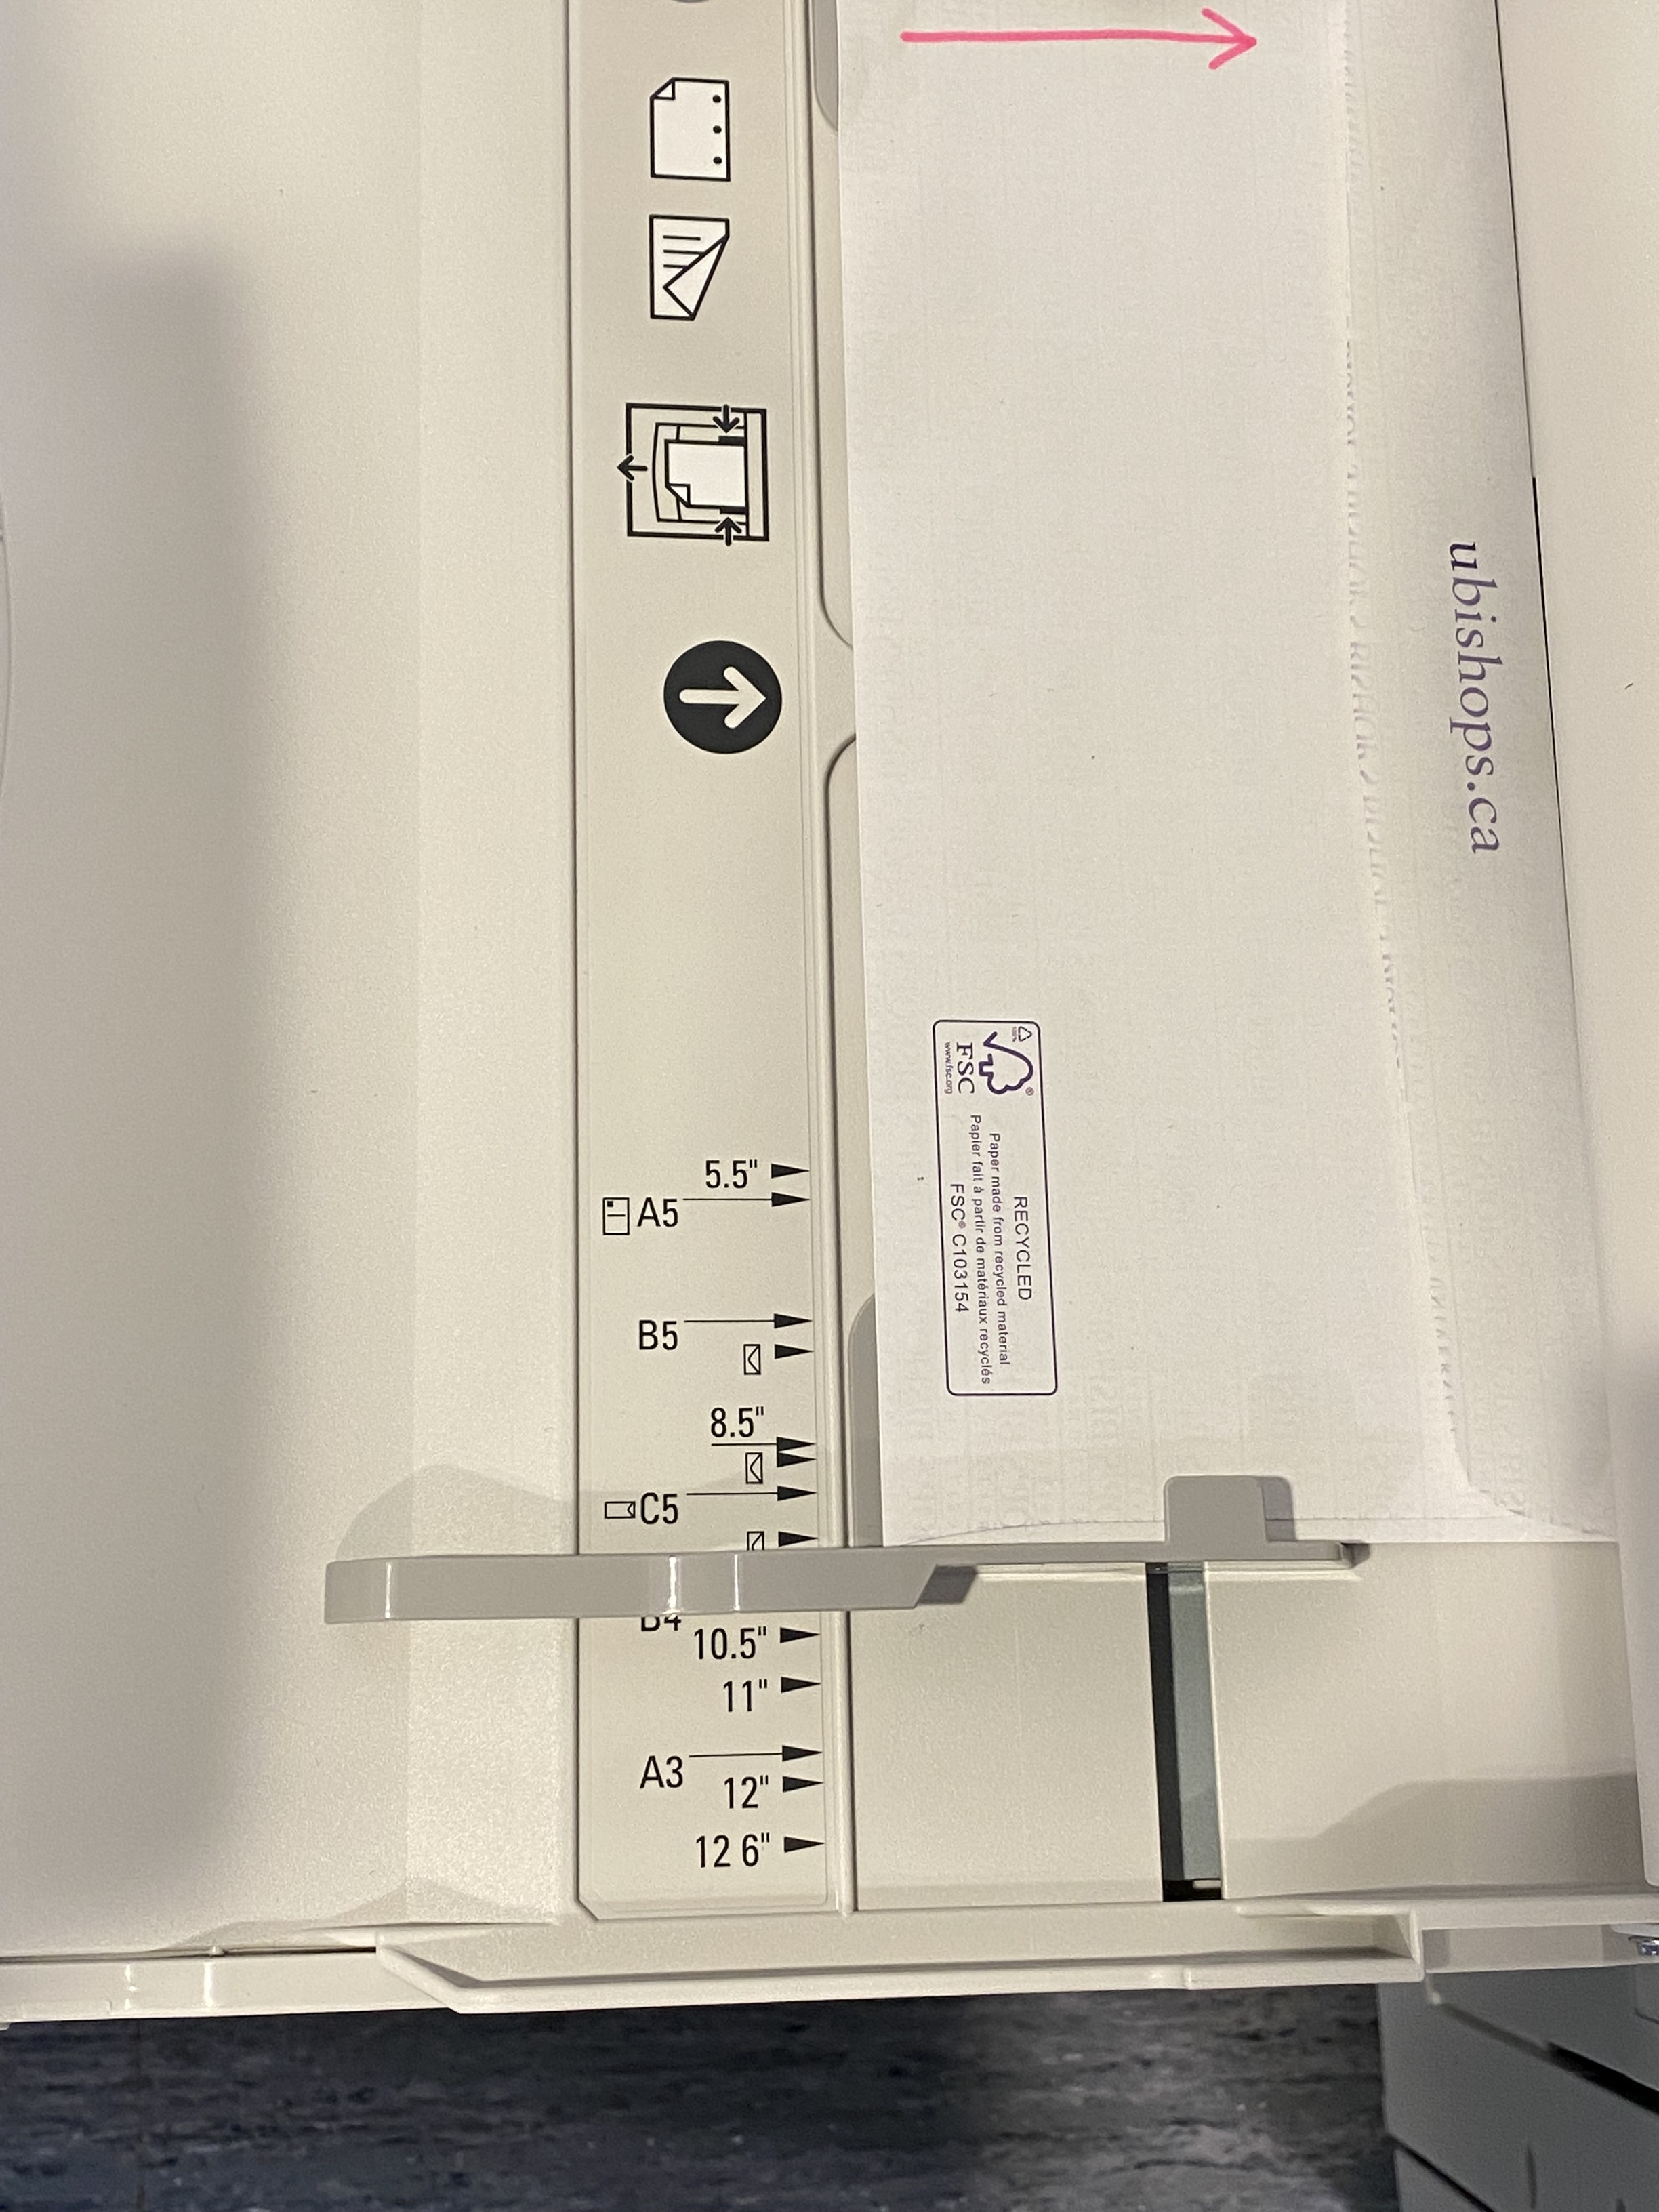
Step 7:
Locate tray 5, on the left side of the photocopier and open it by pulling it down.
Step 8
Place your envelope and adjust the guide so they fit the edge of your envelope. The envelope should be facing down: the part that you want to print on should be facing the tray while the opening flap should be on the top and closest to the photocopier opening.
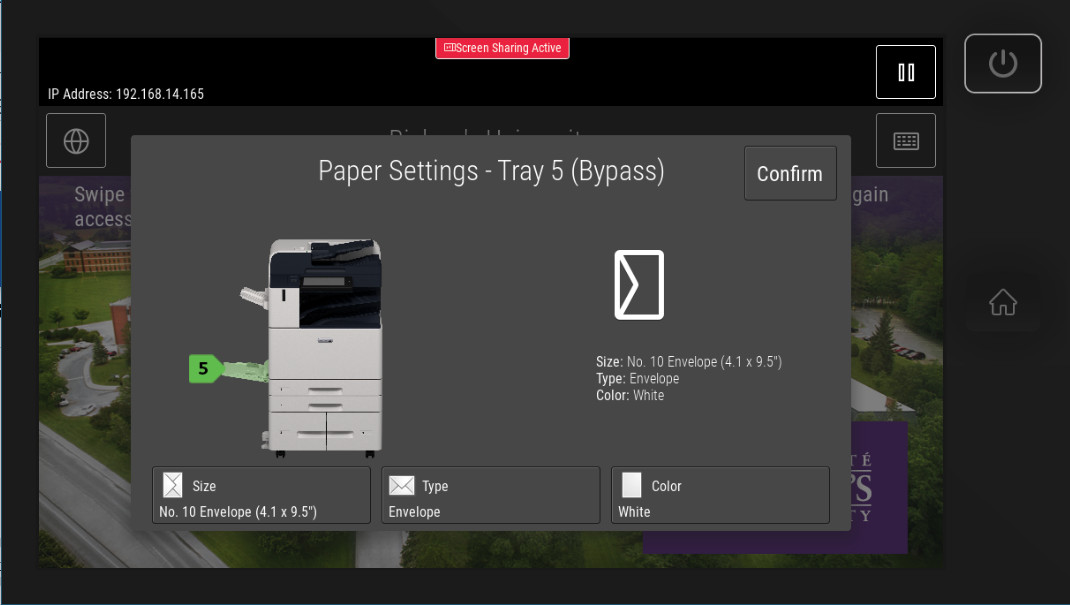
Step 9:
Once the photocopier detects that something is being loaded into tray 5, it will asks you to confirm the paper format being loaded. If nothing shows up on the touch panel, push the envelope further up the tray until it is detected.
Step 10:
Select “Size”, scroll down until you see your envelope format and choose it.
Step 11:
Press confirm.
Step 12:
Login to the photocopier using your BU login credentials: