ITS Tickets
myBU
Office 365
Moodle
PaperCut
Webmail
Gaiter Dollars
myBU
Moodle
Webmail
Gaiter Dollars
PaperCut
Office 365
ITS Tickets

Multi-factor Authentication

Multi-factor authentication, hereafter referred to as MFA, is a protocol for adding a higher level of security (beyond just a password) to an account. You may be familiar with this already as something called “2 factor authentication” which many social media networks and most email providers already offer. Traditionally, this is done by texting you a 6 digit code after you have entered your password on a website.

MFA is based on the principles of “something you know, and something you have”. You “know” your password, and you “have” your mobile device.

Bishop’s is introducing MFA to our campus with our launch of Office 365. Currently, the only place you will be “challenged” (MFA terminology) for that additional step will be when logging on to use Office 365 services. Current, on campus, services will continue to operate as they always have.

Using Microsoft Authenticator

  1. Setting up or modifying MFA
  2. Using MFA
  3. FAQ

Although receiving the 6 digit code by text has been the traditional method of getting the second factor sent to you, it is neither the most secure, nor the fastest method of doing this. ITS recommends that you instead use the “Microsoft Authenticator” app on your phone or tablet. (Download the app for iOS with this link. Download the app for Android with this link.)

1.1 Setting MFA for the 1st time or after an MFA Reset

Follow the steps bellow if you are setting up MFA for the 1st time or if you have made a request to have your MFA reset by ITS.

Step 1:

Go to https://aka.ms/mfasetup

Sign in using your Bishop’s email address and password.

Step 2:

When setting up your MFA for the first time a message indicating that more information is required will appear. Click “Next”.

Step 3:

Microsoft will automatically recommend you use the mobile app and even provide a link to download it. You can download the app to your phone from that link, or follow our links in Step 5. Click “Next” to continue.
ITS strongly recommends using these exact settings as they are currently the safest and fastest way to access and protect your account.

Step 4:

This window is just a brief description of how to set up the MFA app. Click “Next”.

Step 5:

A QR code will appear.
To scan it, Download the iOS app
or Download the Android app.

Step 6:

Once the app is downloaded, open it and click “Scan QR code”.

If you do not see the option to scan the QR Code, select “skip”, then select “Add an account” and choose “Work or school account”.

Step 7:

Once the QR code is scanned, a “Let’s try it out!” message will pop up with a two digit number below. Your MFA app will ask what this number is. Put in the number and click “Next”.

Step 8:

After you put in the two-digit number, you will see a confirmation window that the notification was approved. Click “Next”.

Step 9:

Finally, you will see a “Success!” window. Your MFA has been successfully set up.

Step 10:

If prompted, you will need to add a backup method in case you lose access to the mobile app.
Enter your phone number and click “Done”

You have now successfully configured your MFA with the safest and fastest method.

Next time you need to access your Office 365 account, simply open the Microsoft Authentication app on your mobile device and click “Approve”.


1.2 Modifying your MFA


Step 1:

Sign in to Office.com with your Bishop’s email and password.


Step 2:

Click on your name in the top right corner and select “View Account”.

Step 3:

Under Security Info select “Update info.”

Step 4:

Add your preferred method of contact (we reccomend using the Microsoft Authenticator app) by clicking “Add method” or update an existing method if your contact information has changed.

Note:

You can update your preferred sign-in method by clicking Change next to Default sign-in method:


2. Using MFA

See this 1.5 minute video below showing just how easy it will be to log in with this app!
With the Microsoft Authenticator application you will be able to access your Office 365 services with the click of a button. Using the Microsoft Authenticator app is quick and easy:


Step 1:

Login to portal.ubishops.ca or into your O365 apps using your Bishop’s email and password.

Step 2:

When prompted to “Approve sign in” check the mobile device you have previously setup the Microsoft Authenticator app on.

Note: You can check the box to prevent the validation step for 30 days.

Step 3:

Open the Microsoft Authentication app on your mobile device and click “Approve”.

3. FAQ

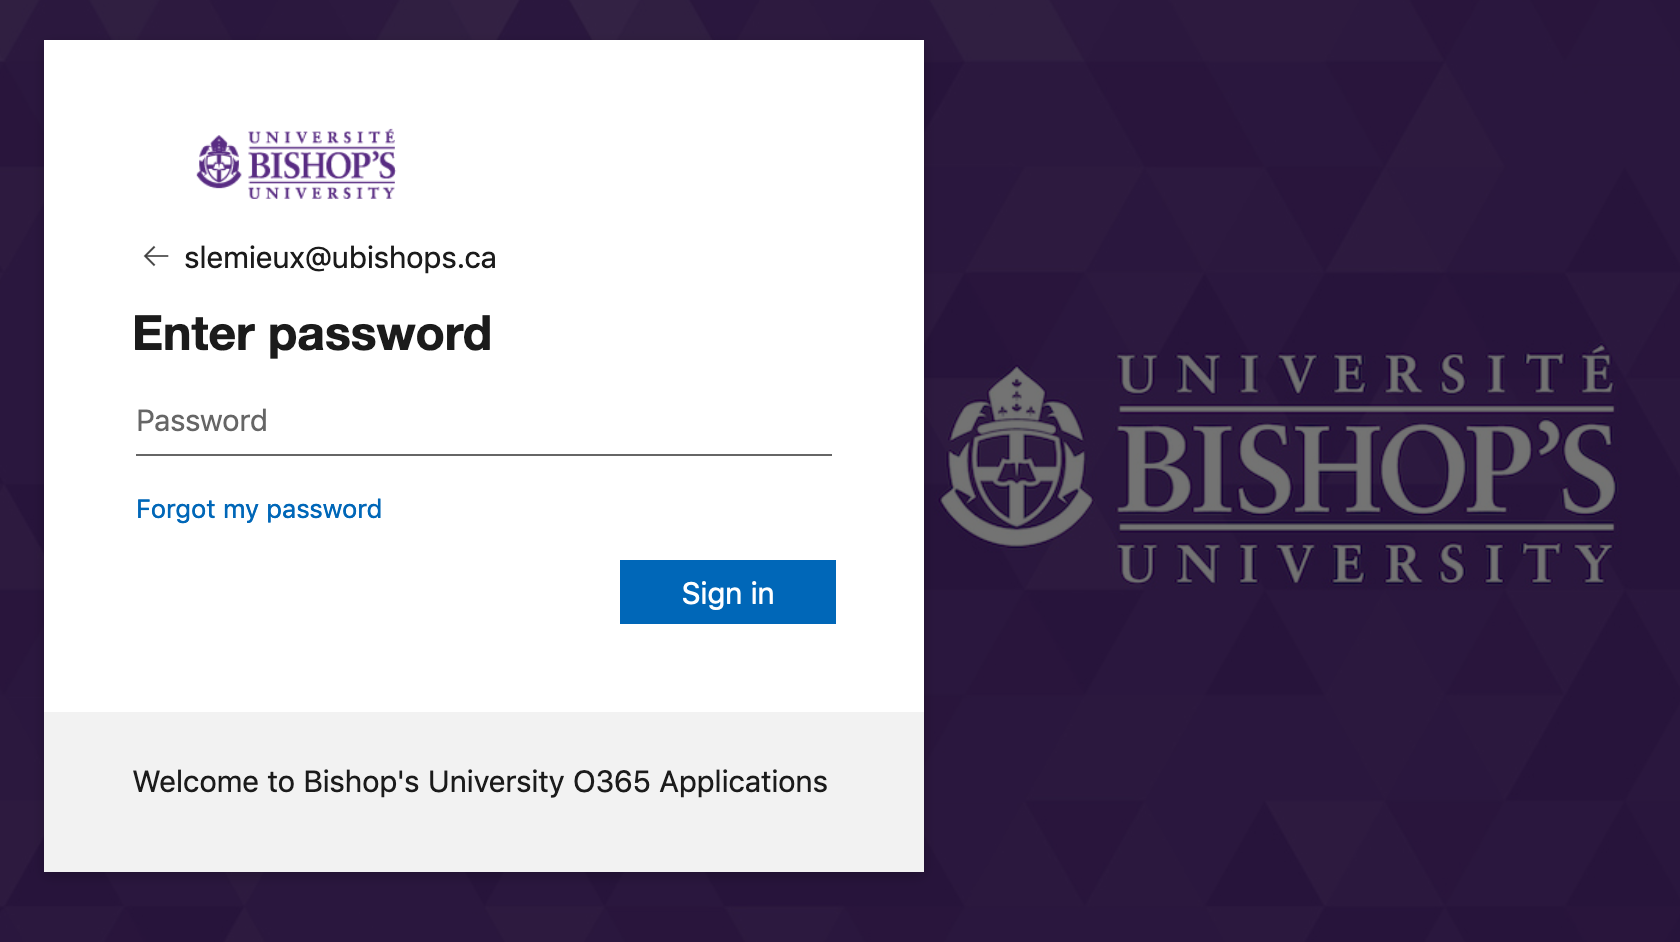
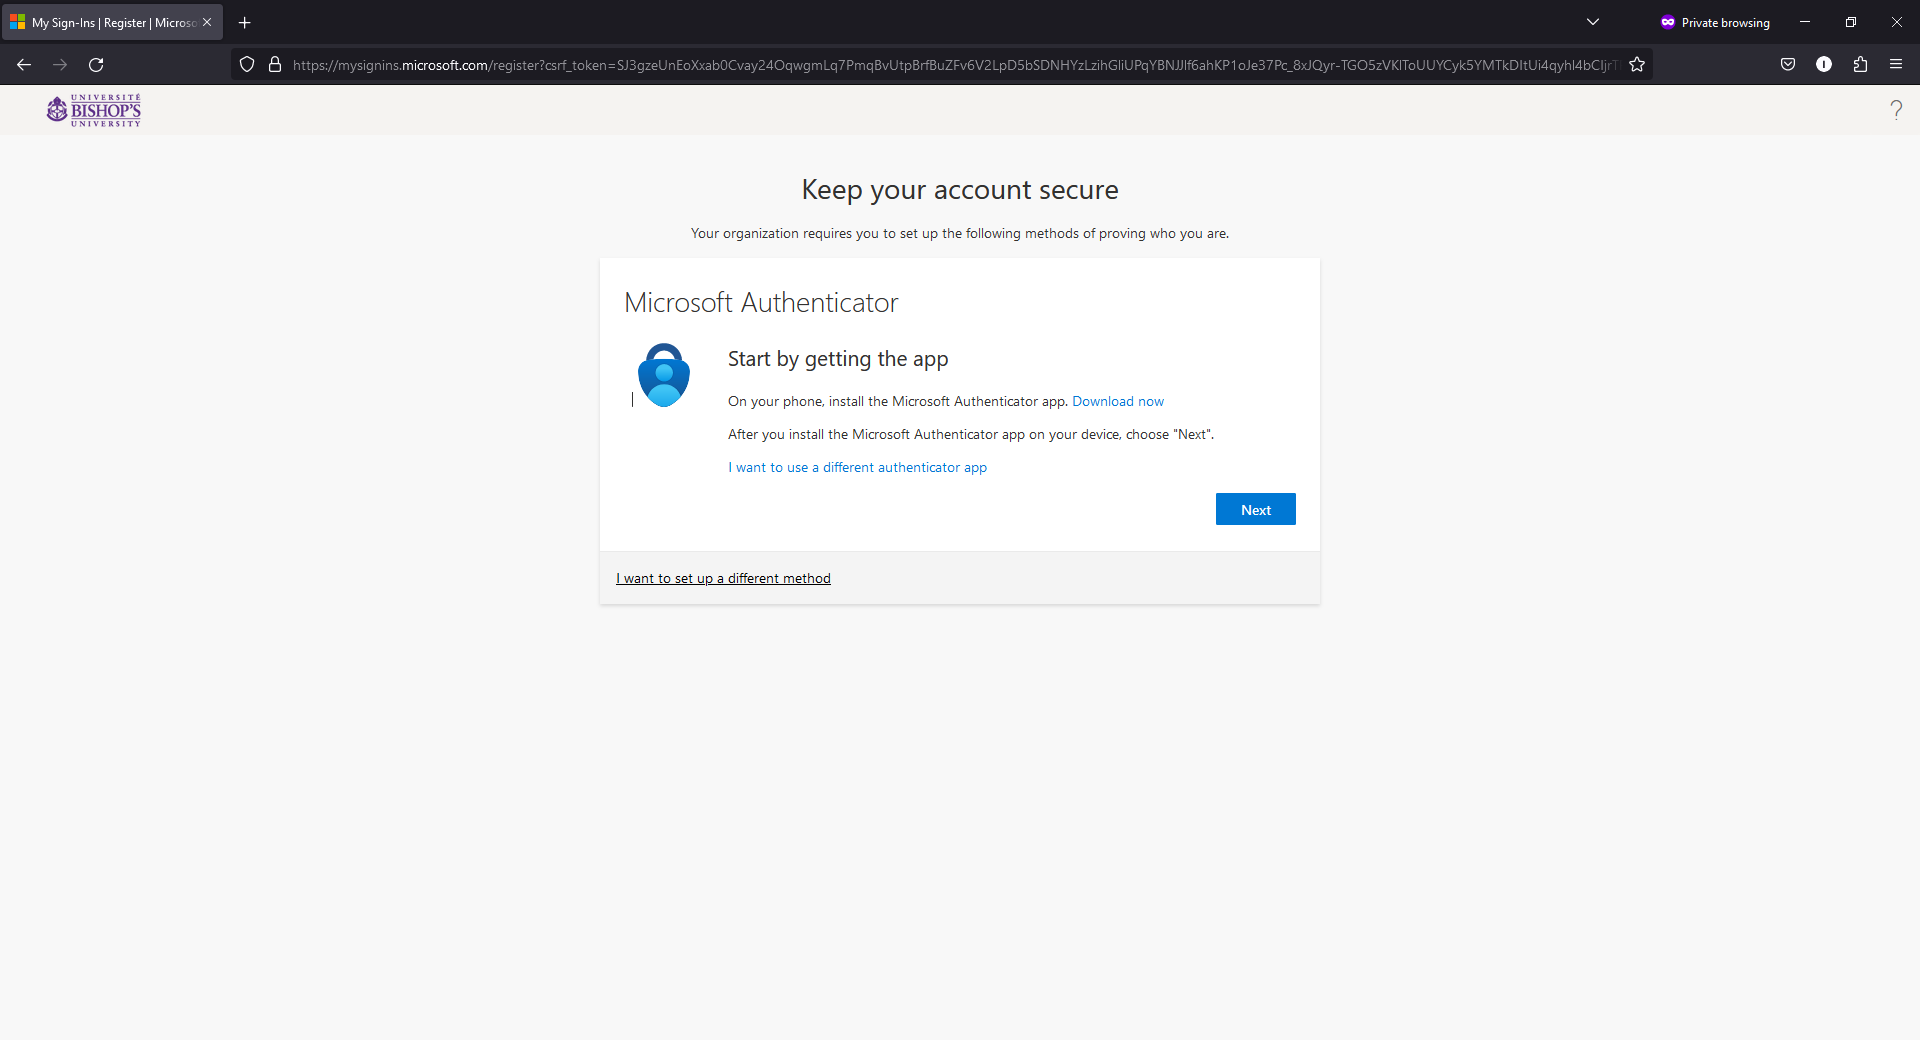
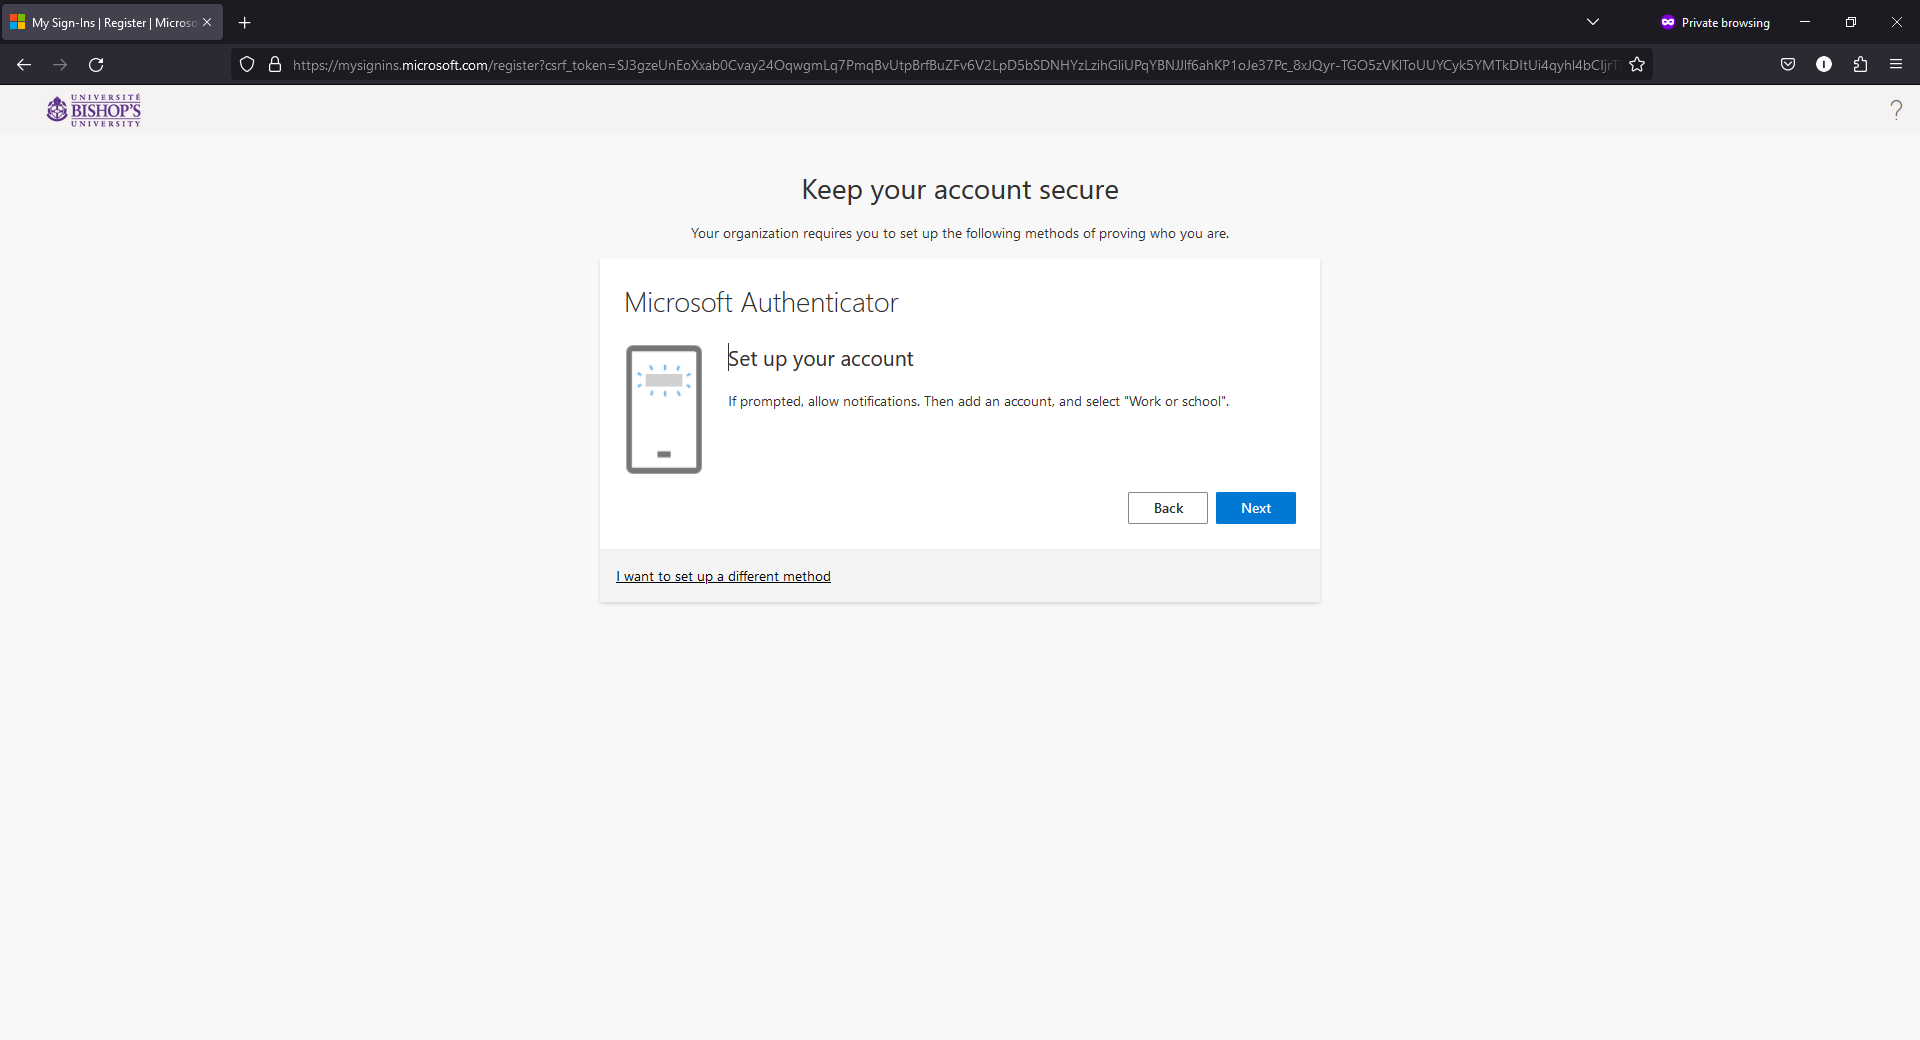
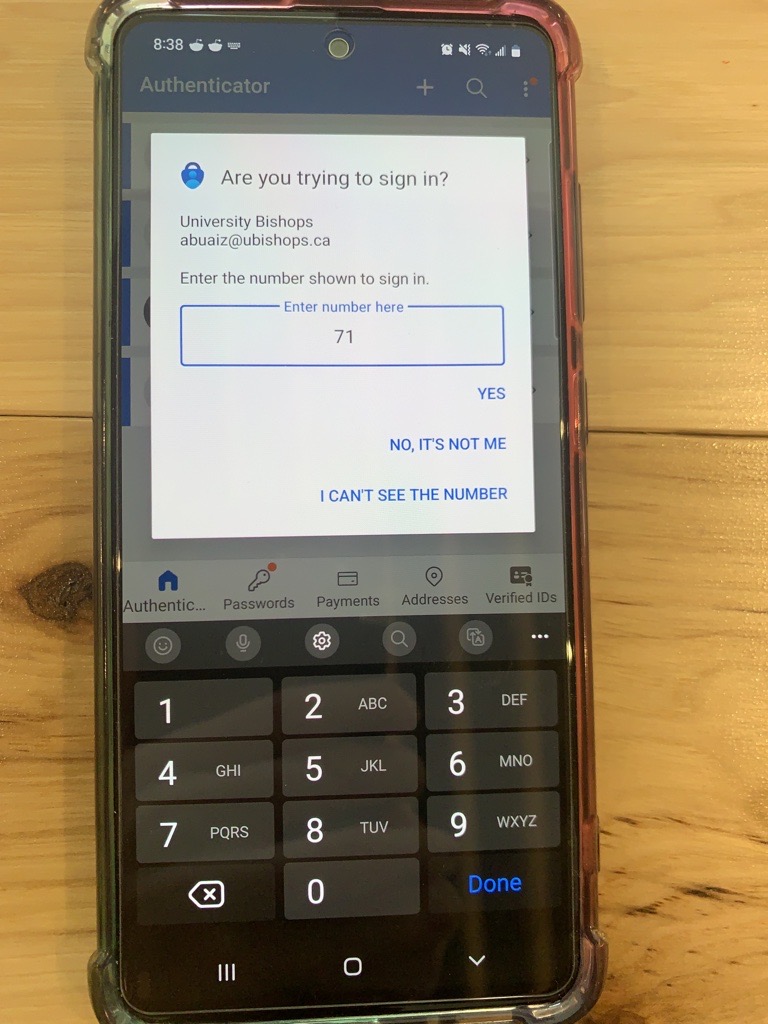
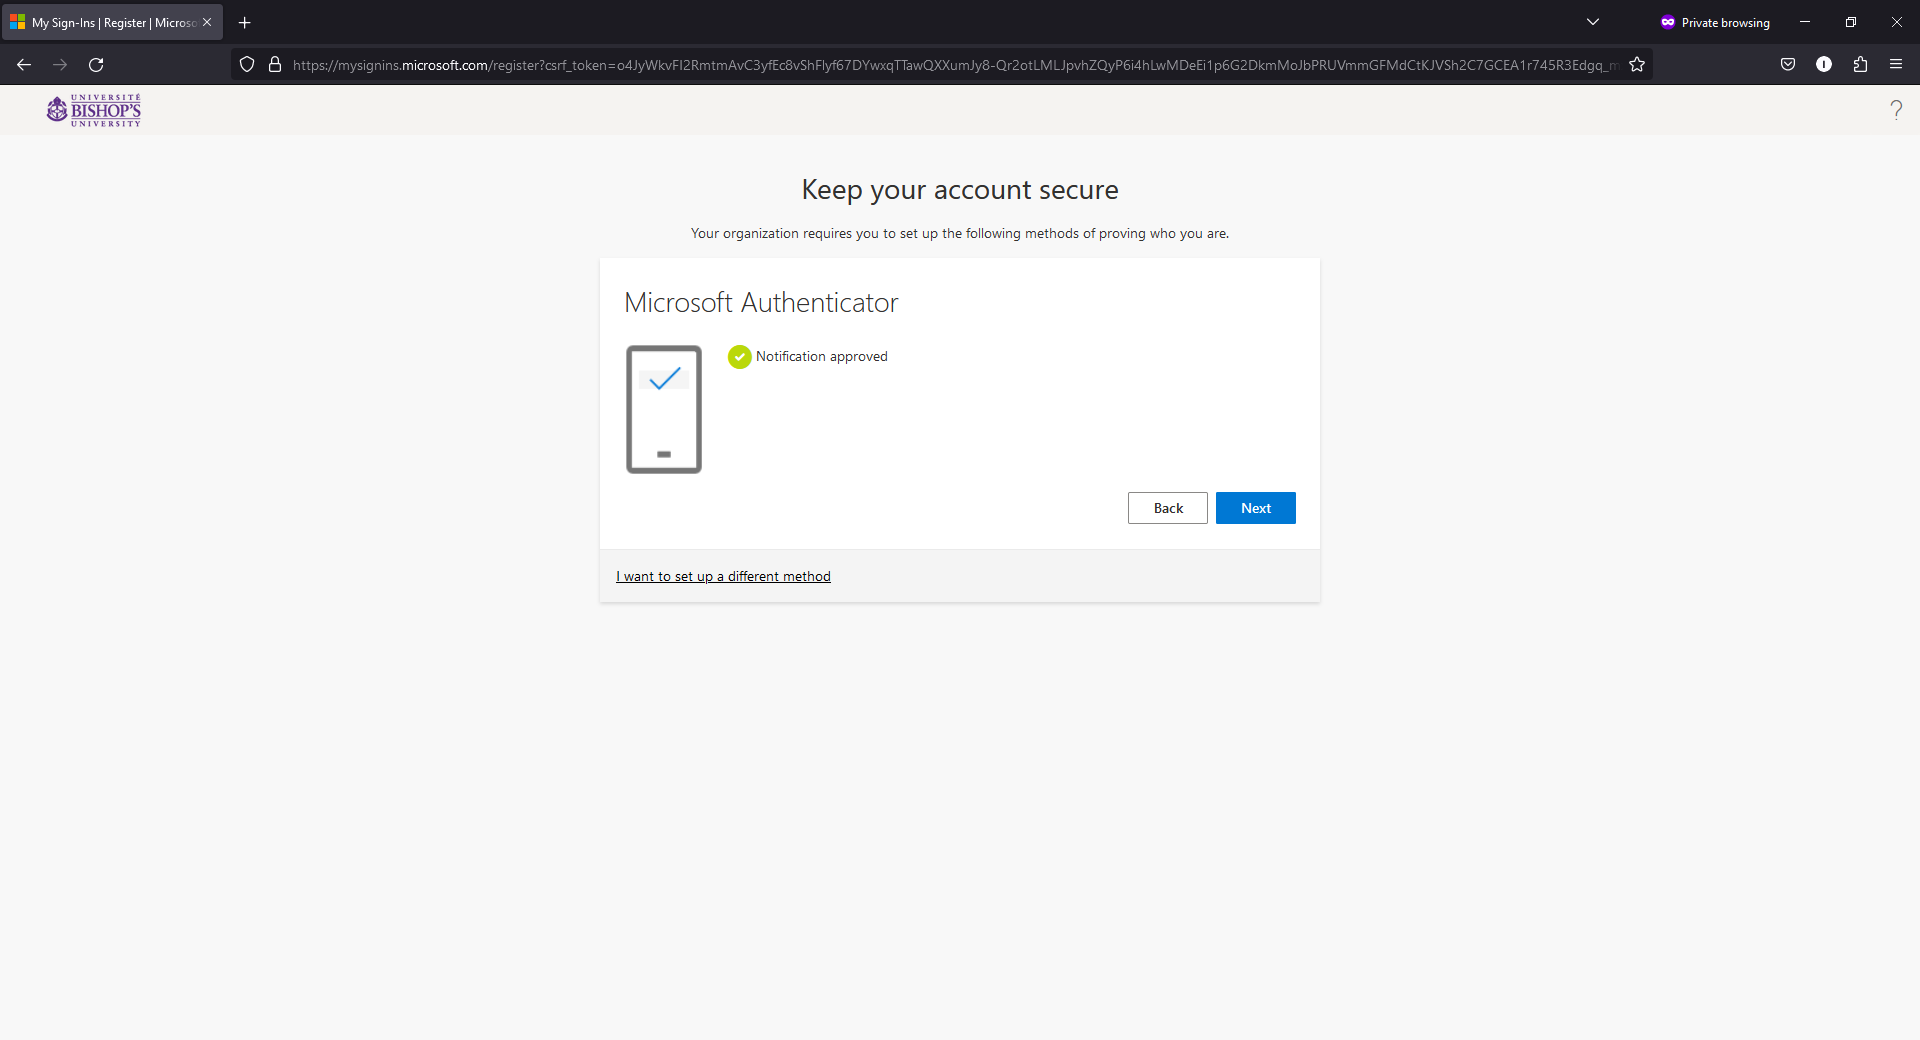
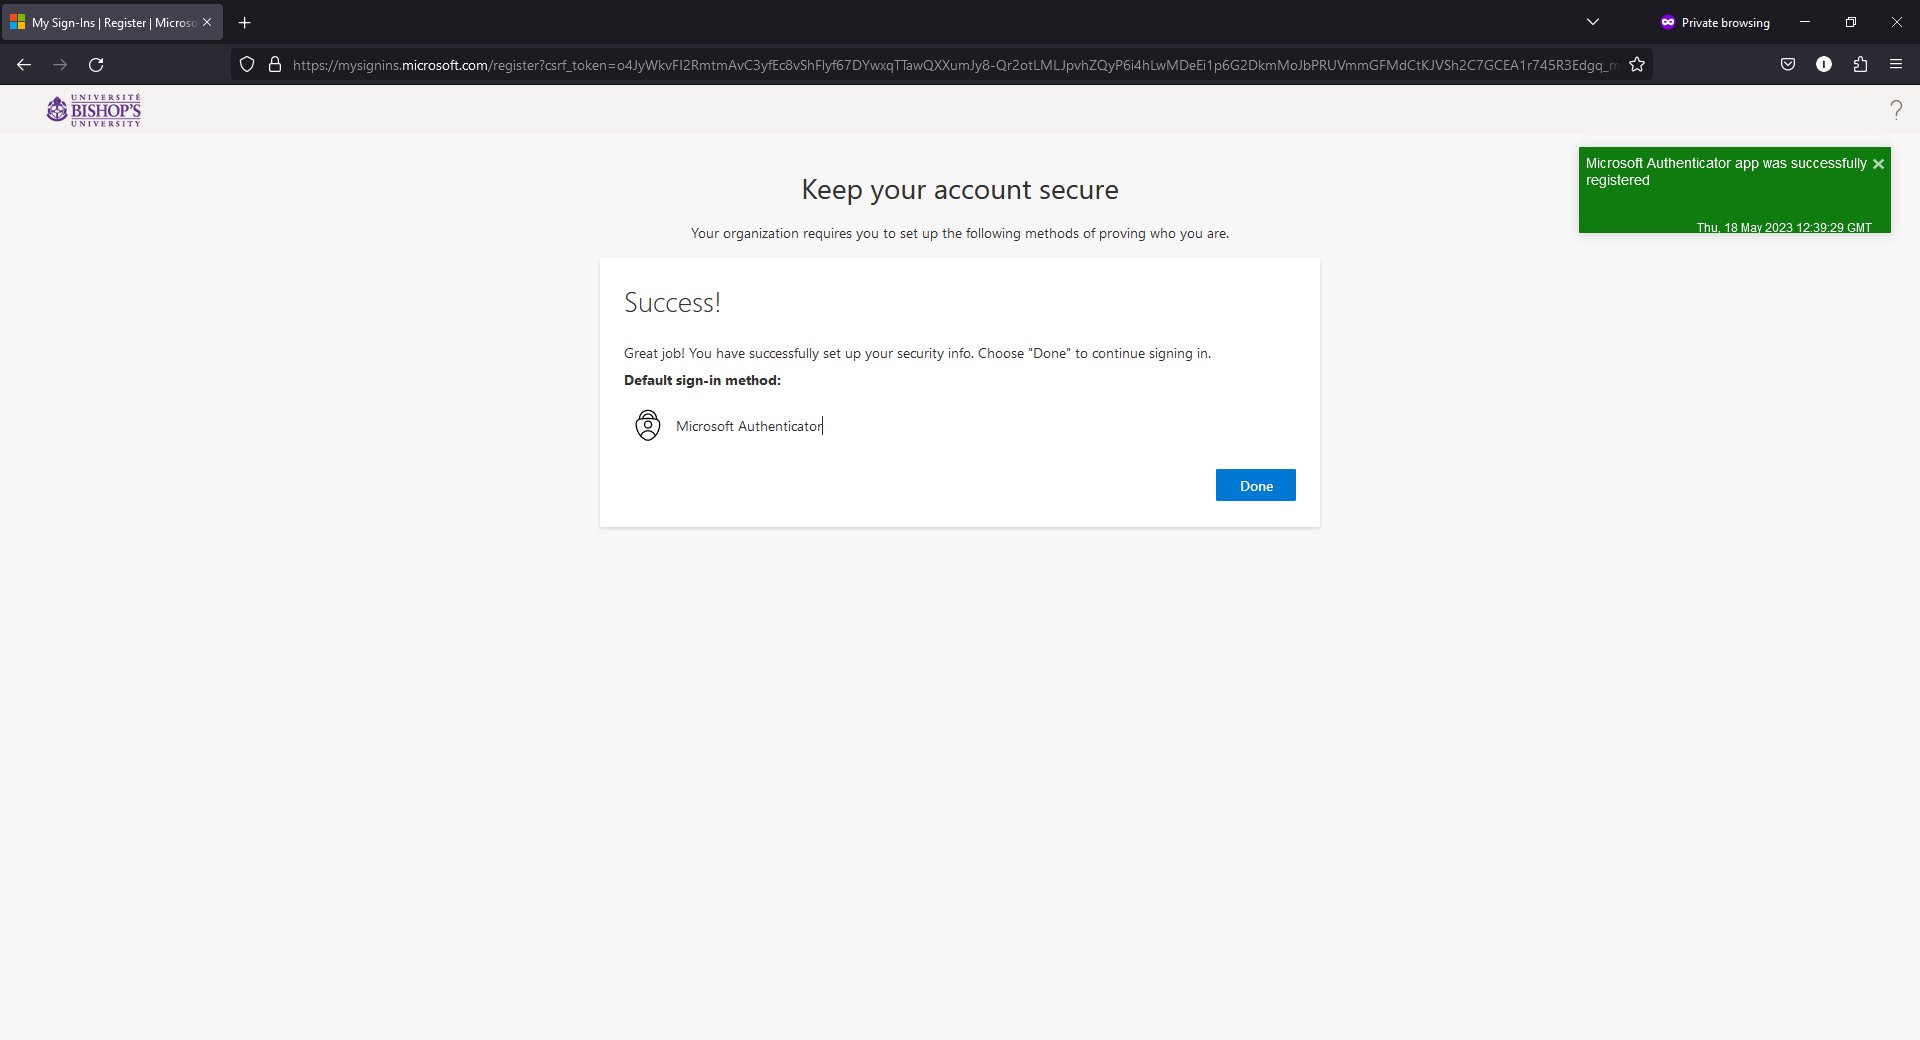
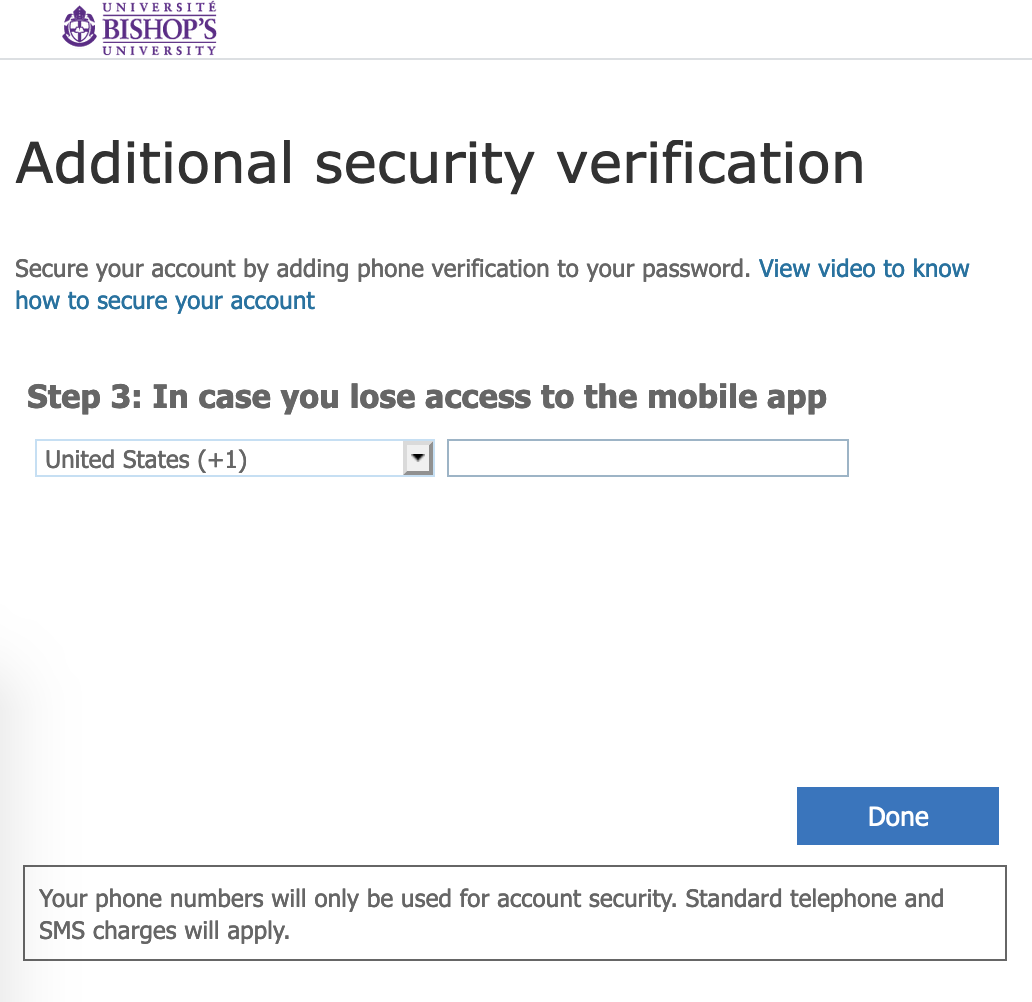
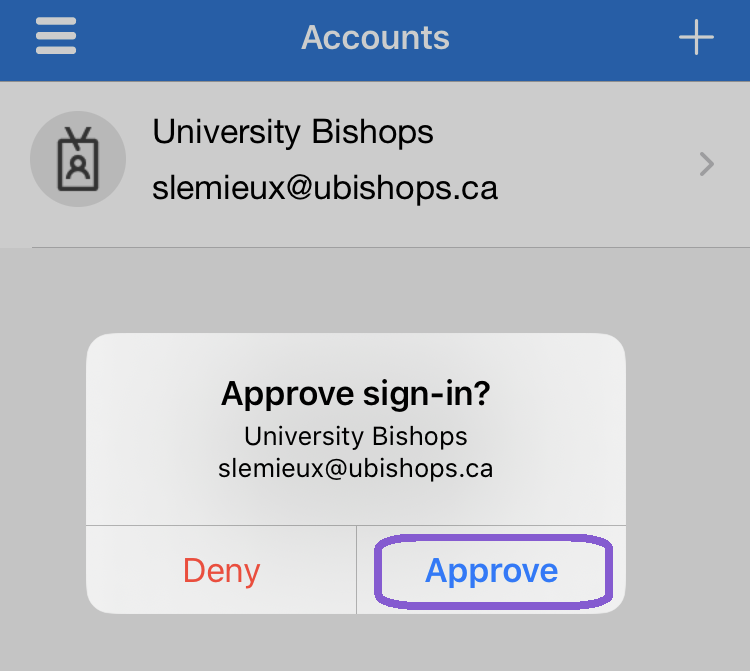
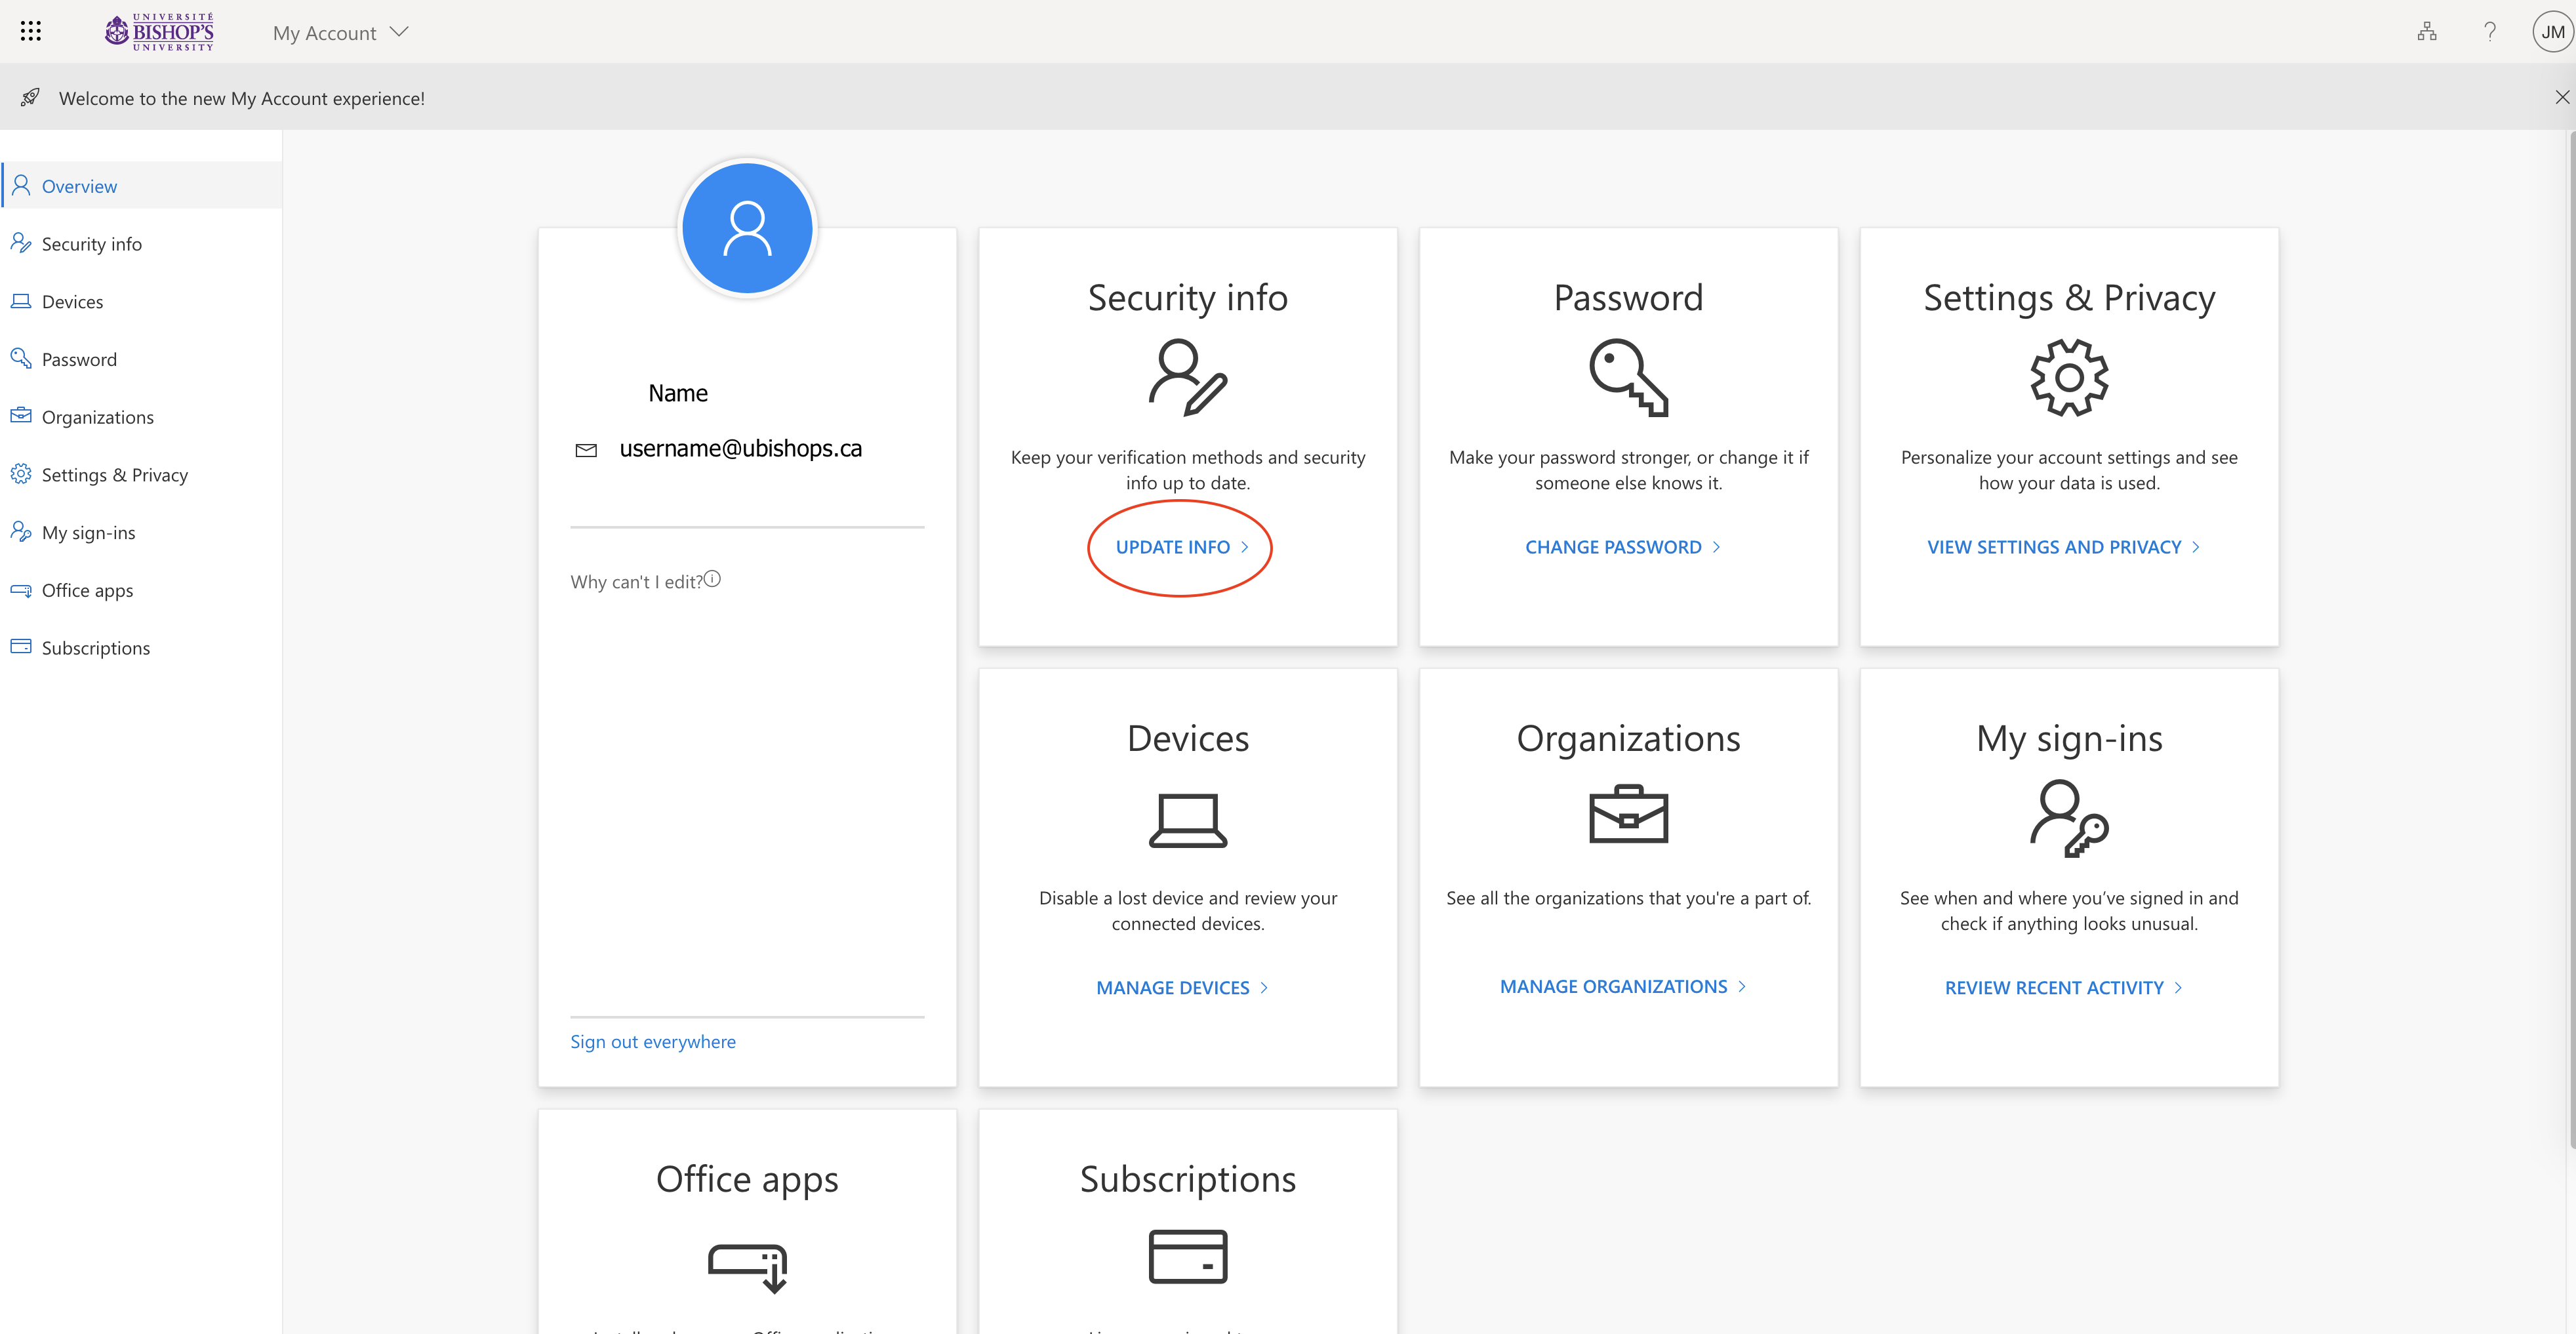
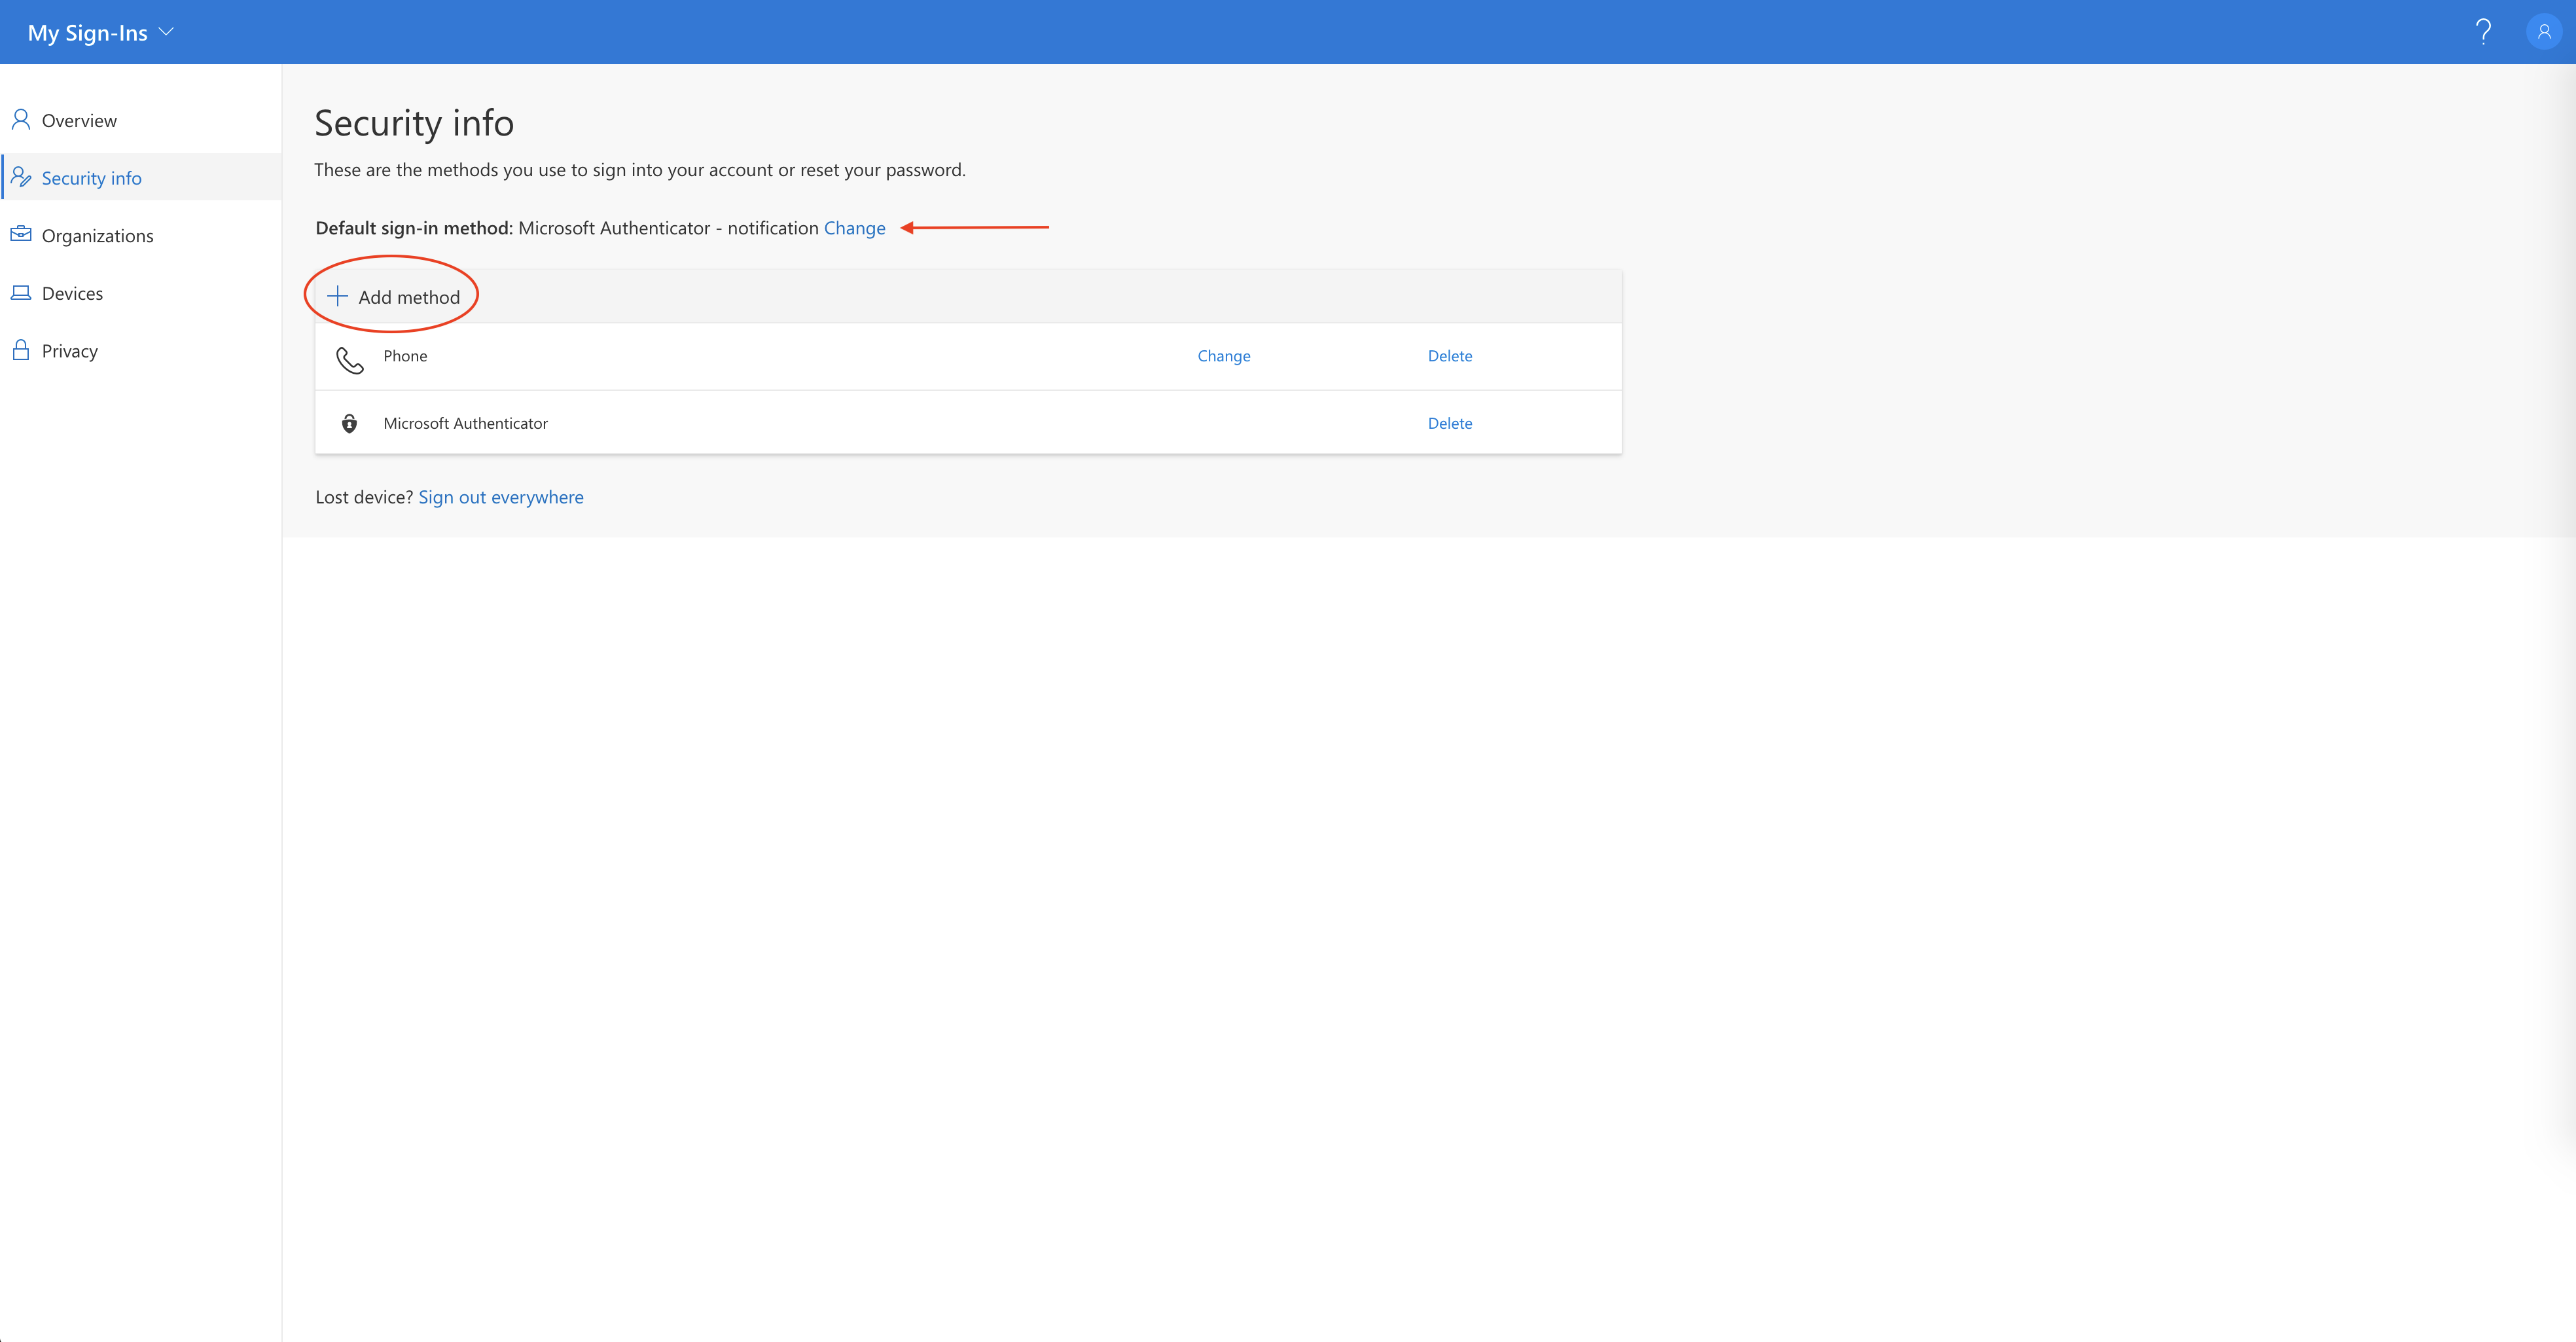
When login into your Office365 account you will get asked to validate your login. This is a mandatory security mesure that will ask you to validate each new login from a phone or an app. If the landline phone number is selected for this mandatory step, you will need to answer that landline EACH time you are asked to validate. If you are unable to answer the call on your landline, you will be unable to access your O365 accounts. This includes access to emails, office apps (words, excel, powerpoint), teams, and much more. To ensure you get access to everything right when you need it, make sure to use a mobile device you that is accessible at all times.

Contact Us