


Recording a group presentation is easily done with the use of Microsoft Teams. This tutorial will show you how you can record a Teams meeting while presenting a group project. This works best if everyone in the group is logged in to Teams and has their camera on for the presentation.
Step 1:
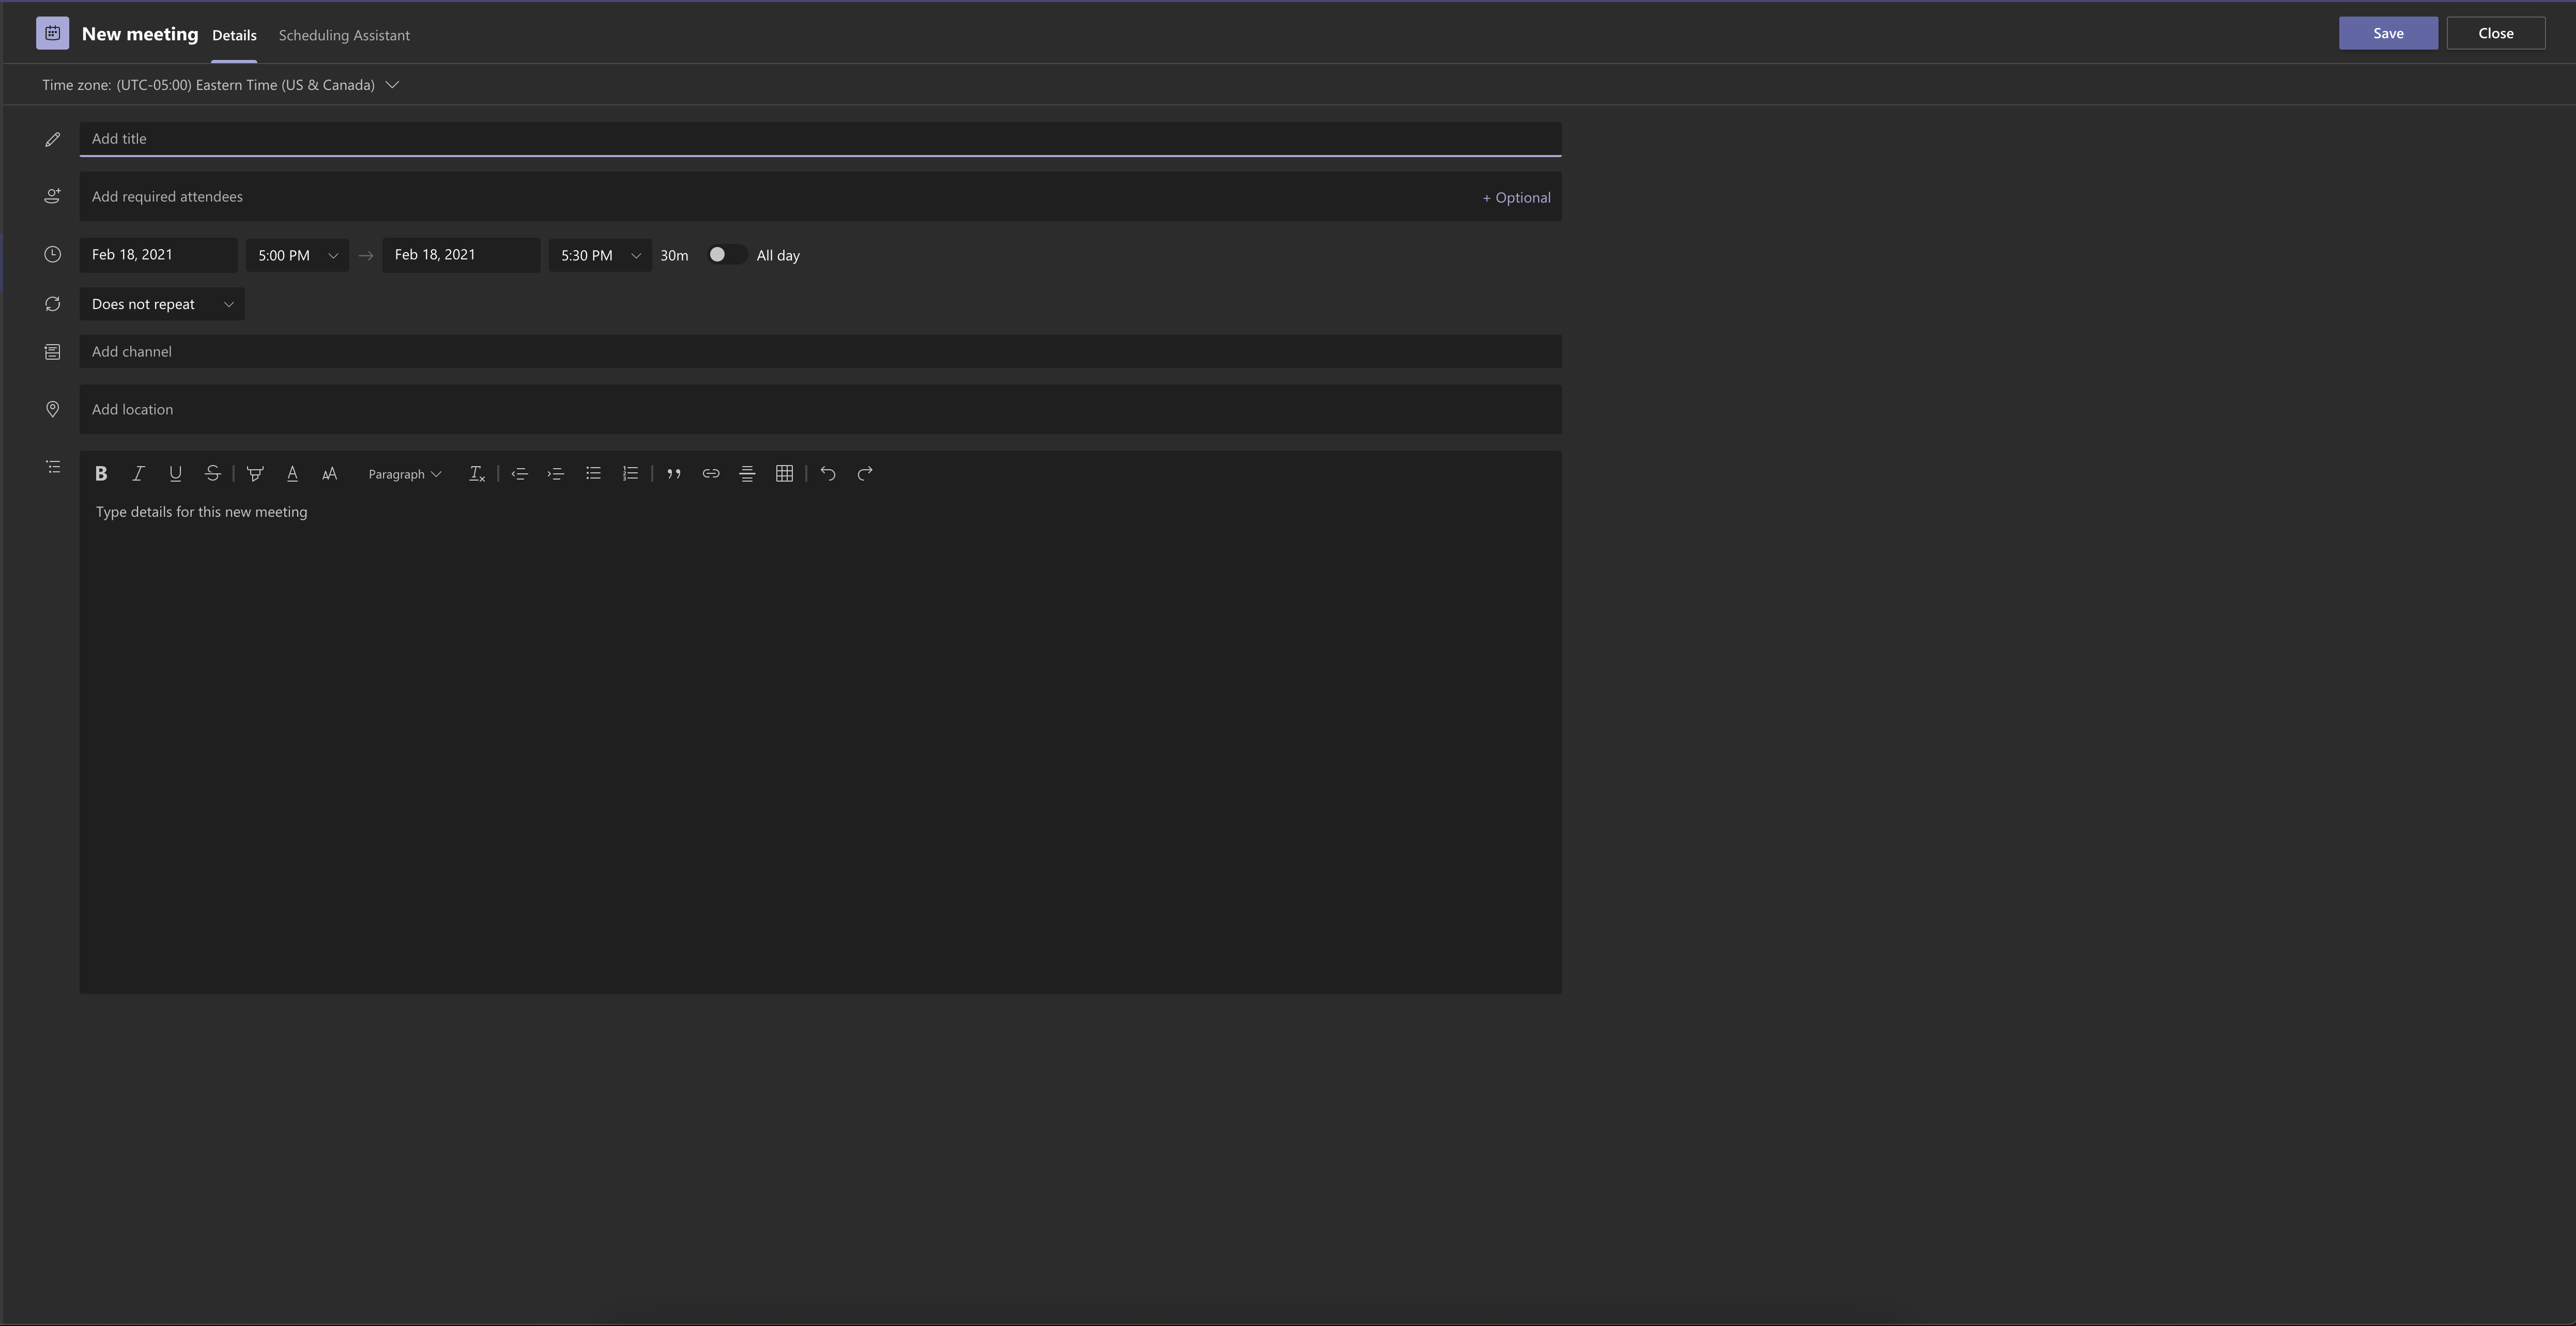
Schedule a time to meet in Teams to present and record your group project. You can schedule a meeting in the Teams calendar.
Step 2:
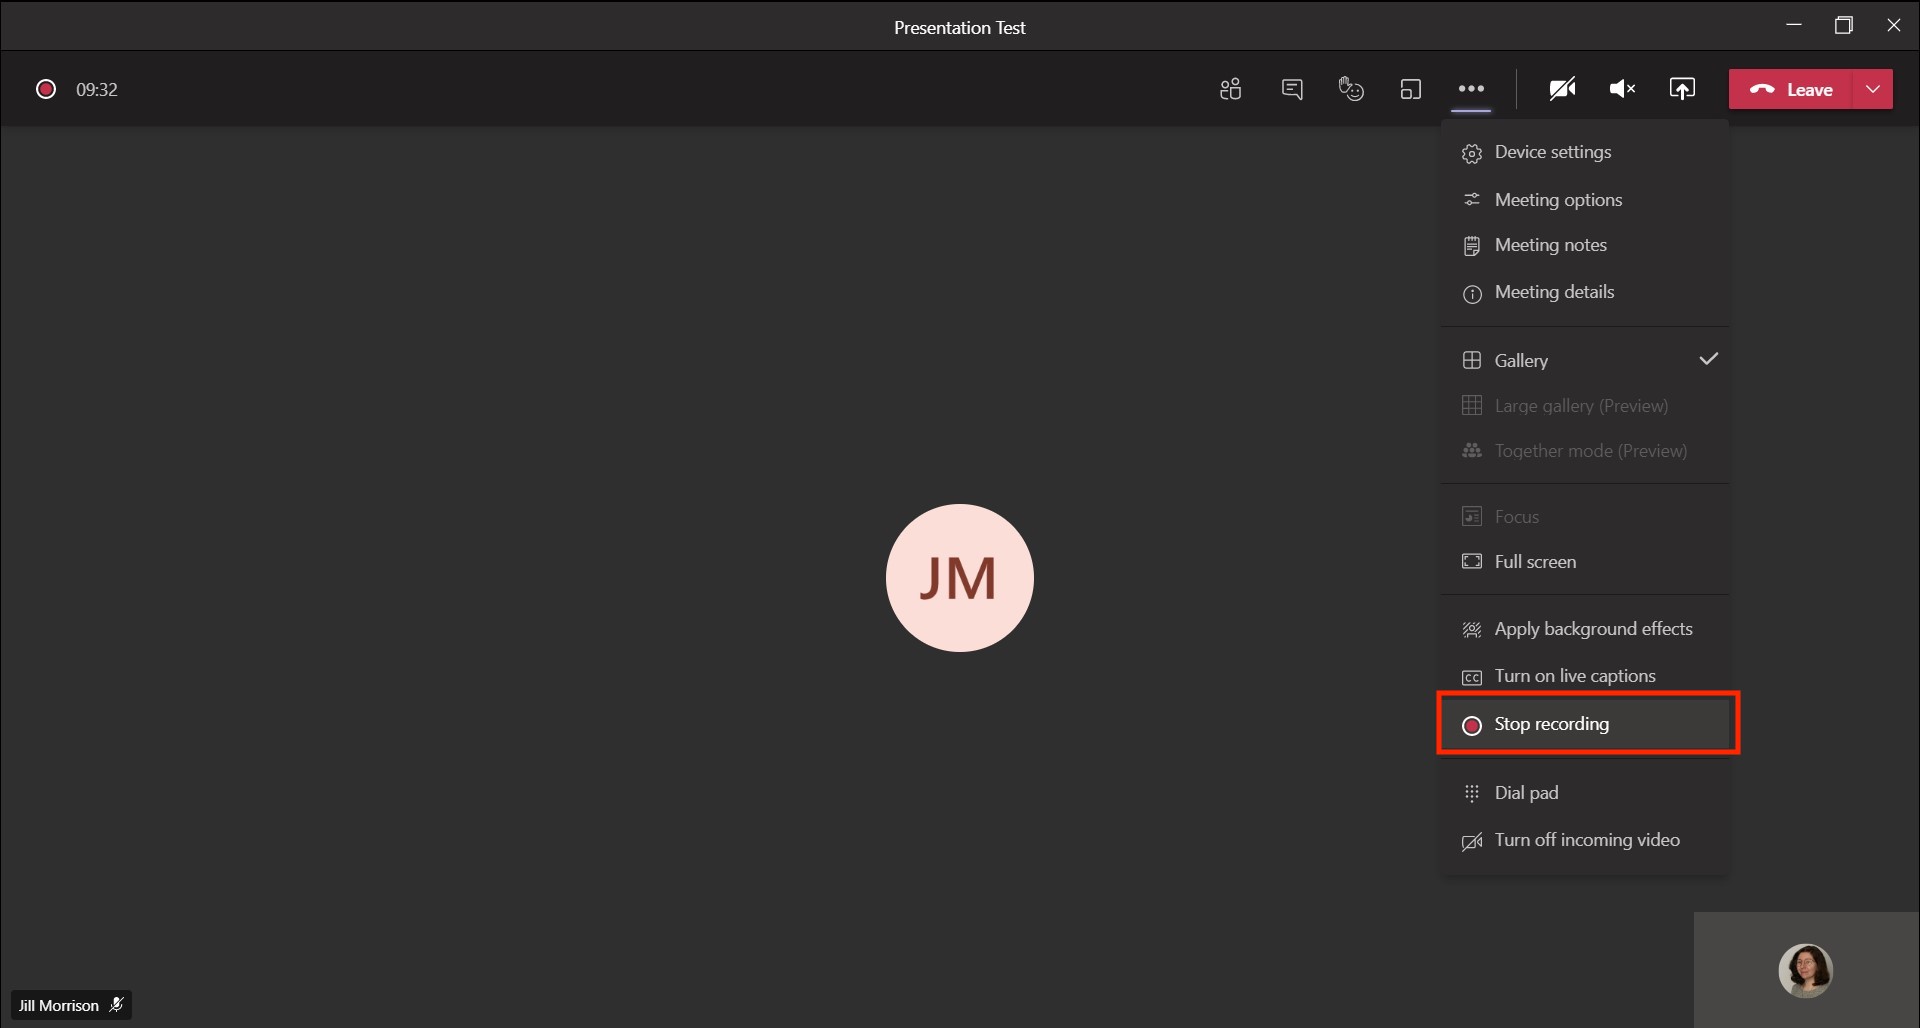
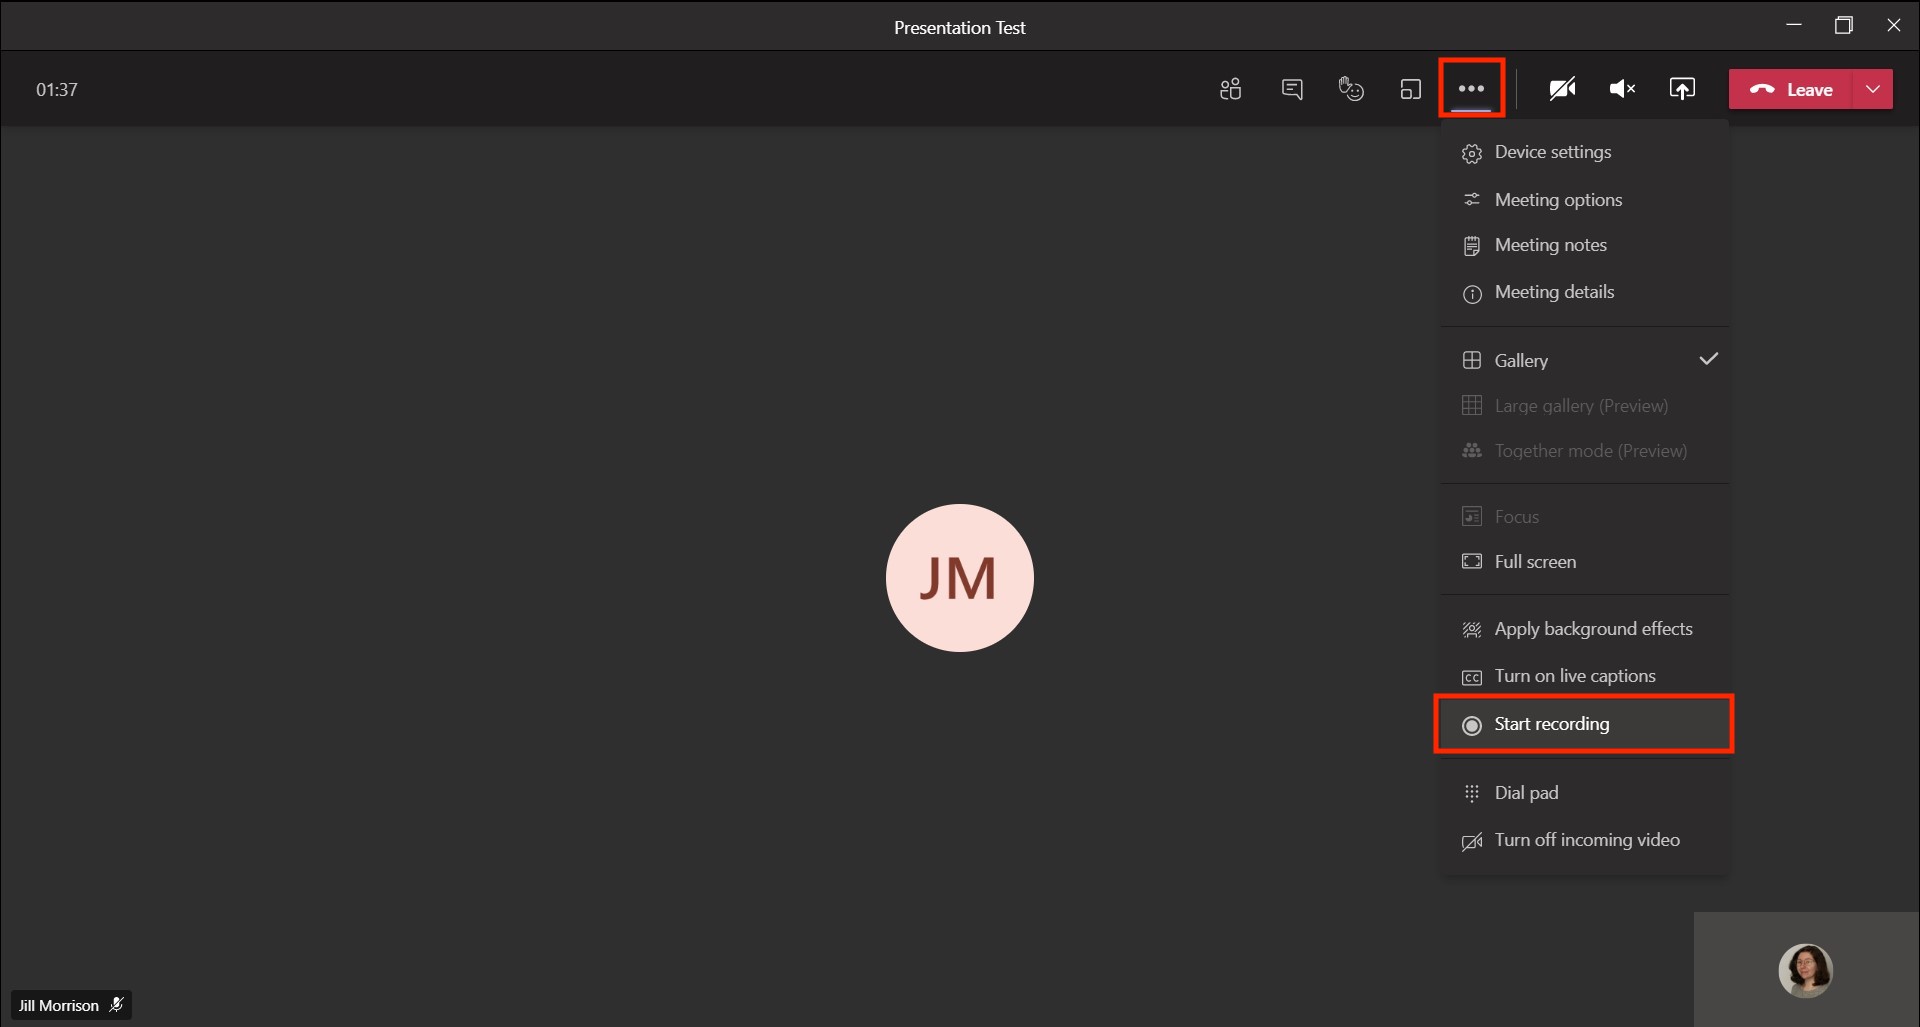
Choose one member of your group to record the meeting. This is done by clicking on the "..." menu and selecting "Start Recording." Note that all members of the group present in the meeting will have access to the recording after it is done.
Step 3:
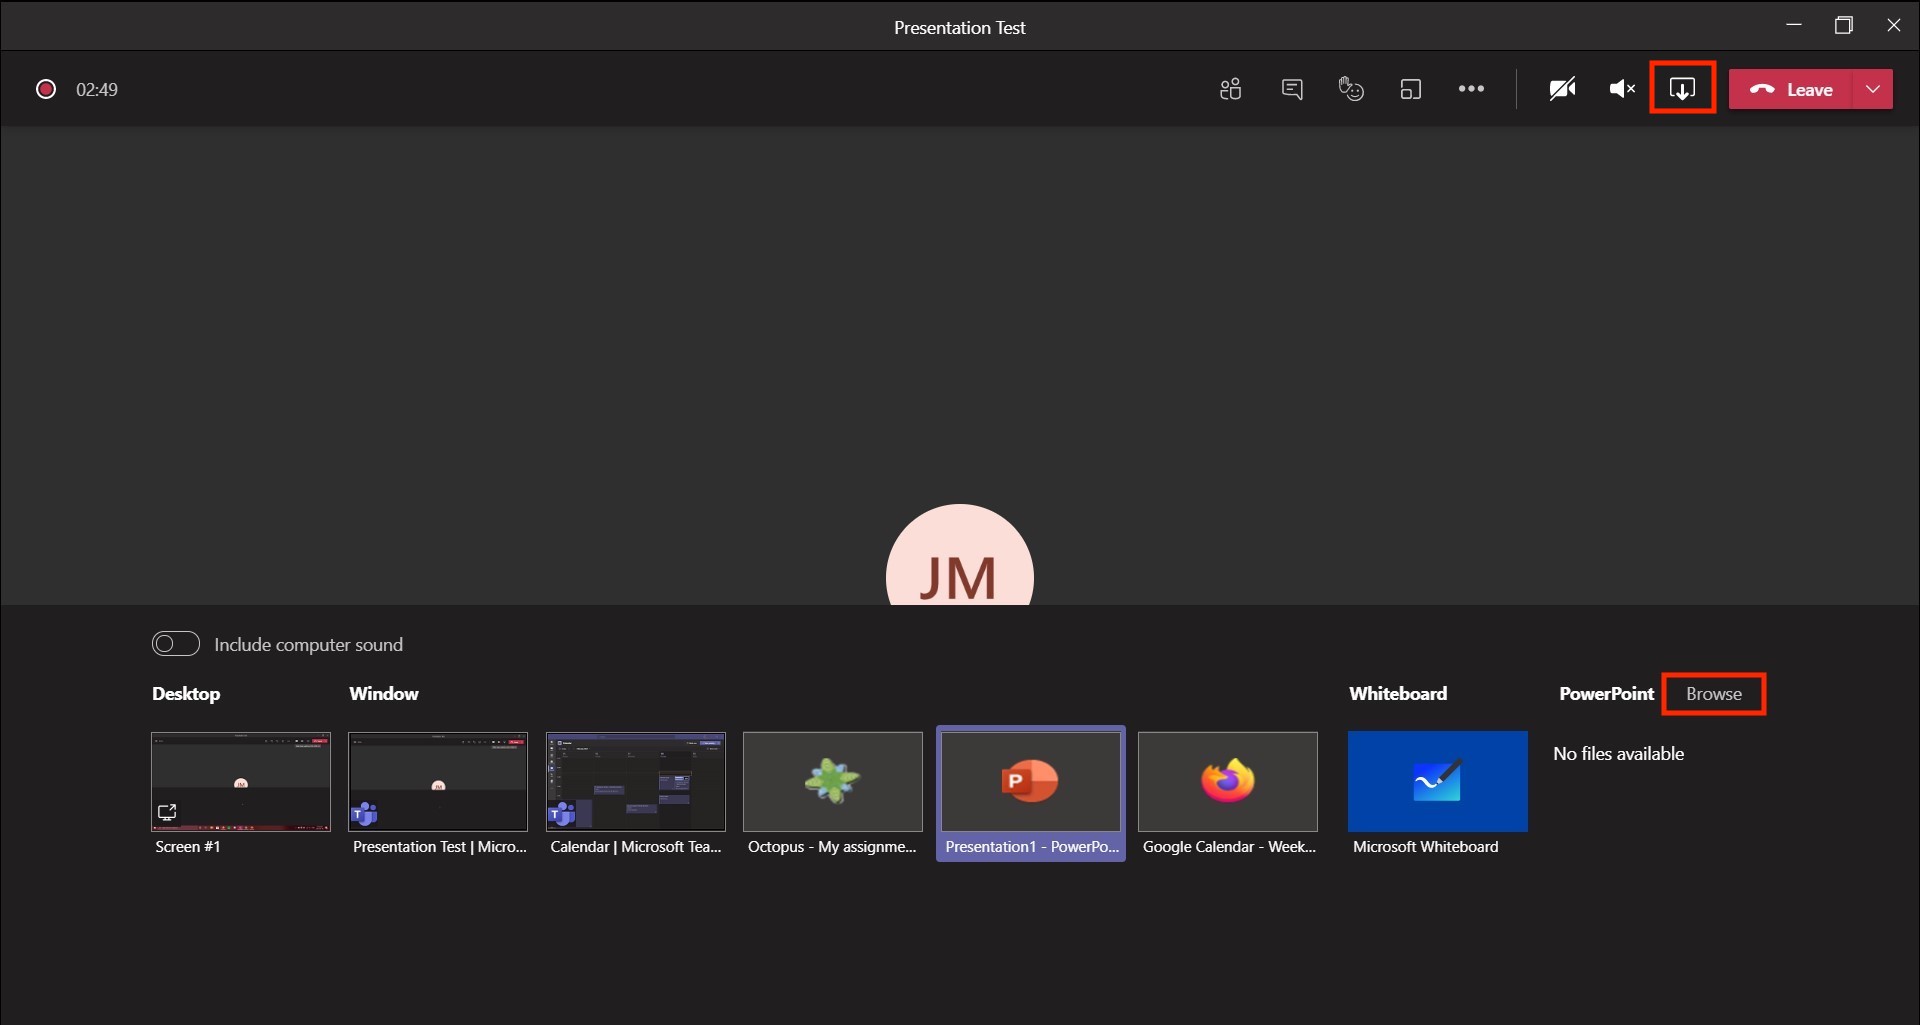
If your group project requires a visual component, such as a PowerPoint, have one member of your group share it. Open the share tray ![]() and select the browse button (next to PowerPoint) to retrieve the file from either your device storage or OneDrive.
and select the browse button (next to PowerPoint) to retrieve the file from either your device storage or OneDrive.
Step 4:
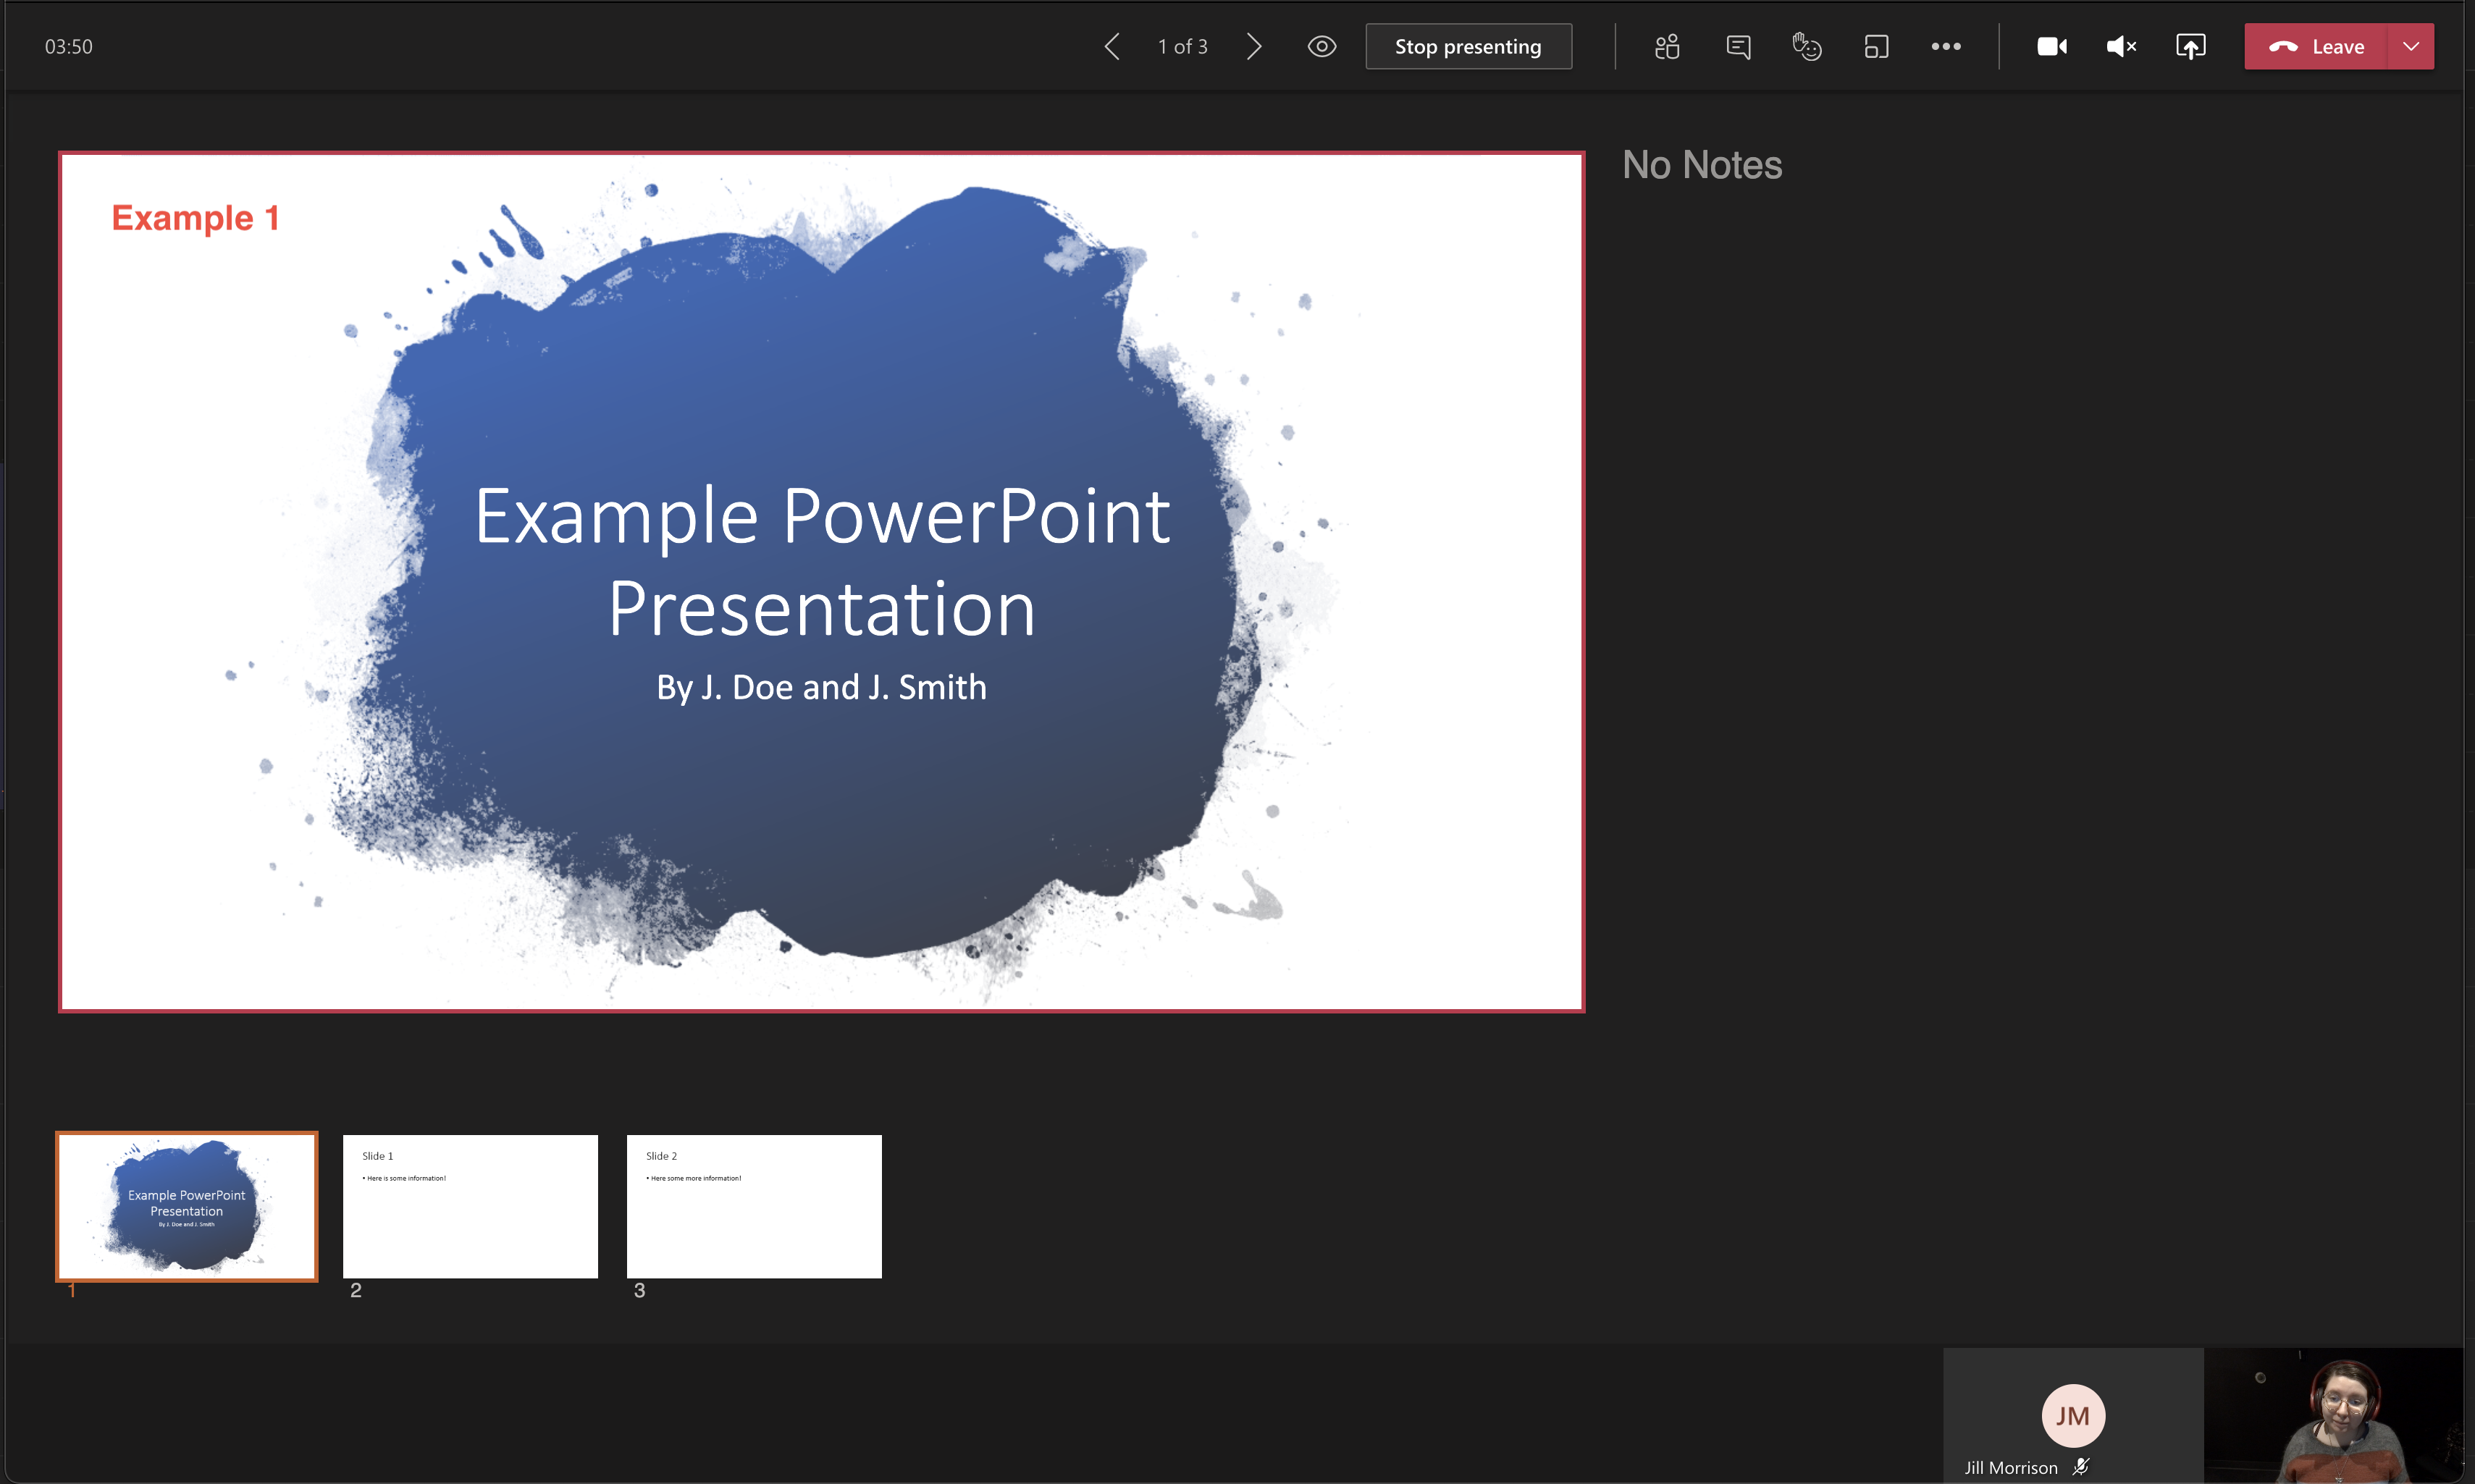
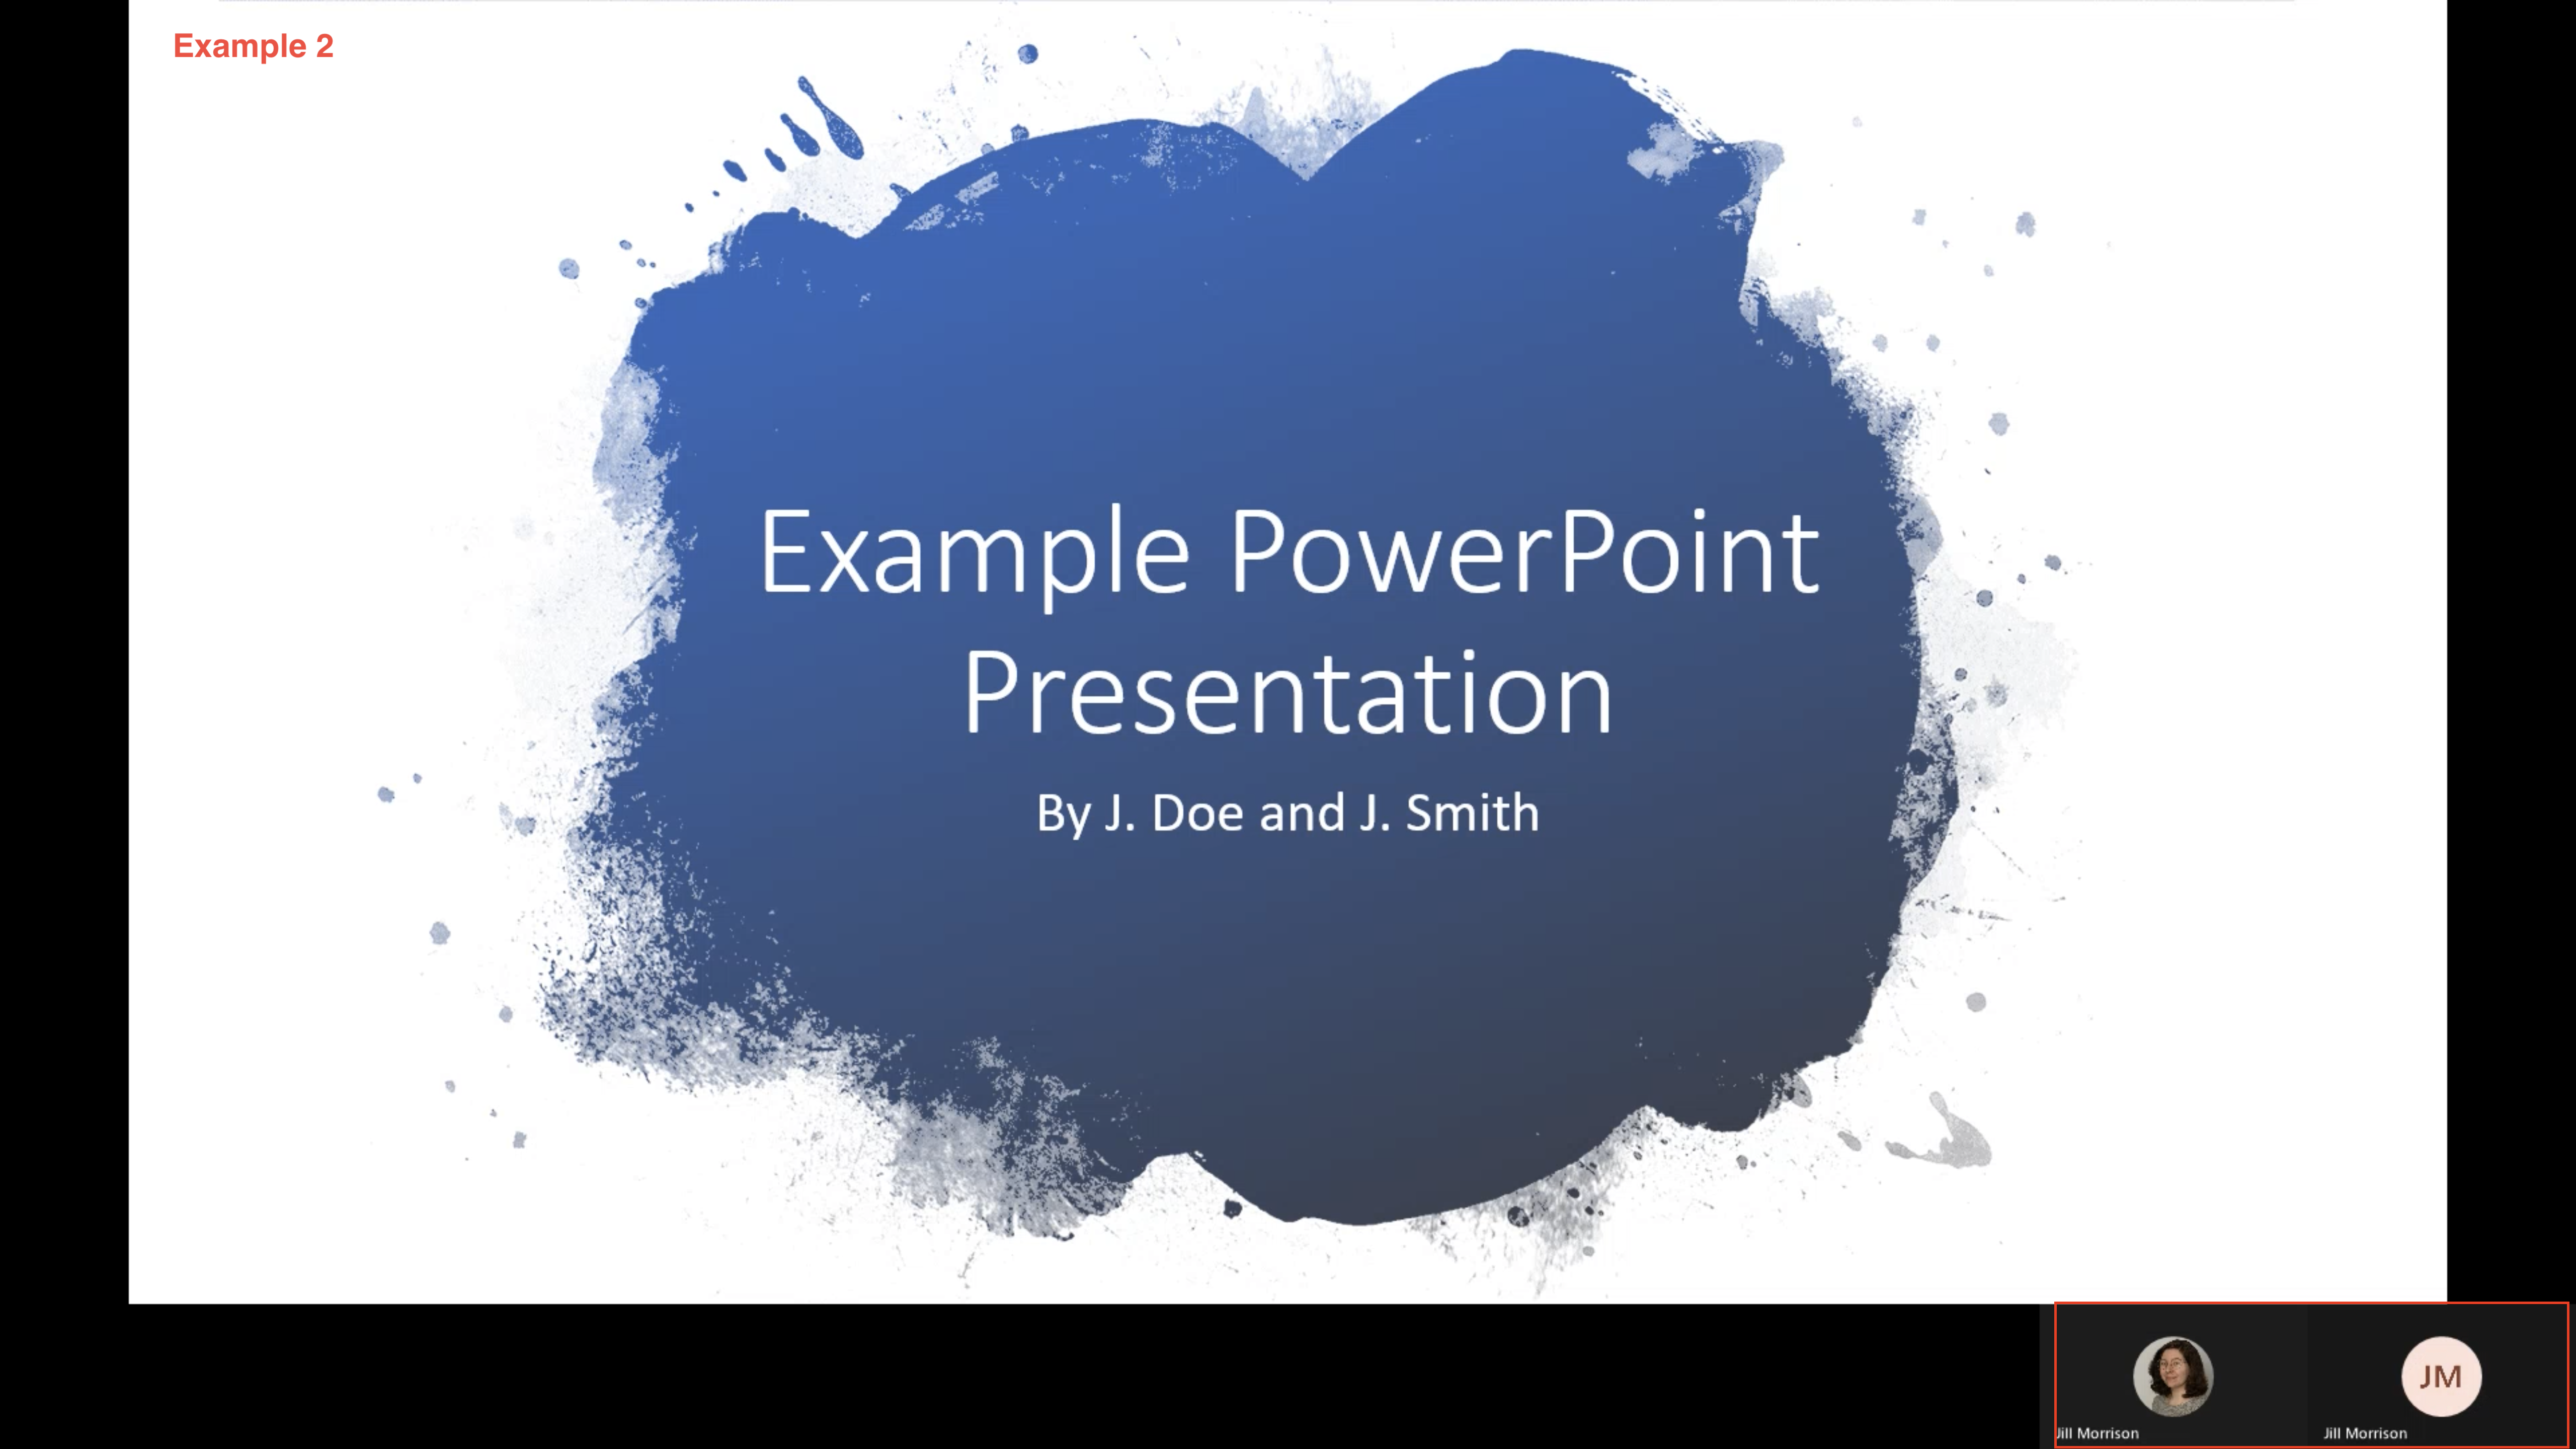
Proceed with your presentation. Note that only the person sharing the PowerPoint will be able to control it, they will see the presentation as shown in Example 1. It will appear in the recording as shown in Example 2. All members of the call will be visible underneath the presentation (in the bottom right corner of the screen).
Step 5:
Once your presentation is finished, stop the recording. The completed recording will appear in the meeting chat and will be available on MS Stream. For more information of how to submit a Stream video to your instructor, follow this tutorial