


For students, the process of recording video for an assignment may seem daunting. But it doesn’t have to be! Your video can be created simply by using the camera on your phone and a tripod. This is a basic tutorial, for a more advanced videography techniques, click here.
You will need:
– A mobile device equipped with a camera (front facing or externally facing)
– A mobile tripod and mount (optional)
Note: Try using a phone tripod for more ease of filming and professionalism. Here is an inexpensive model we recommend: Phone Tripod Stand
Filming using a mobile phone
Step 1: Location and Lighting
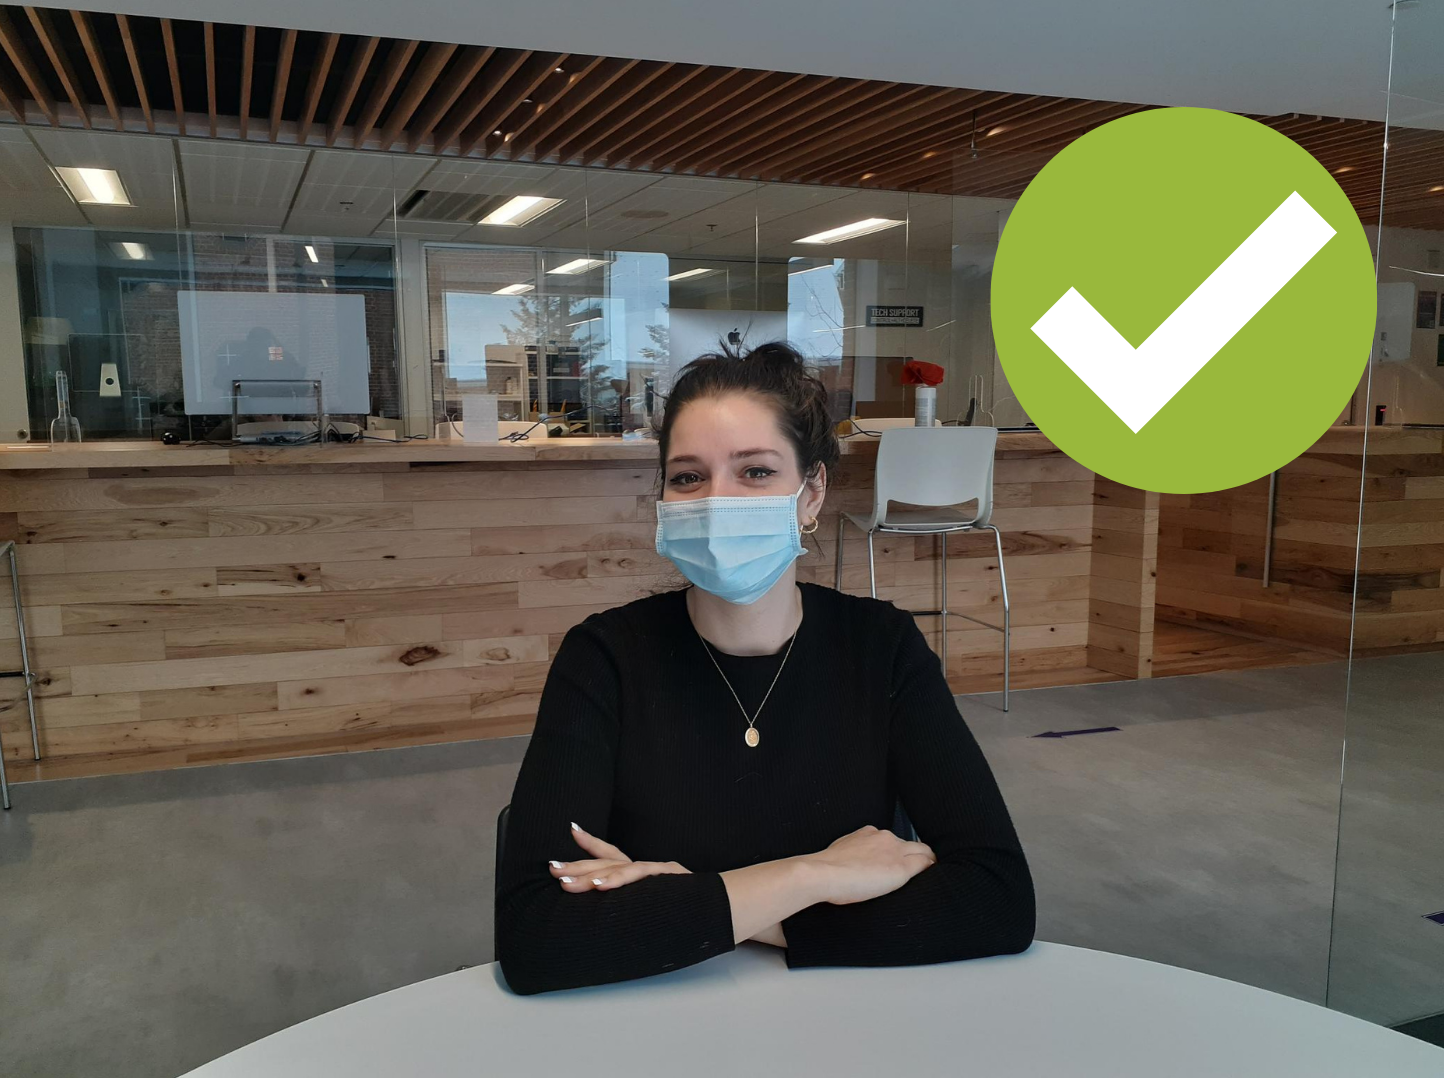
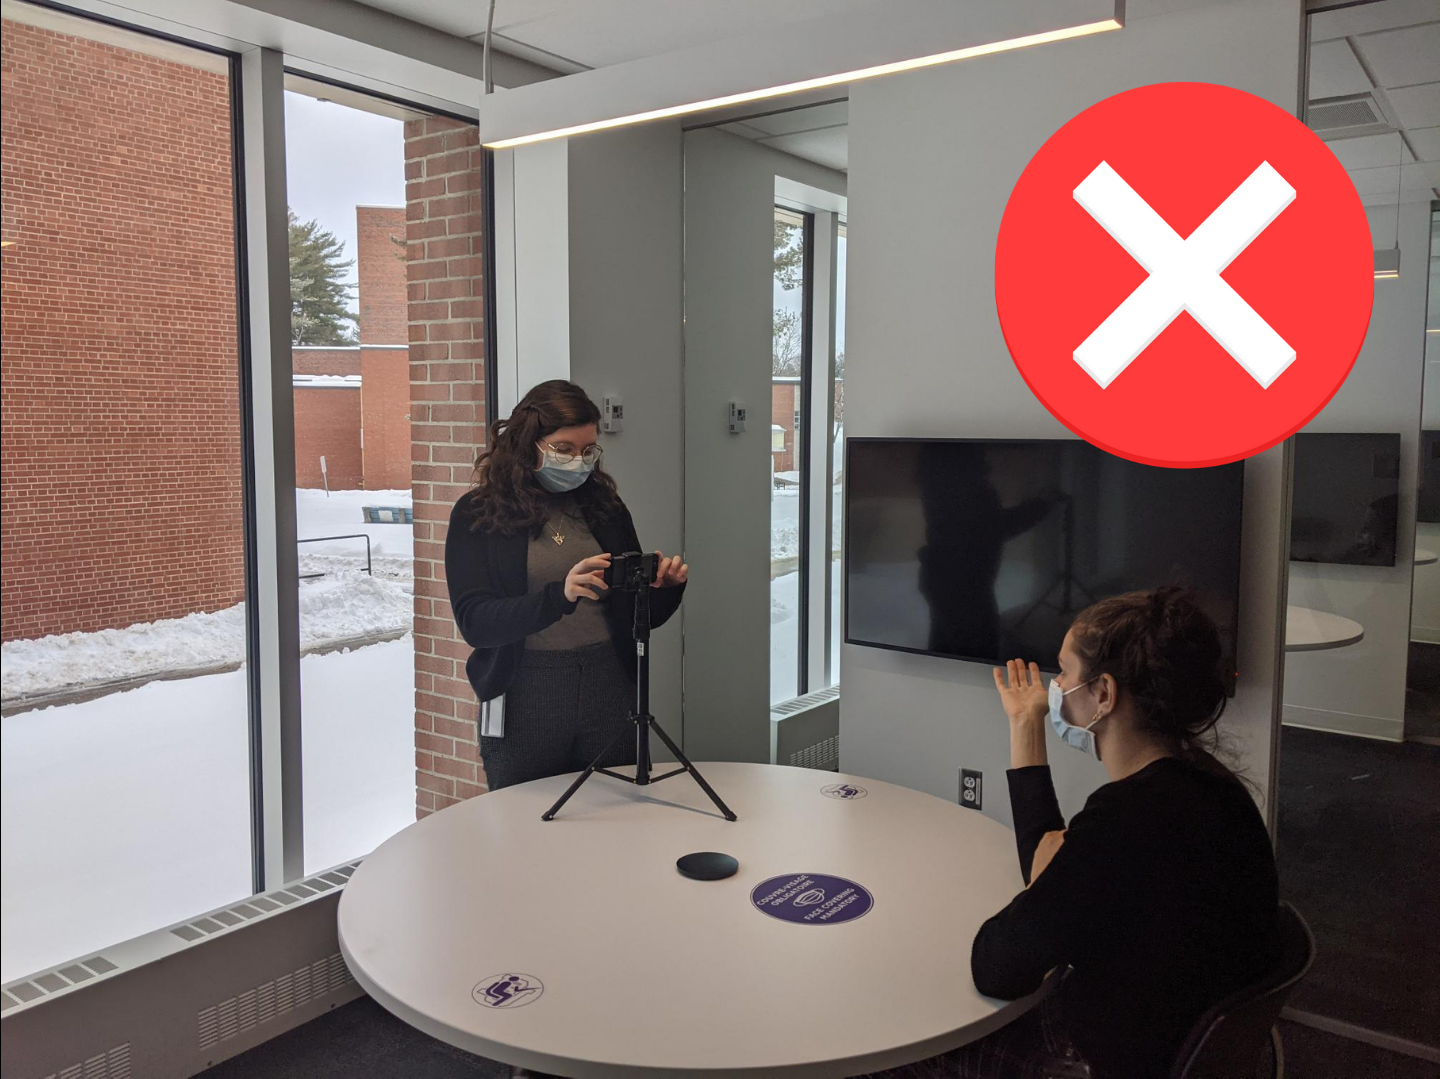
Choose a location for filming that has a simple background and receives abundant natural light. The best time of day to film is in the early morning or evening when the lighting is soft and not too harsh. You can also use artificial indoor light, but keep in mind this will look more harsh and possibly overexposed. Regardless of the source of light, ensure that it is not positioned behind your subject. This creates a "back-lit" effect that places your subject in shadow.

Step 2: Set Up and Framing
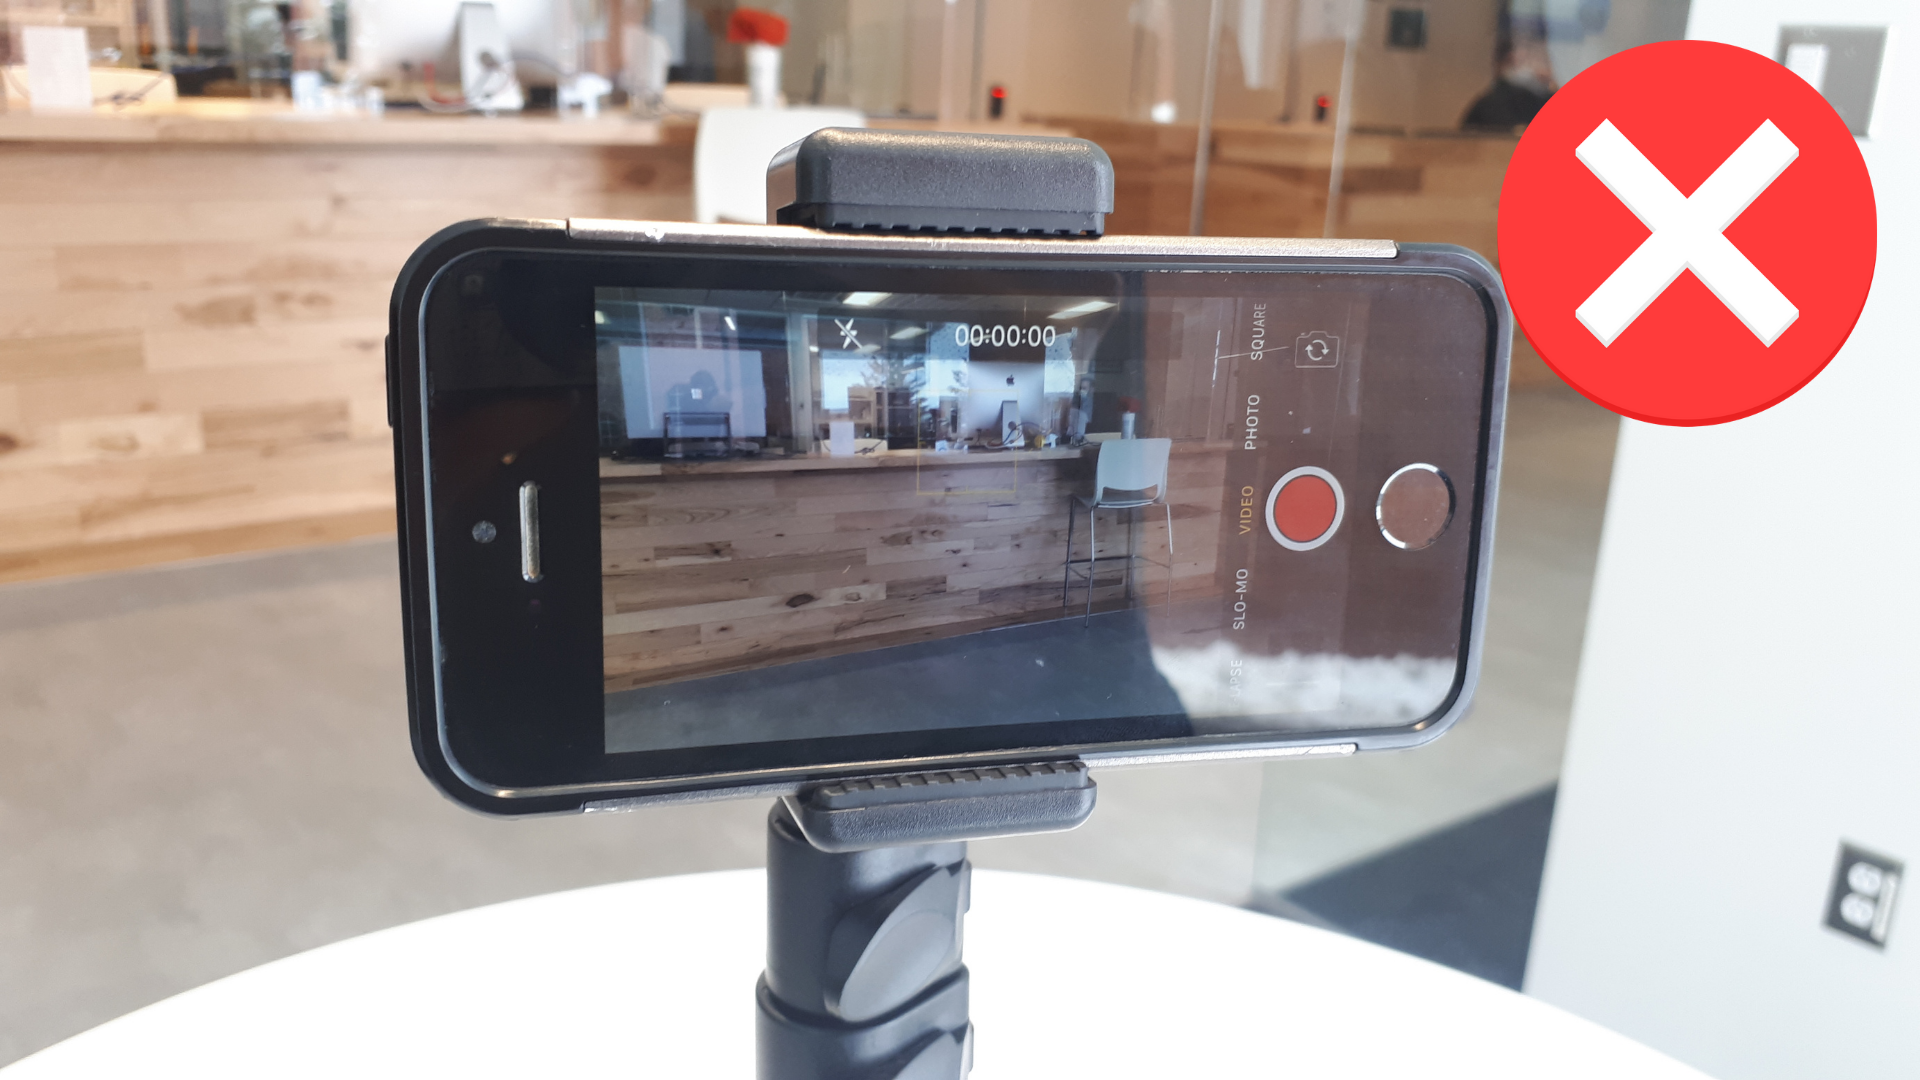
Set up your phone by attaching it to your tripod or by having someone other than your subject hold it steady with both hands. For video that looks more professional, film horizontally rather than vertically. Make sure your camera is angled towards your subject in such a way that they are clearly visible and the main focus in the frame. Your subject should also be close enough to the camera that you don't need to rely on zoom, which can make your video look more pixelated.


Step 3: Exposure and Focus
Learn how to adjust the exposure and focus on your phone. Most smart phones will auto-adjust depending on the proximity of the subject and the light it detects. This can become a problem if the focus or exposure is changed automatically between shots or during filming. Instead, adjust the exposure, white balance and focus to your liking and lock it. On most Android and Apple devices this is done by pressing and holding the screen until the "AE/AF" Lock appears. To make further adjustments, simply tap the screen again to unlock.

Step 4: Recording Audio
It isn't strictly necessary to purchase an external microphone to get good quality audio. For most projects, the microphone built-in to your phone will be enough. If possible, position the phone as close to your subject as possible while maintaining enough distance for filming. Make sure the microphone is not being blocked in any way or the audio will be muffled. If you want better audio and happen to have a second phone on hand, place it as close to the subject as possible and record audio using the voice recorder app. Later, you can substitute the second audio track for the one in the original video footage.
Note: If you need help editing video on your iOS or Android device, check out these tutorials we reccomend:
Importing audio into a video with Adobe Premiere Rush for Android

Follow all of these tips to produce a better quality video for your class project! If you need help submitting your completed video to your instructor, follow our tutorial here.